In this article, we’ll go over how to use Striim to migrate and replicate data from an existing MySQL database to Snowflake.
What is Striim?
Striim is a next generation Cloud Data Integration product that offers change data capture (CDC) enabling continuous replication from popular databases (such as MySQL, Oracle, SQL Server, PostgreSQL ) to data warehouses, databases, messaging systems, and more.
In addition to CDC connectors, Striim has hundreds of automated adapters for file-based data (logs, xml, csv), IoT data (OPCUA, MQTT), and applications such as Salesforce and SAP. Our SQL-based stream processing engine makes it easy to enrich and normalize data before it’s written to Snowflake.
In this tutorial, we’ll show you how to use Striim to migrate schemas and data from an existing MySQL database into Snowflake.
This tutorial uses the Sakila sample database to illustrate the steps.
Tutorial: Migrate and Replicate Data from MySQL to Snowflake
Prerequisites
The following are required to complete this tutorial:
- Striim Account. You can sign up for a free trial account.
- Snowflake Account. You can sign up for a free 30-day trial account to get started.
- MySQL database that meets the following requirements:
-
- Accessible over the Internet.
- SHA256 password authentication enabled.
- A user with full privileges to the database that Striim will authenticate with. Construct the name by concatenating the user’s name, the @ symbol, and Striim’s IP address (34.66.168.224). For example: john@34.66.168.224.
Note: Ensure you have the database’s name, hostname, port, username, and password as they will be required in the steps below to connect to your database.
- At least one table in the MySQL database
- (Optional) Sakila sample database.
Prepare a Snowflake Database and Launch Striim
Before migrating your data from MySQL, you must first create a database within Snowflake to store the migrated data. After that database has been created you can launch Striim as a Snowflake partner service directly from within Snowflake.
Follow the steps below to prepare a database and launch Striim in Snowflake:
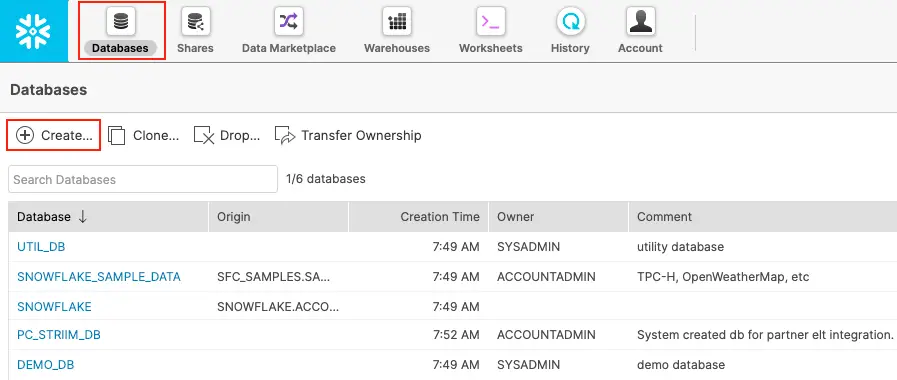
- Launch Snowflake in a web browser.
- Click on Databases > Create:
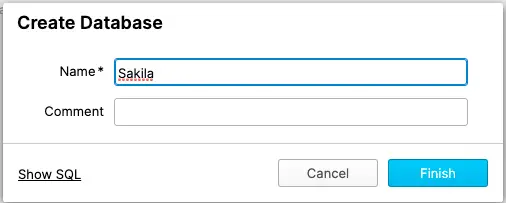
- Enter a unique name for the database and click Finish:
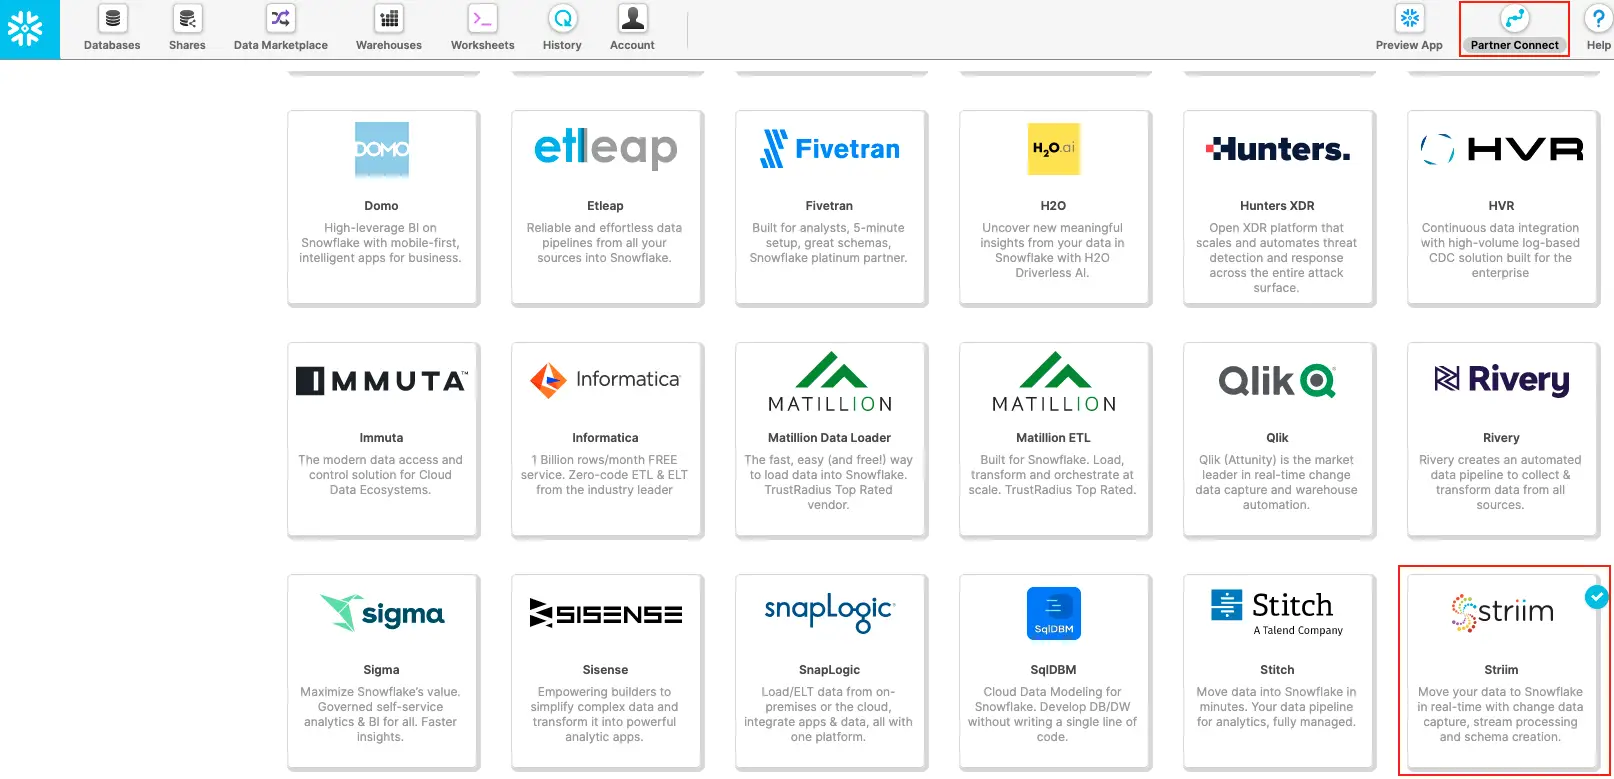
- Click on Partner Connect in the top right corner of the navigation bar.
- Locate and click on Striim in the list of Snowflake partners. Note: you may need to first switch your user role to ACCOUNTADMIN in order to launch Striim from Snowflake:
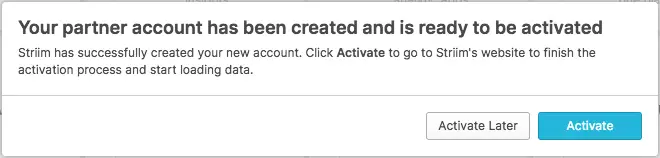
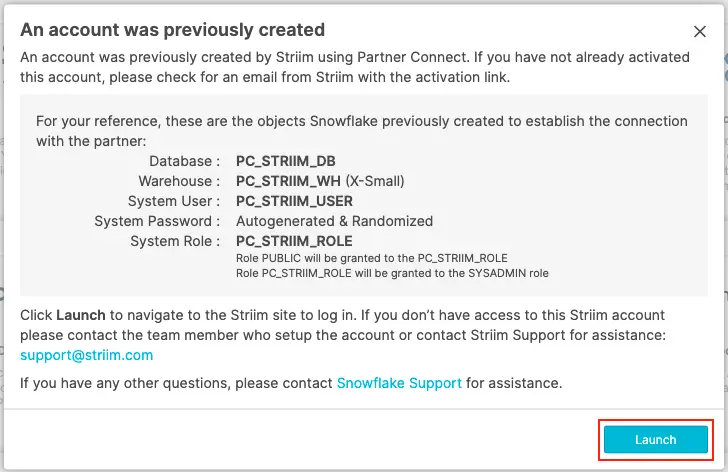
- Activate the partner account if the account has not been previously activated:
- Confirm that the database you created above is listed in Database(s) with USAGE privilege granted and click Connect.
- Note: On subsequent launches after activation has been completed for the first time, Snowflake will just prompt you to launch:
Create a Striim App
In Striim, an app will be used to perform migration from MySQL to a Snowflake database.
Follow the steps below to create a new Striim App:
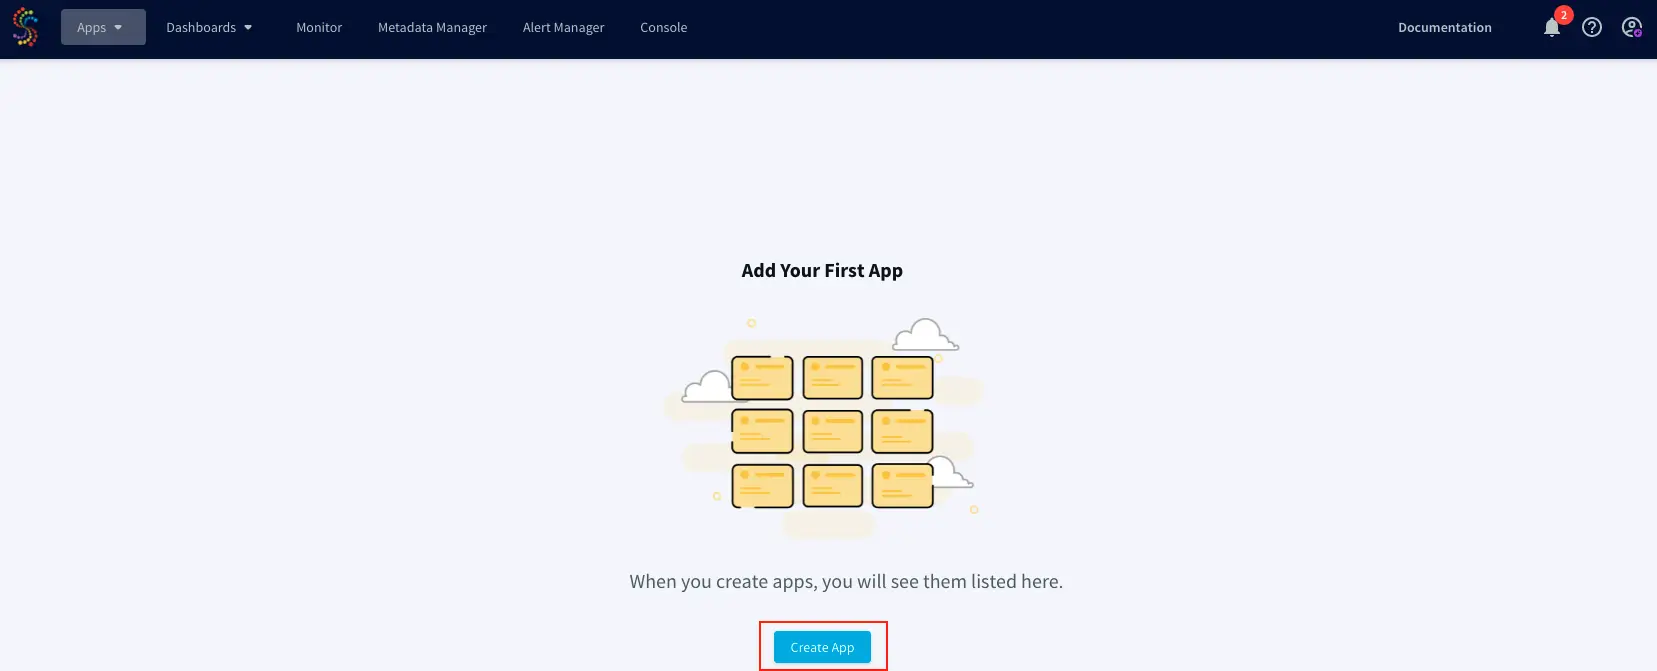
- Ensure you’re on the App screen in Striim and click Create App:
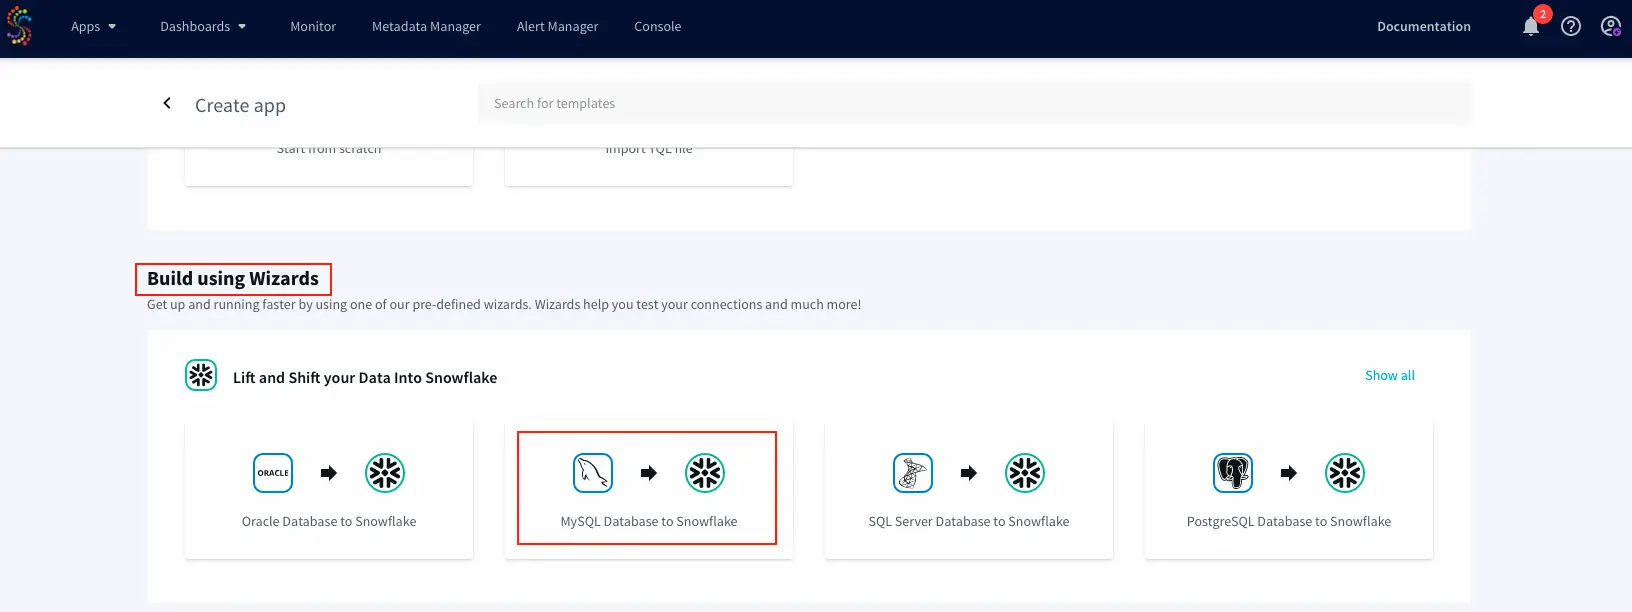
- Locate the Build using Wizards section on the Create a New App screen and select MySQL Database to Snowflake:
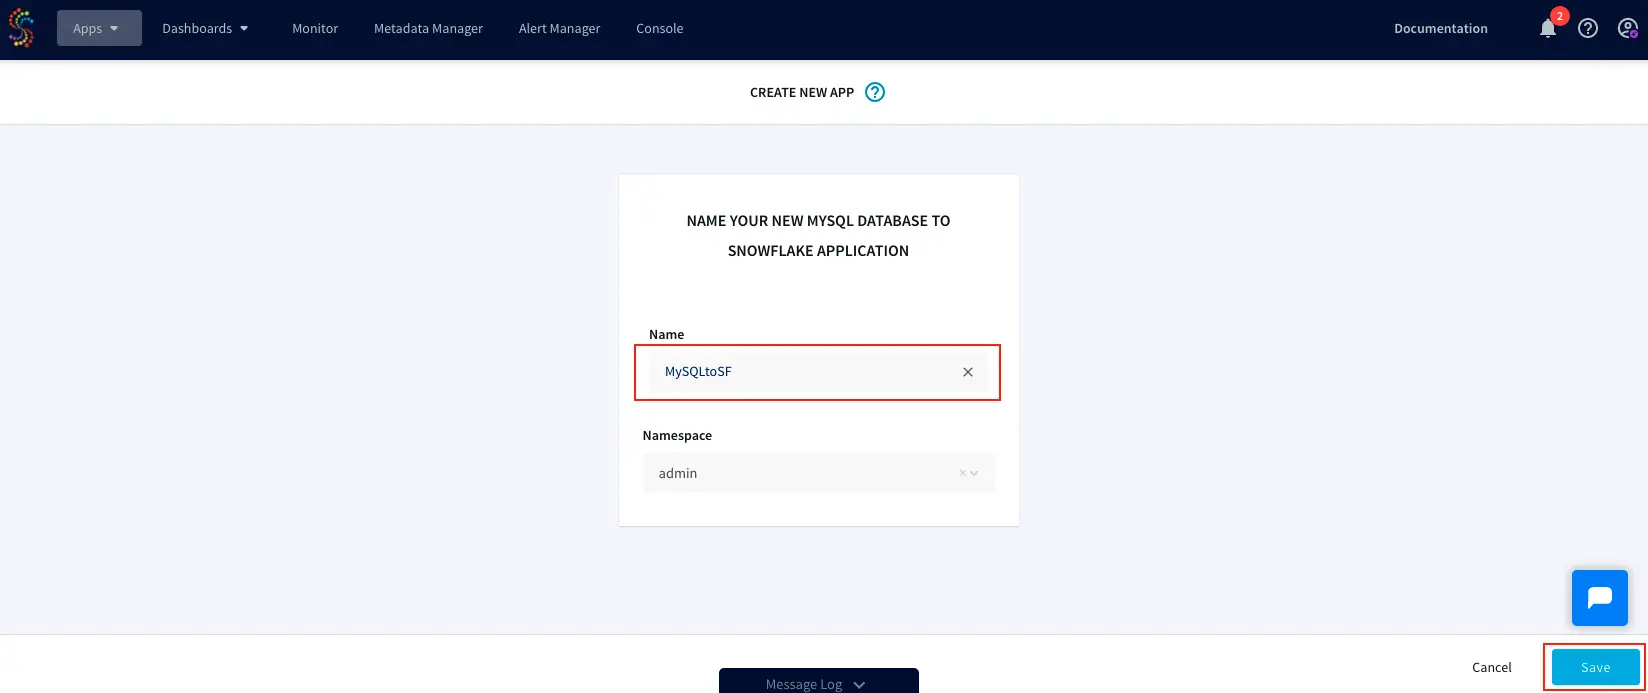
- Enter a unique name for your app and click Save:
- The data migration wizard is displayed:
Prepare for Data Migration to Snowflake
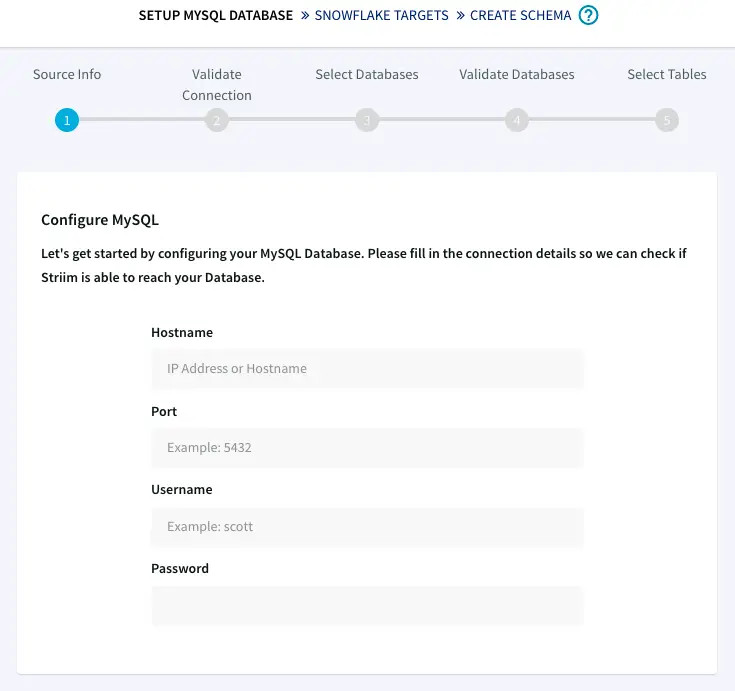
In this section you will configure your app to access your source MySQL database. As you proceed through Striim’s data migration wizard, Striim will validate that it can access and fetch the metadata and data of your source MySQL database.
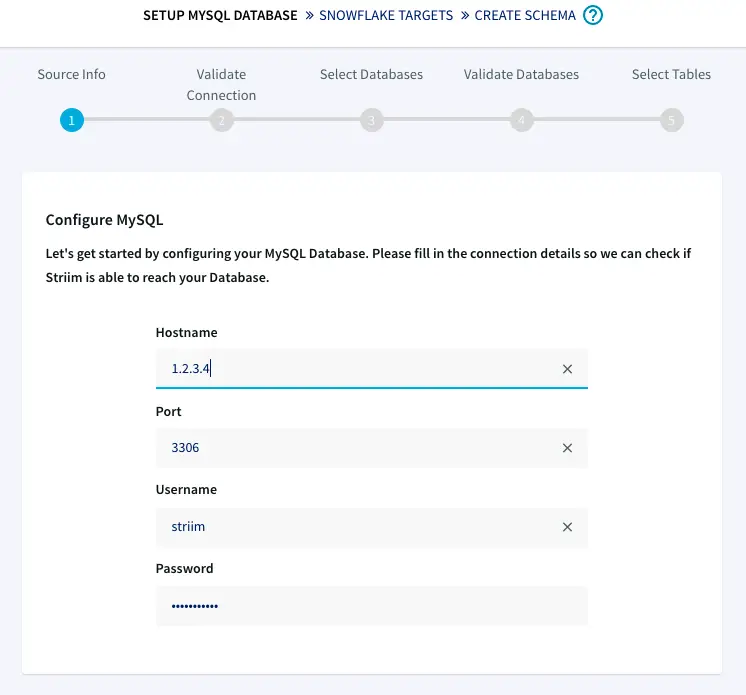
- Enter the host/port for your MySQL database and the login credentials for the Striim user who has been granted full privileges to your MySQL database:
- Striim will verify that it can connect to your database and obtain metadata:
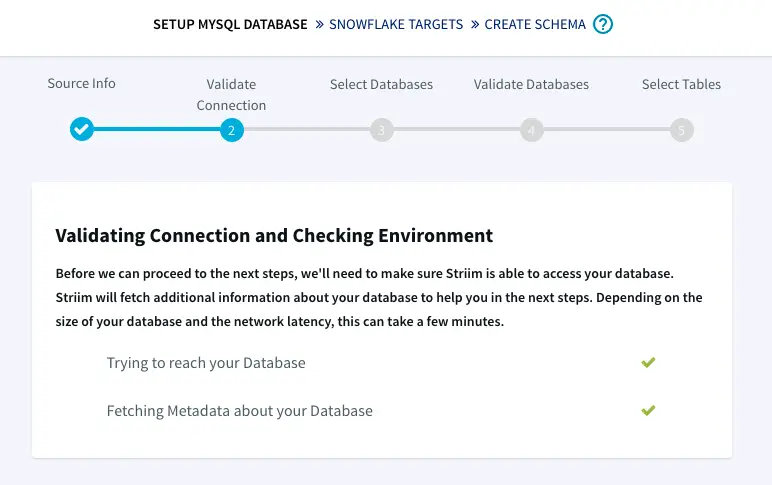
- Click Next to advance to the Select Databases to move screen.
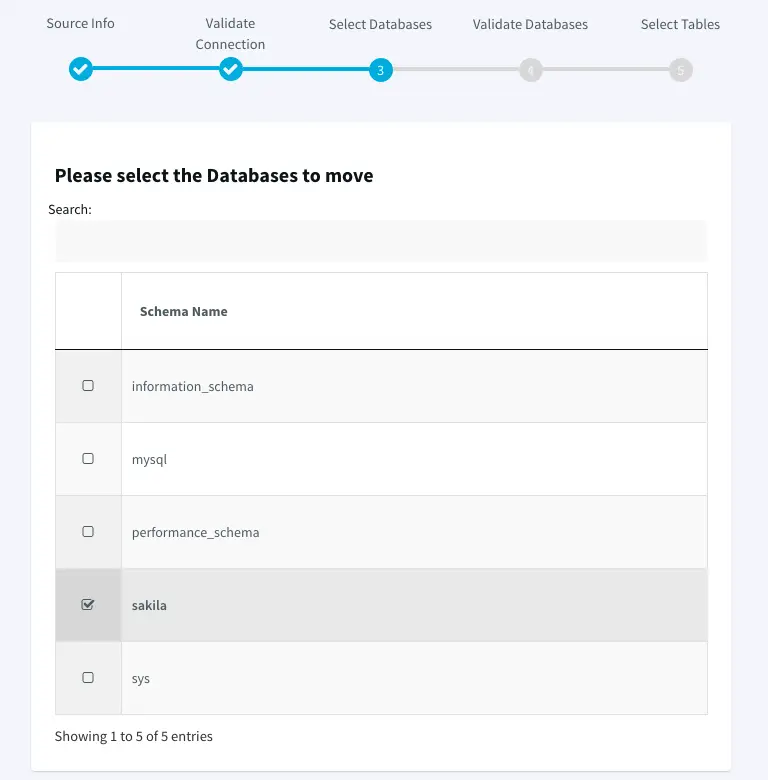
- Select the databases to migrate from your MySQL database to Snowflake and click Next:
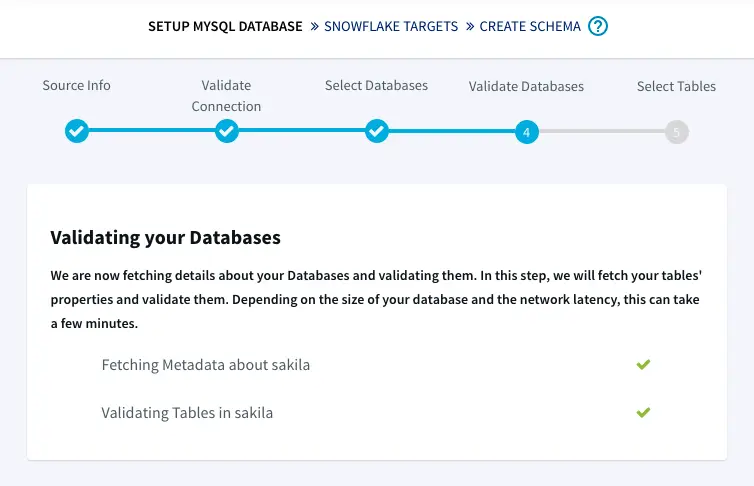
- Striim will fetch and validate metadata for each table in your database:
- Click Next to advance to the Select Tables screen. Navigate through each schema on the left-hand side, and select the table(s) to migrate:
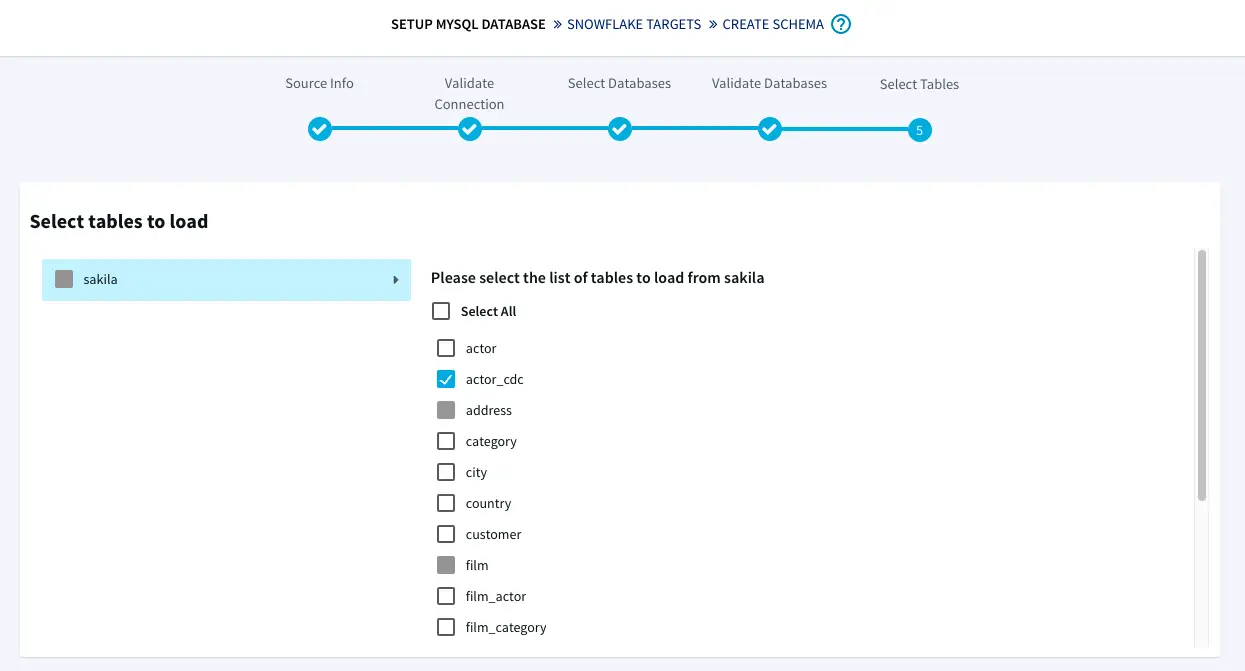
- Click Next to complete the wizard. The target creation screen is displayed:
Prepare Your Target and Migrate Your Data to Snowflake
Now that Striim can read from your source MySQL database, you must configure Striim to write to your target Snowflake database.
Follow the steps below to prepare a Snowflake target and start the migration process:
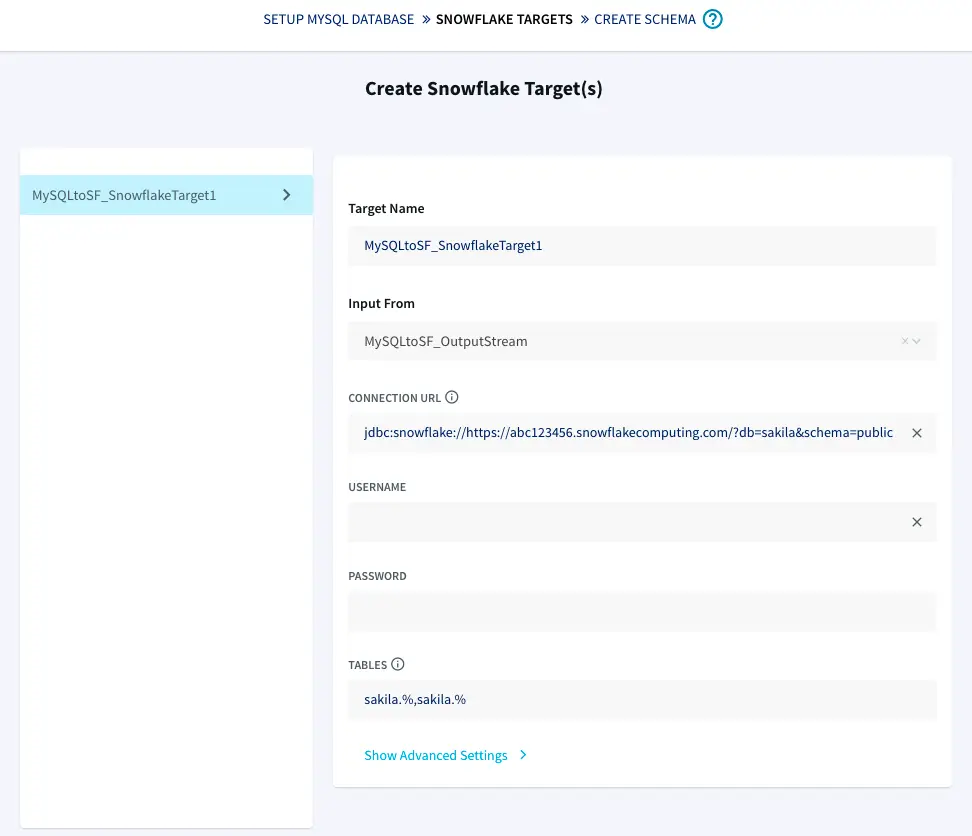
- Enter a unique name for the target in the Target Name field on the Create Snowflake Target(s) screen.
- Ensure Input From is set to the stream you created using the steps in the previous sections. Note that the name will be in the form of <your application name> + _OutputStream.
- Prepare the URL of the target Snowflake database: copy the following URL into the Connection URL field and replace YOUR_HOST with the base host domain assigned by Snowflake to your account, and YOUR_DATABASE with the name of your database:
jdbc:snowflake://YOUR_HOST.snowflakecomputing.com/?db=YOUR_DATABASE_NAME&schema=public
For example, the following URL has a base URL of xr86987.ca-central-1.aws and the database name set to SAKILA:
jdbc:snowflake://xr86987.ca-central-1.aws.snowflakecomputing.com/?db=SAKILA&schema=public
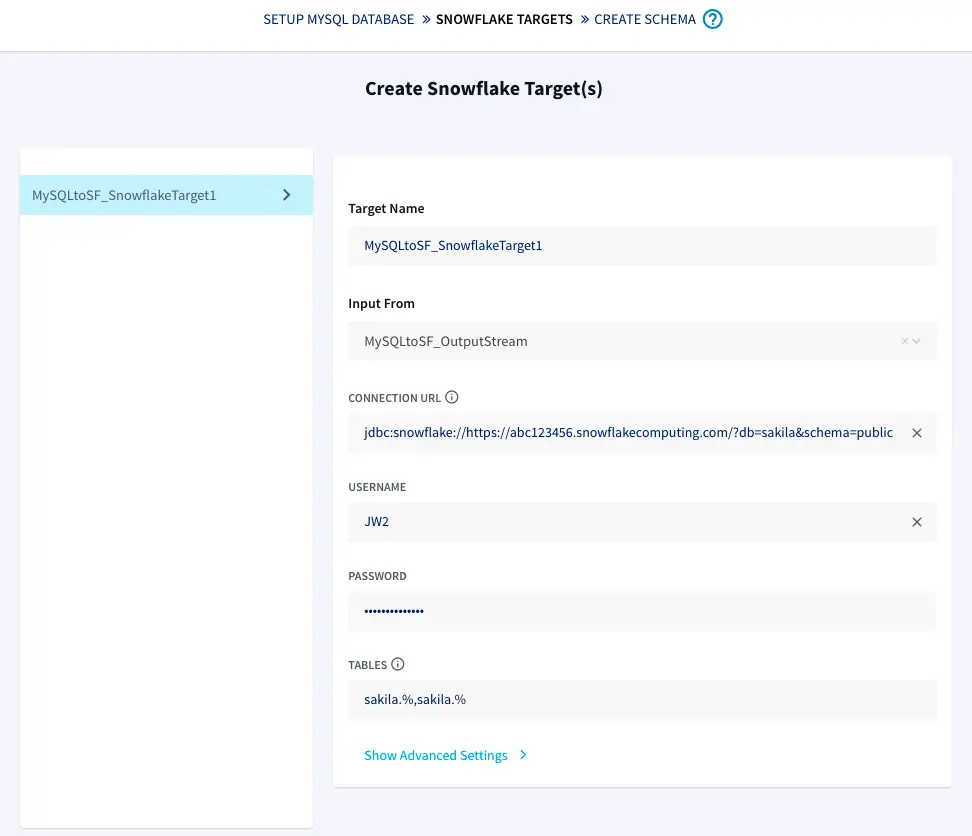
- Enter your credentials corresponding to your Snowflake account into the Username and Password fields.
- (Optional) Modify which tables to migrate by configuring the table name(s) listed in the Tables field. By default, the tables listed will be based on those specified in the steps from the previous section and include the % as a wildcard character:
Click Next. Striim will recreate the schema(s) in your Snowflake database:
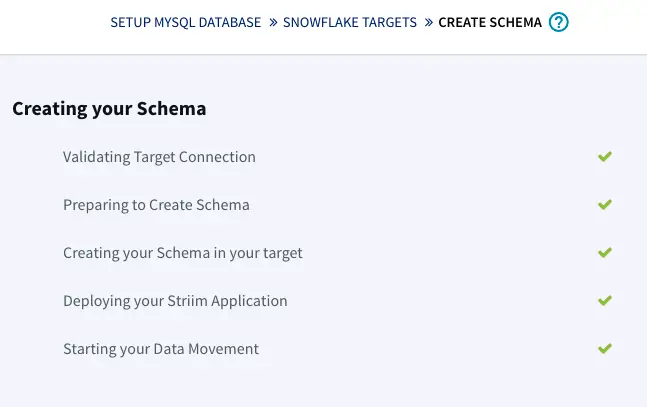
Click Next after target creation is complete. Striim will begin migrating your data to Snowflake and will provide a detailed Application Progress popup showing how the migration is progressing:
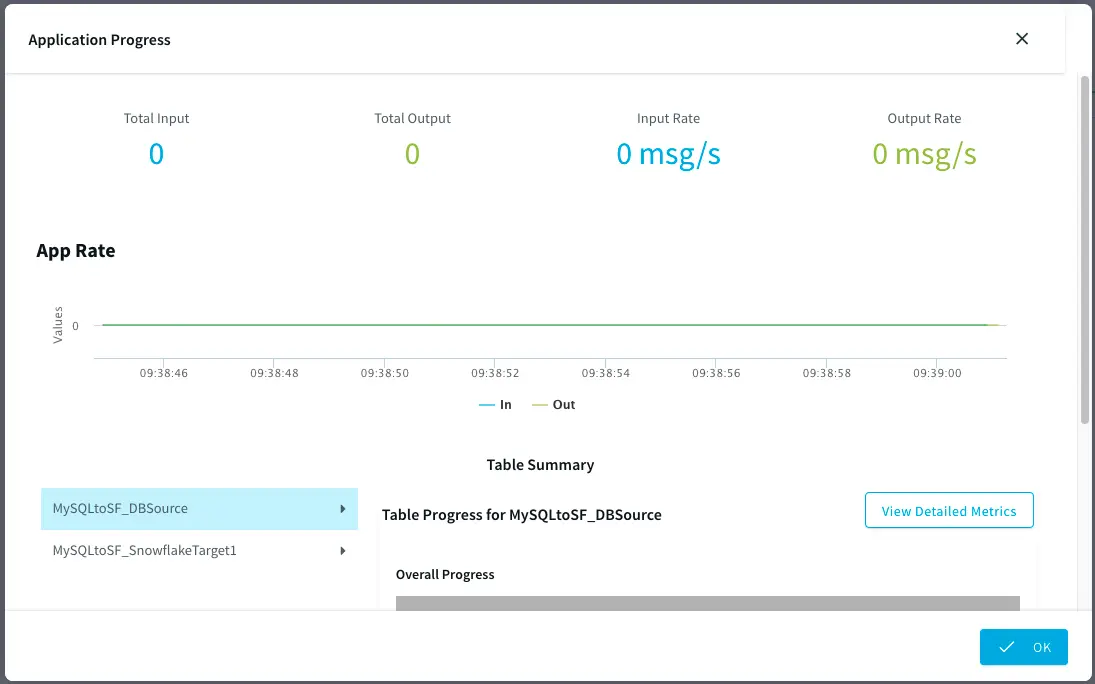
The amount of time required for migration will vary depending on how much data is being migrated from your source MySQL database and on your internet connection speed.
Conclusion: Start Your Free Trial
Our tutorial showed you how easy it is to migrate data from MySQL to Snowflake, a leading cloud data warehouse. Once your data has been migrated, Striim enables continuous, real-time updates via Change Data Capture. For instances where changes continue to be made to the data in your source database, Striim enables zero-downtime, zero-data loss migrations to Snowflake.
As always, feel free to reach out to our integration experts to schedule a demo, or try Striim for free here.