


Introduction
The transfer of data from Atlassian Jira to Google BigQuery facilitates the scalable analysis of engineering metrics, encompassing cycle time, throughput, and issue trends. This enables forecasting and planning through the utilization of historical data for predictive insights. Moreover, with the application of BigQuery ML or external AI tools, teams can leverage machine learning to forecast delivery delays, identify anomalies, or prioritize issues based on historical patterns. Furthermore, the integration with platforms such as GitHub or Zendesk allows for a comprehensive analysis of cross-functional impacts.
This recipe shows how you can build a data pipeline to read data from Atlassian Jira and write to Google BigQuery. Striim’s Jira Reader will first read the existing tables from the configured Jira dataset and then write them to the target BigQuery project using the BigQuery Writer, a process called “initial load” in Striim and “historical sync” or “initial snapshot” by others. After completing the initial load, the Jira Reader will automatically transition to continuously reading updates from the configured Jira datasets, and then writing these source updates to the target BigQuery project using the BigQuery Writer. You can use the recipe to write into any of Striim supported targets.
Benefits
- Striim’s JIRA Reader improves your ability to manage large-scale data with high throughput and low latency.
- Real-time data flow ensures that you can process and analyze information as it comes in, offering immediate insights for decision-making.
Step – 1 – Prep Work
Setting up Jira as source
You can connect to your Jira source by authenticating using API token or setting up an Atlassian client app for manual OAuth. For this recipe, we will be using the API token for authentication.
- You will need an API token for authentication for setting up the connection to Jira, the list of steps are:
-
- Log in to your Atlassian account.
- Navigate to the Security tab.
- Click on Create API token.
- Provide a label for the token.
- Click Create.
- Copy the generated API token to clipboard.
- Store the API token securely.
- Follow the steps in this link to setup an Atlassian client app for manual OAuth. Configure the Striim Jira Reader with the JSON access token when the OAuth authentication method is in use.
Setting up BigQuery as Target
- Create an account in BigQuery where you can access the transferred data.
- You will require a service account to be created. Service account needs to be created with the following permissions: https://www.striim.com/docs/en/bigquery-writer-initial-setup.html#create-a-service-account-with-the-necessary-bigquery-permissions
Striim setup details
- Get started on your journey with Striim by signing up for free on Striim’s Developer Edition.
Step – 2 – Create Striim Application
In Striim, App (application) is the component that holds the details of the data pipeline – source & target details, other logical components organized into one or more flows.
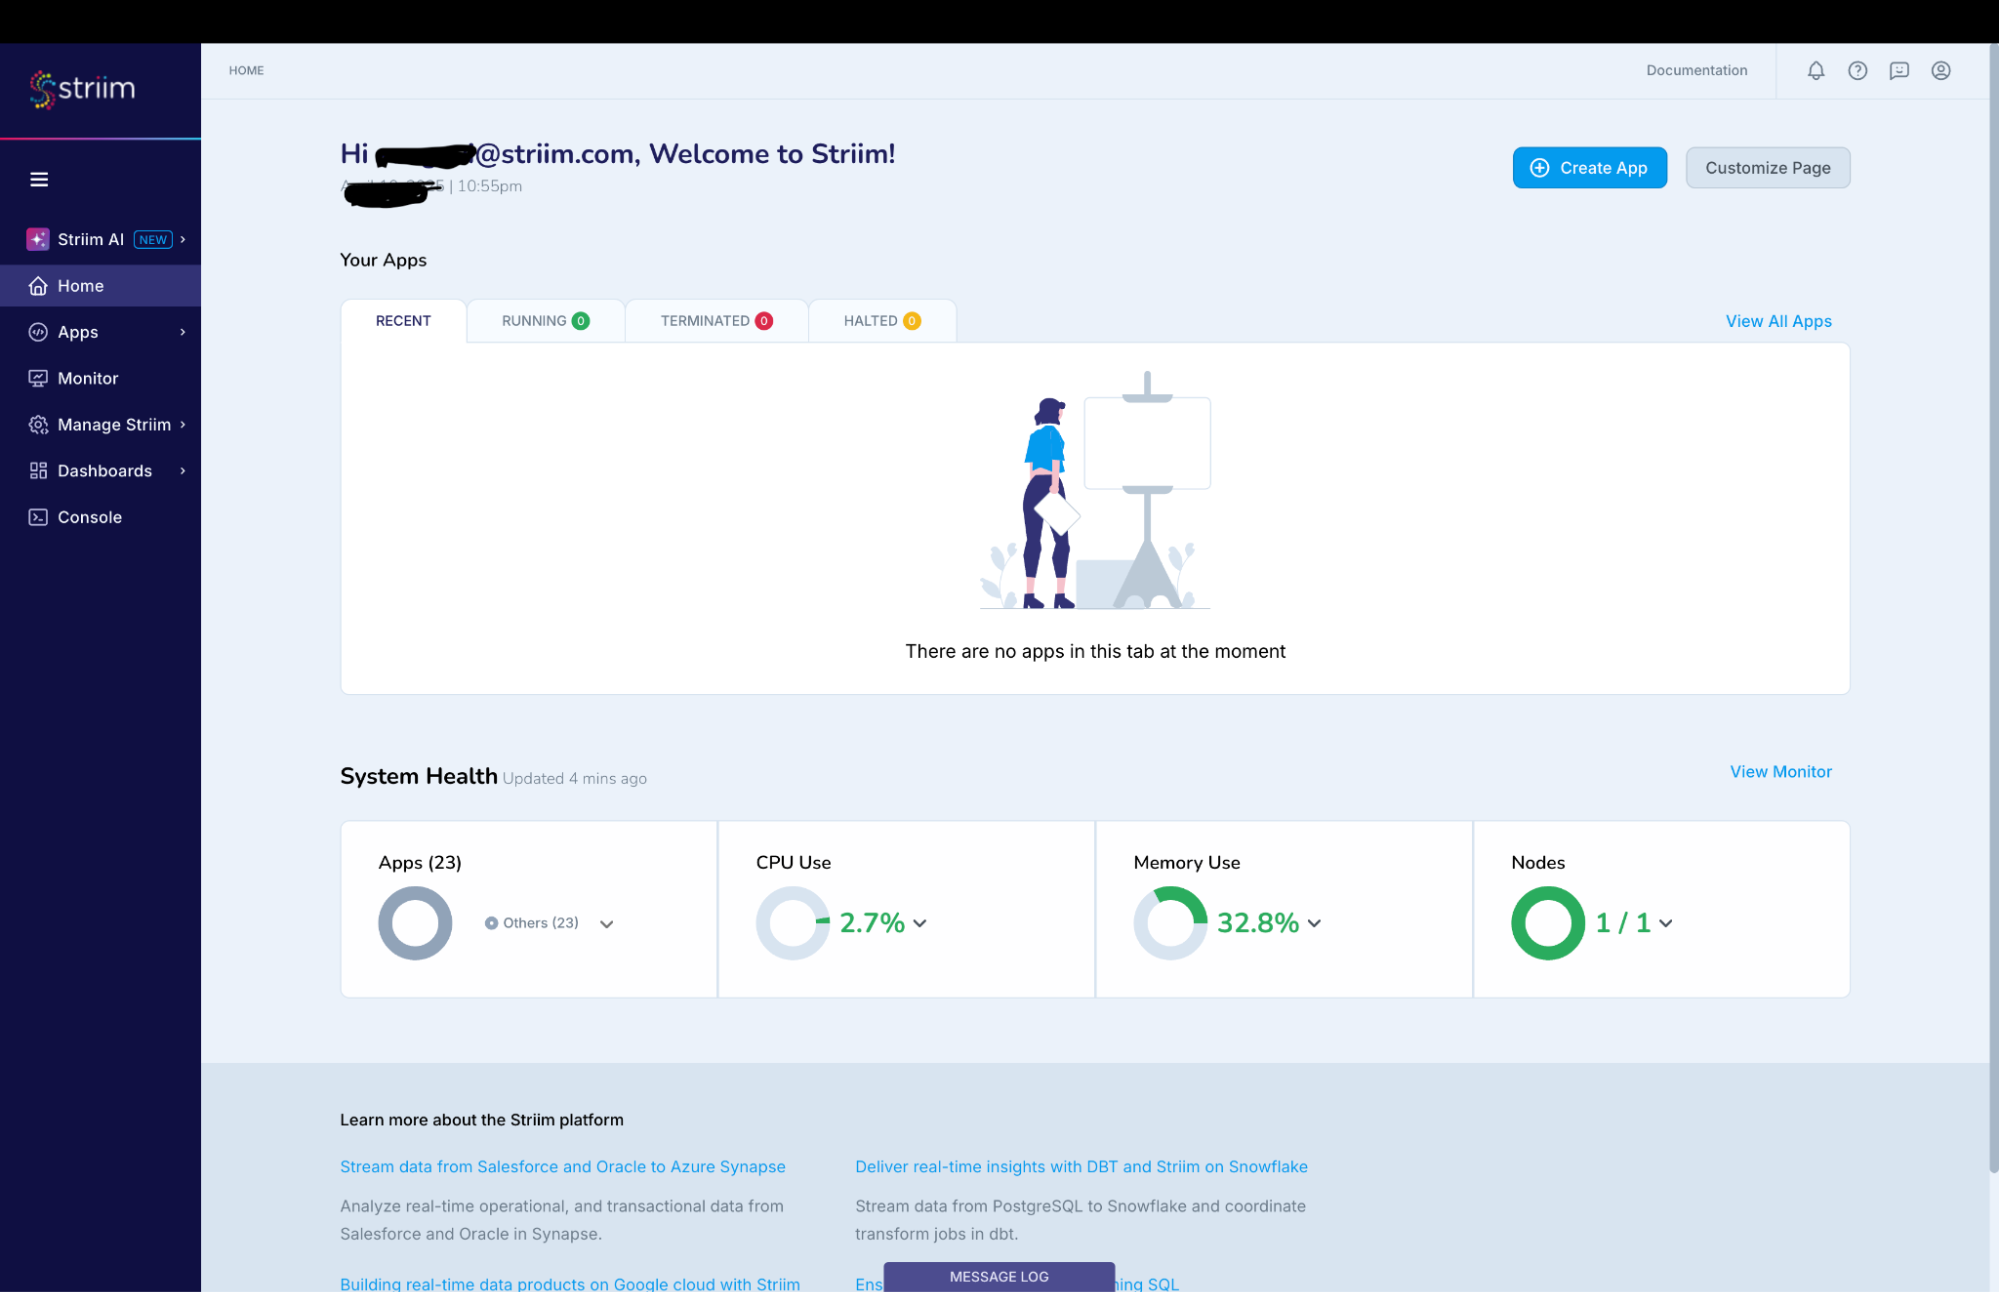
Below steps will help you create an application (refer – Screenshot-1):
- Click on Apps (left-hand panel) to create your application.
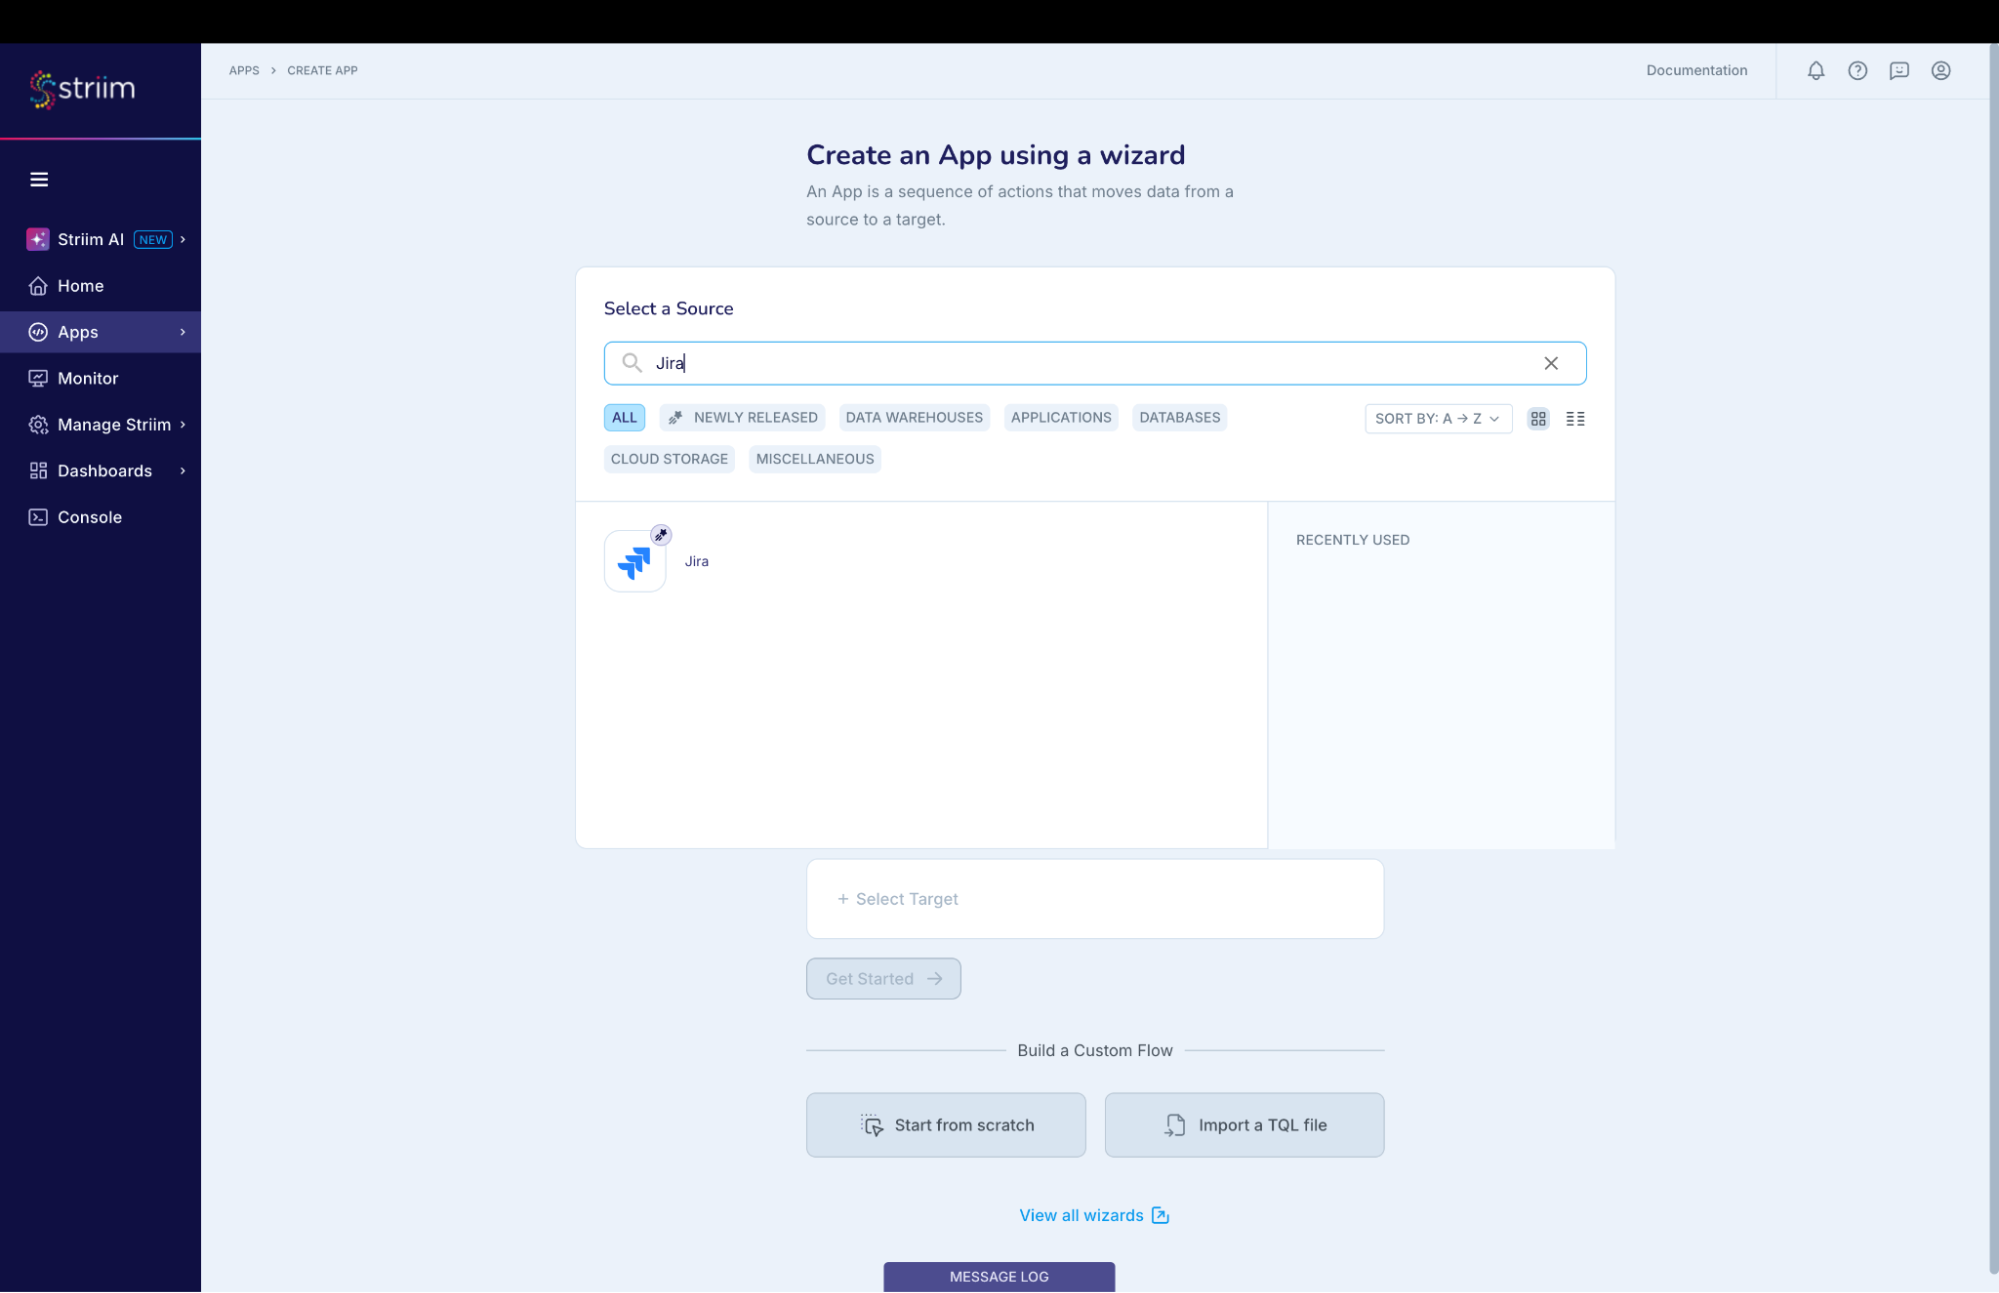
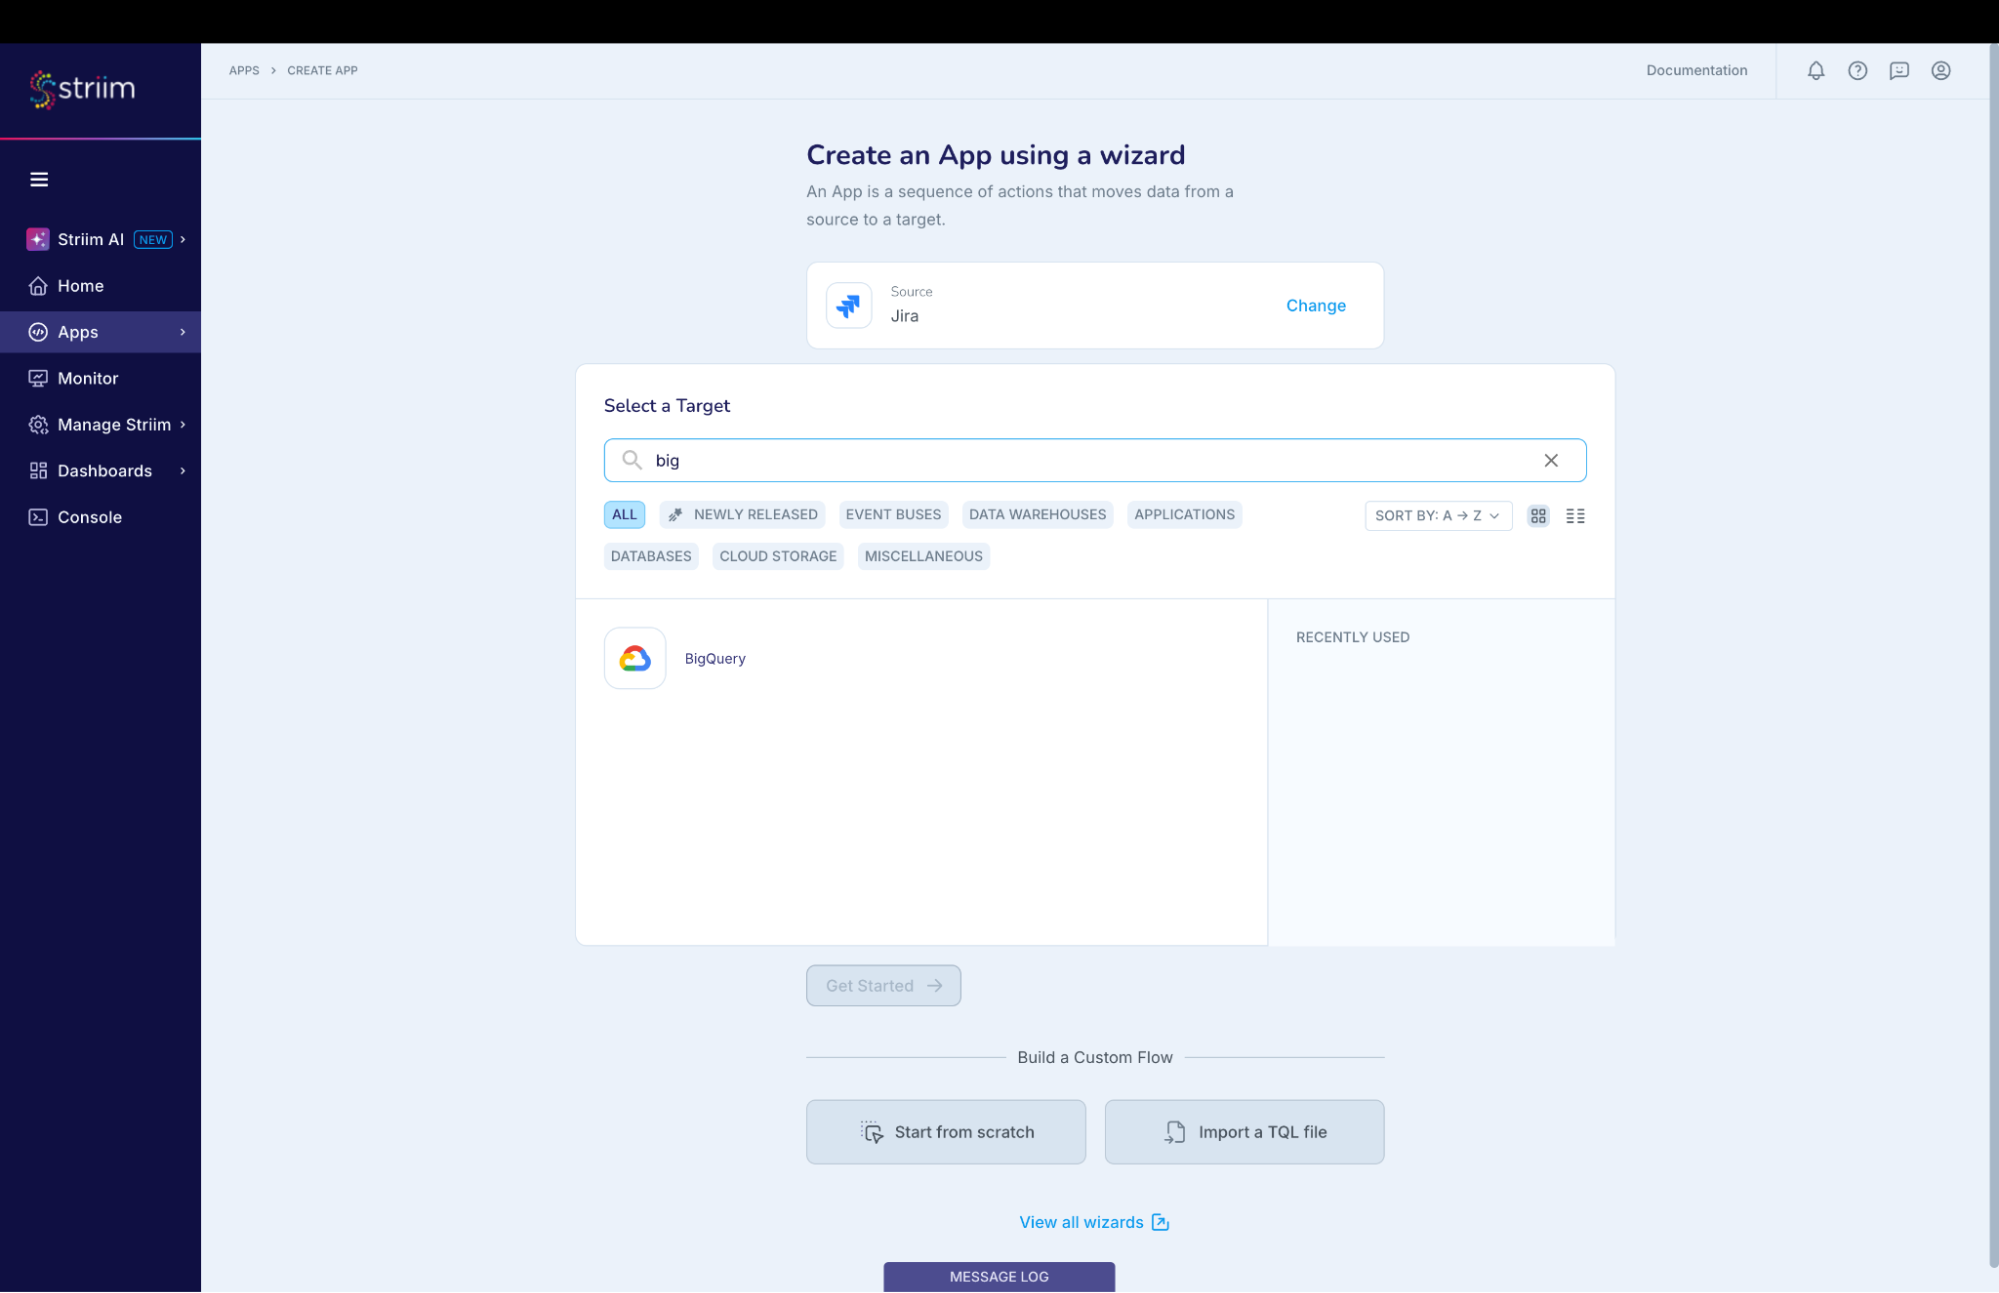
- Enter Source:Jira Target:BigQuery (as shown in the screenshots-1,2,3 below)
- Click on the “Get Started” button.
(Screenshot- 1 – App selection based on source & target)
(Screenshot- 2 – Select the Jira Reader )
(Screenshot- 3 – Target selected is BigQuery )
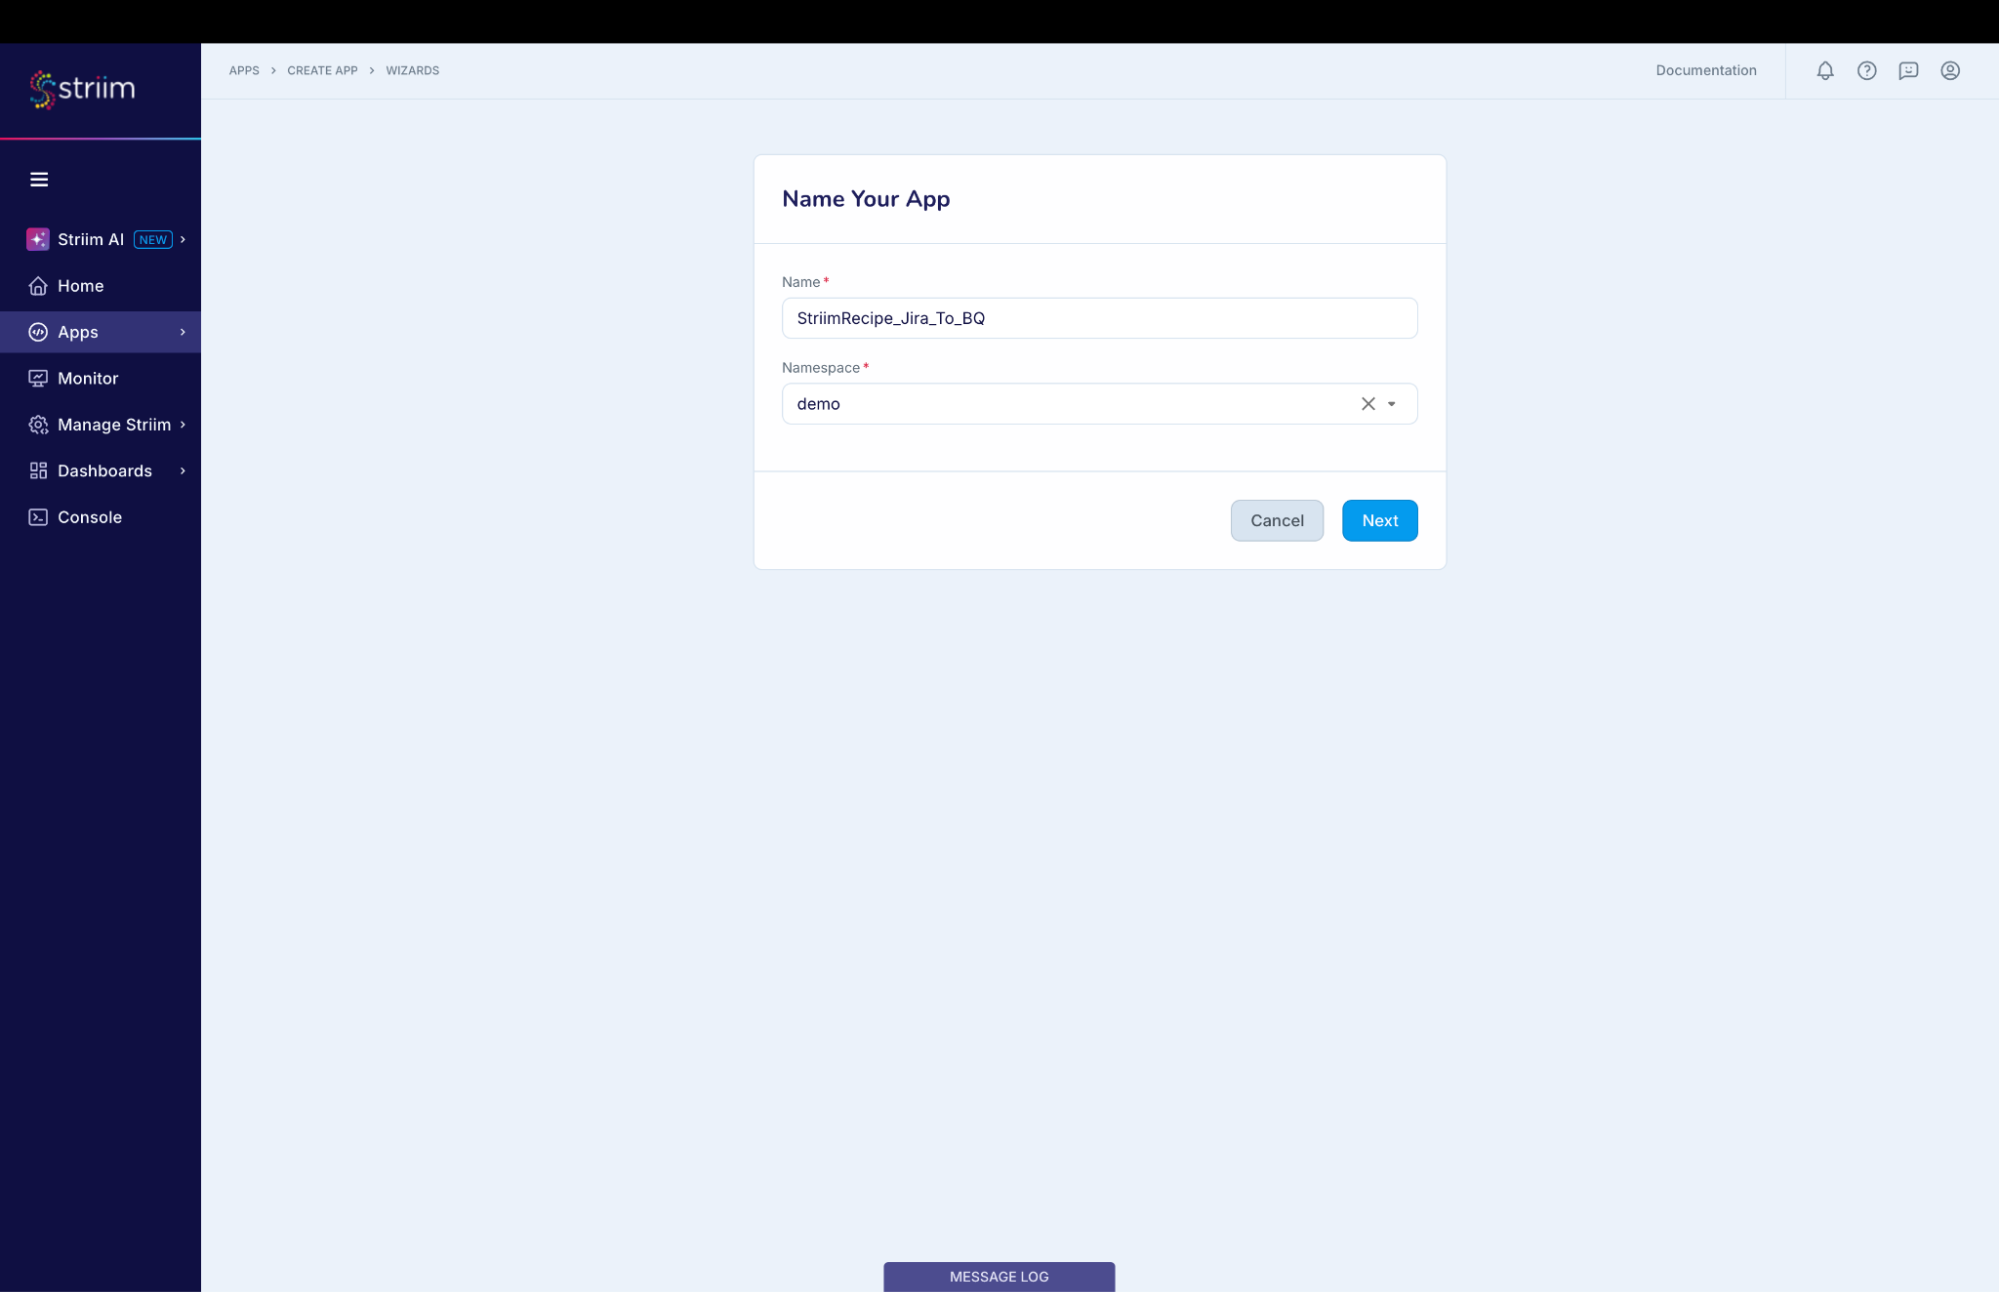
- Provide a name for your application.
- Select a namespace.
- Click the “Next” button.
(Screenshot- 4 – Striim App Creation)
Step – 3 – Configuring Jira as Source
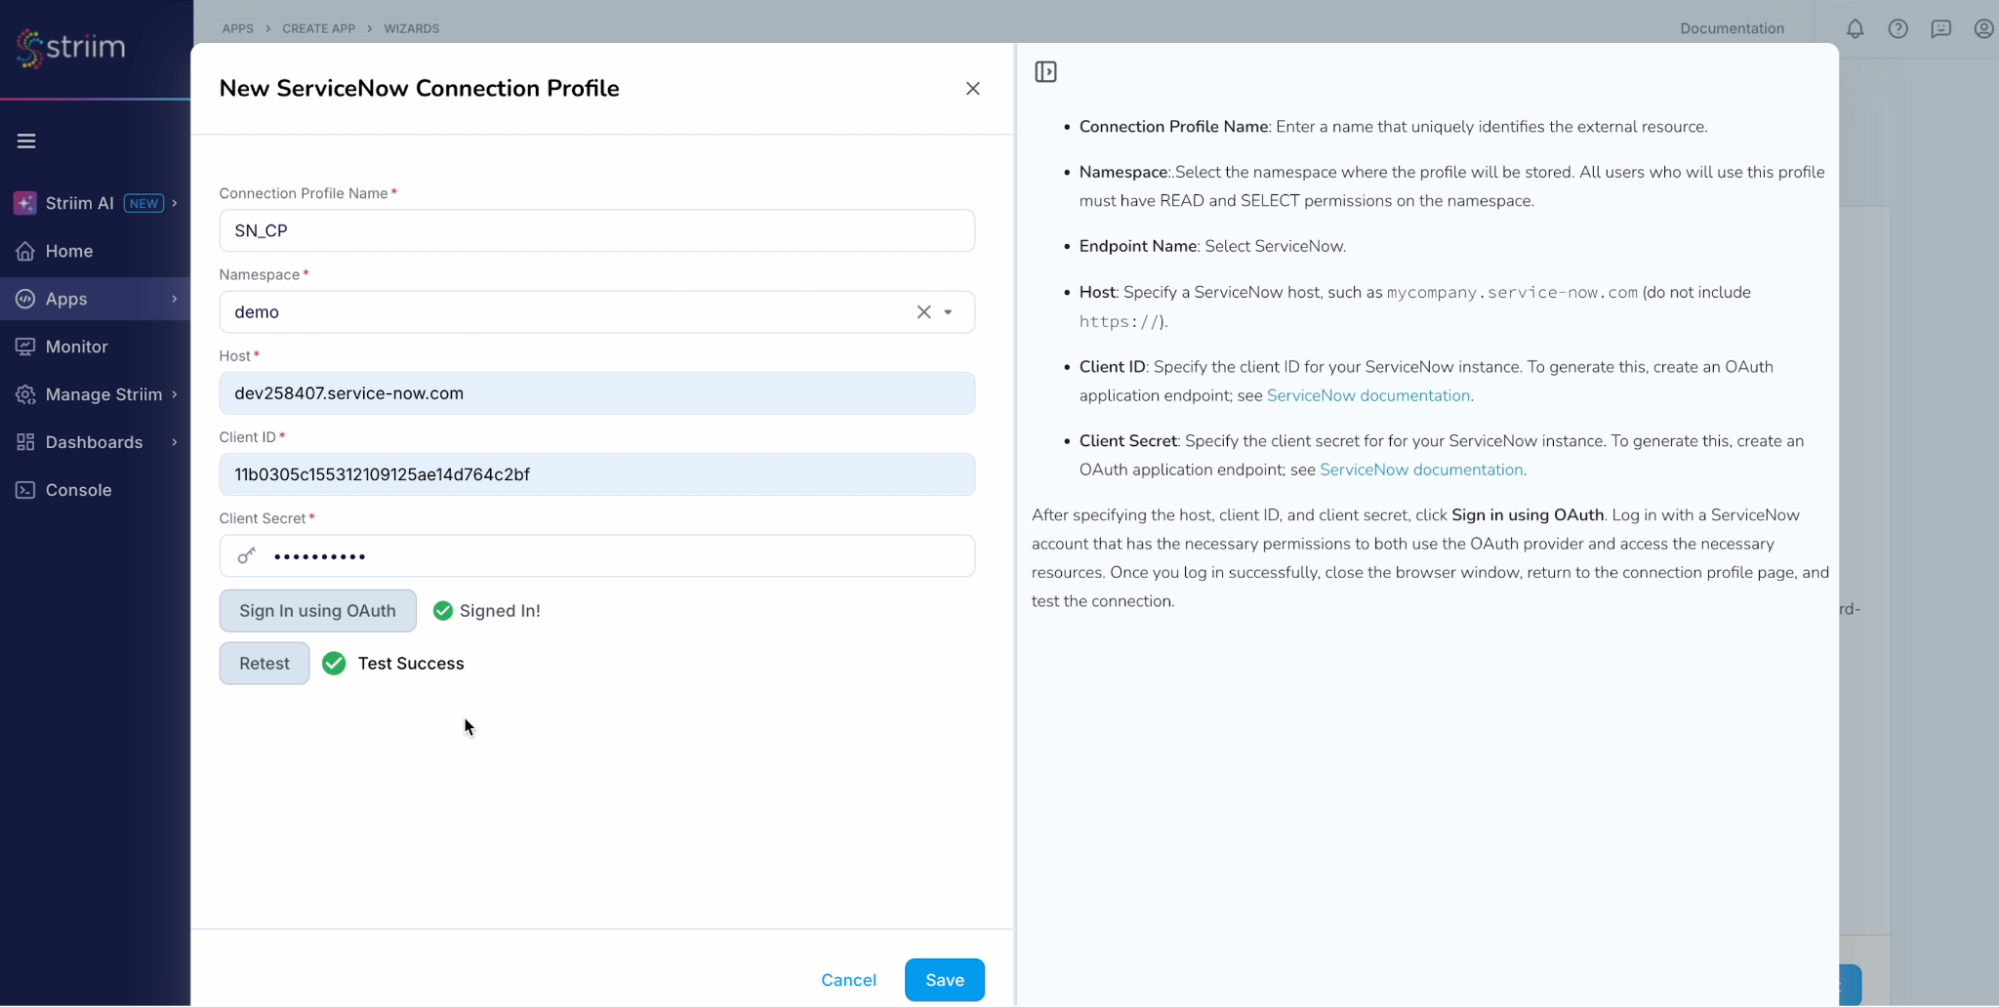
Before we jump into the connection to the source, lets understand Connection Profile and Target schema creation that are required for our pipeline creation.
- Connection Profile – Connection profile allows you to specify the properties required to connect to an external data source once and use that set of properties in multiple sources and/or targets in multiple applications. The authentication type supported by Connection profiles is manual OAuth for Jira and ServiceAccount for Google BigQuery.
- Target Schema creation – Keep this enabled to experience the power of Striim where all the required schemas and tables are created for you by Striim (if they don’t exist already). Note – Permissions are the only key requirement that you need to make sure of. For this recipe you will need to provide the service account key which is also mentioned in the next step.
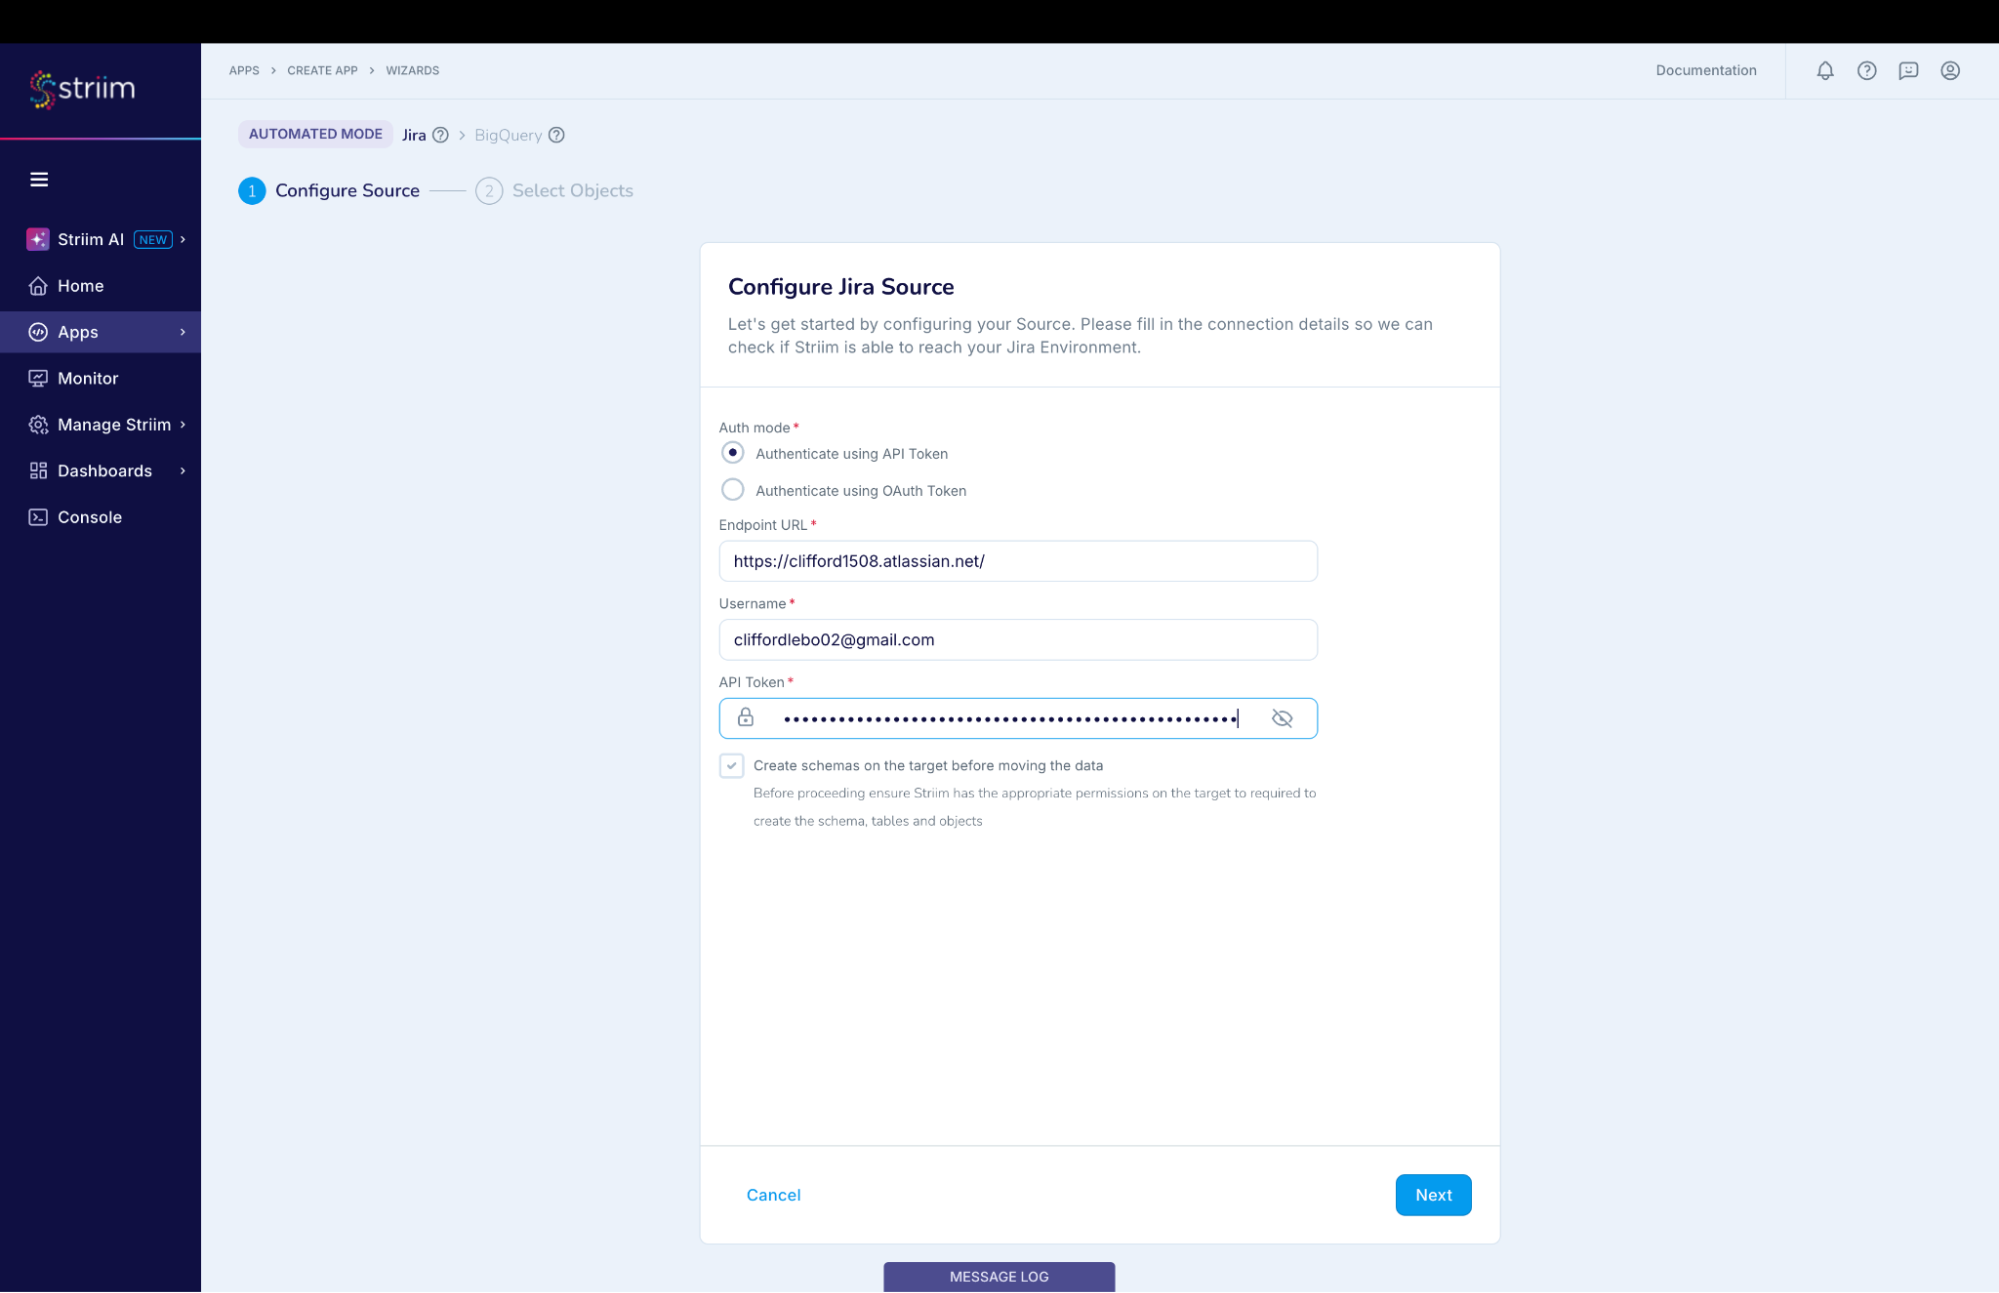
In the “Configure Jira source” dialog (Screenshot-5):
- Select “Authenticate using API Key”. (You can use OAuth if you have setup the client app in Jira, as mentioned in Prep work section)
- Enter the “Endpoint URL”
- Provide the “Username”
- Paste the API token that was generated in Prep section (Point-6)
(Screenshot- 5 – Configure Jira Source)
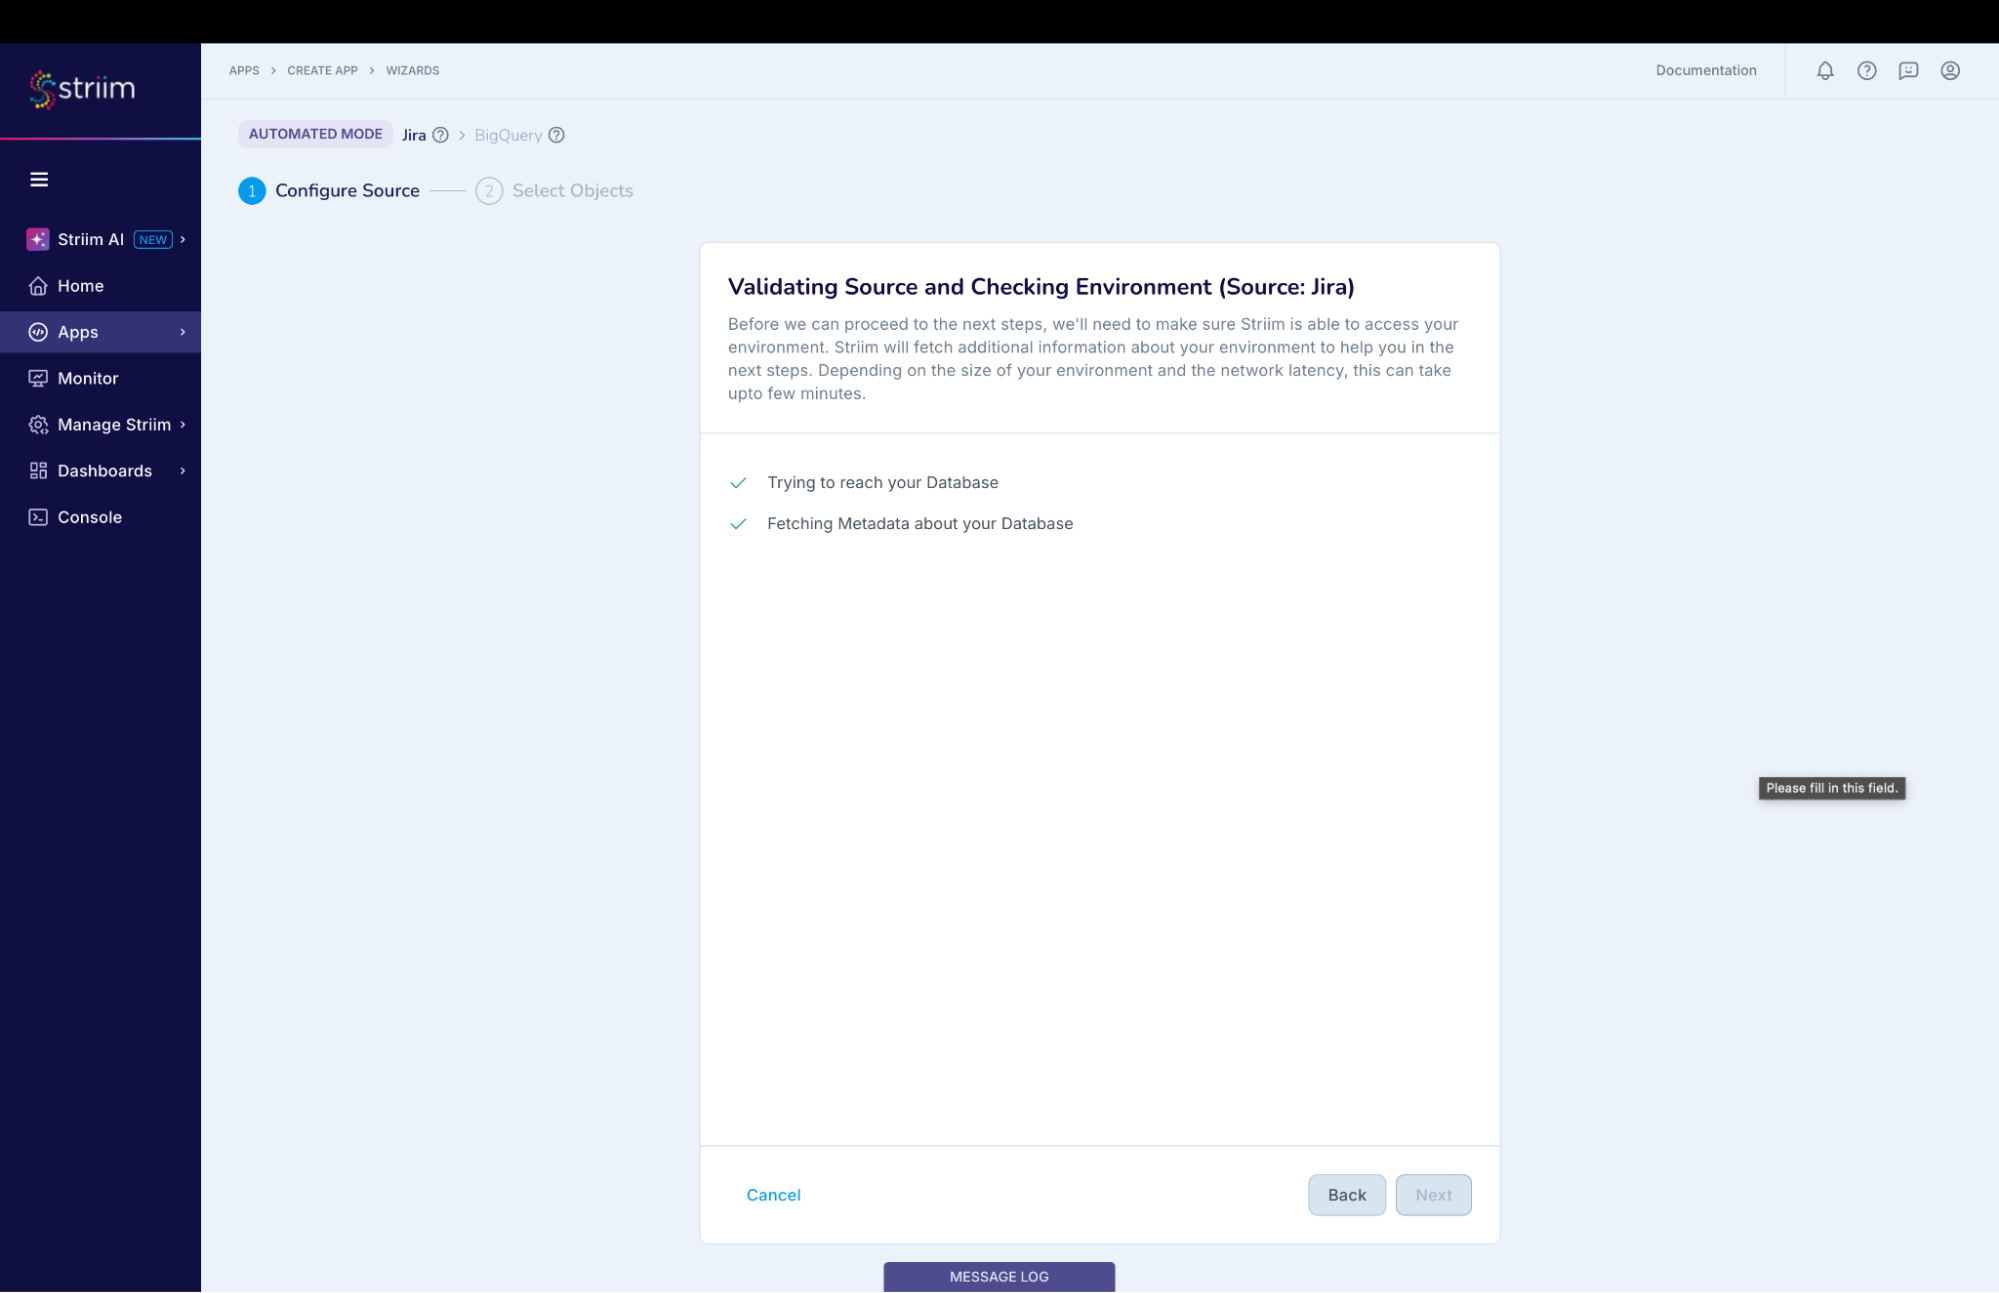
Striim will check on the source and environment access and then enable the “Next” button. (Screenshot-6)
(Screenshot- 6 – Validating Source and Checking Environment)
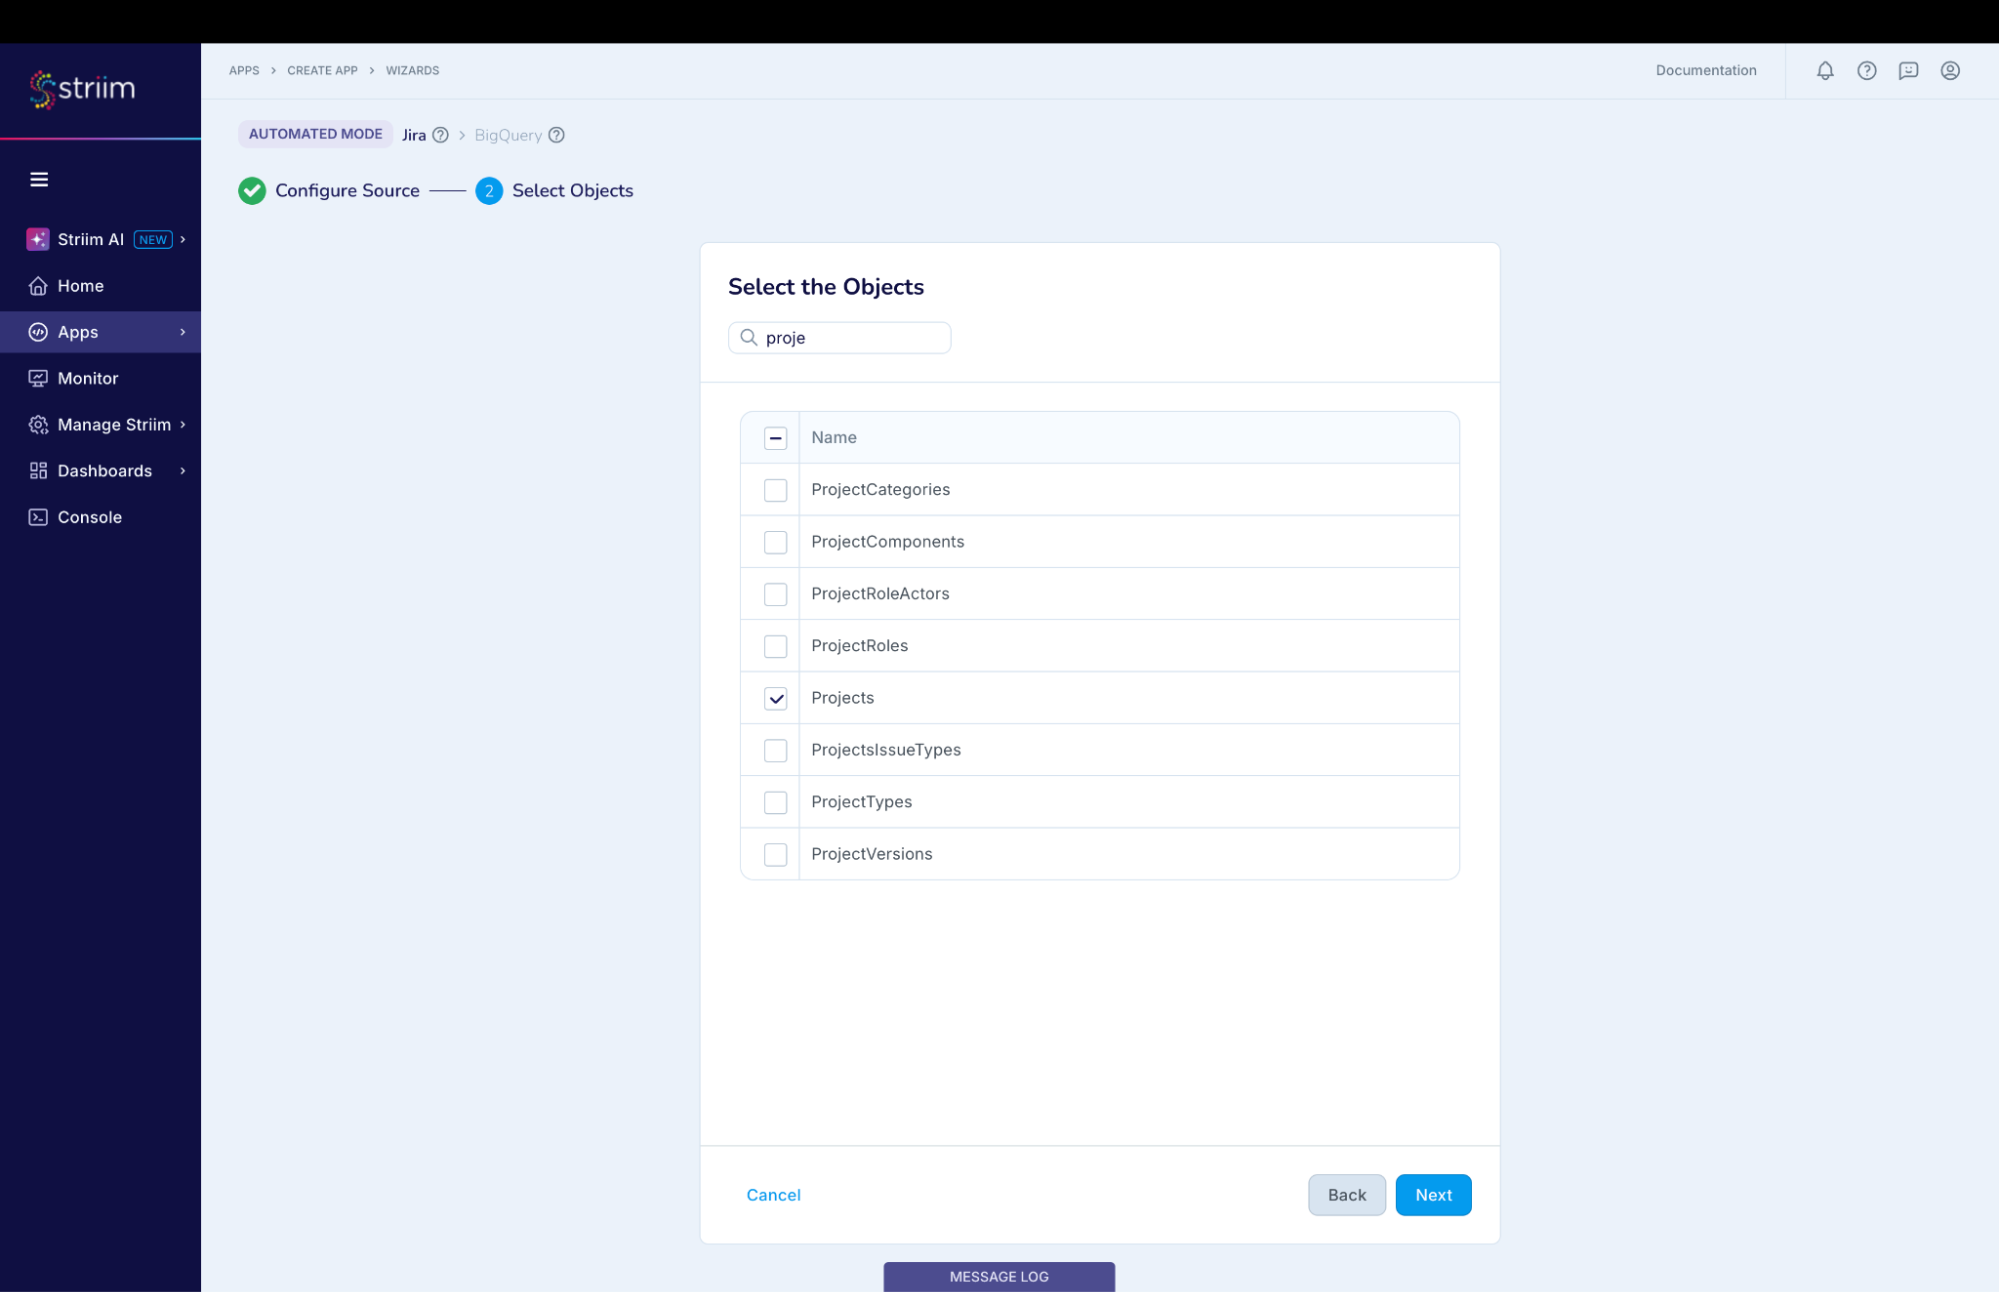
In the next screen, select the Jira object(s) that you want to move into BigQuery and click “Next”. (Screenshot-7)
(Screenshot- 7 – Source Object selection)
Step – 4 – Configuring BigQuery as Target
- Choose the service account key.
- The “Project ID” will get auto-populated from the service account key. (Screenshot-8, 9)
(Screenshot- 8 – Configure BigQuery as Target)
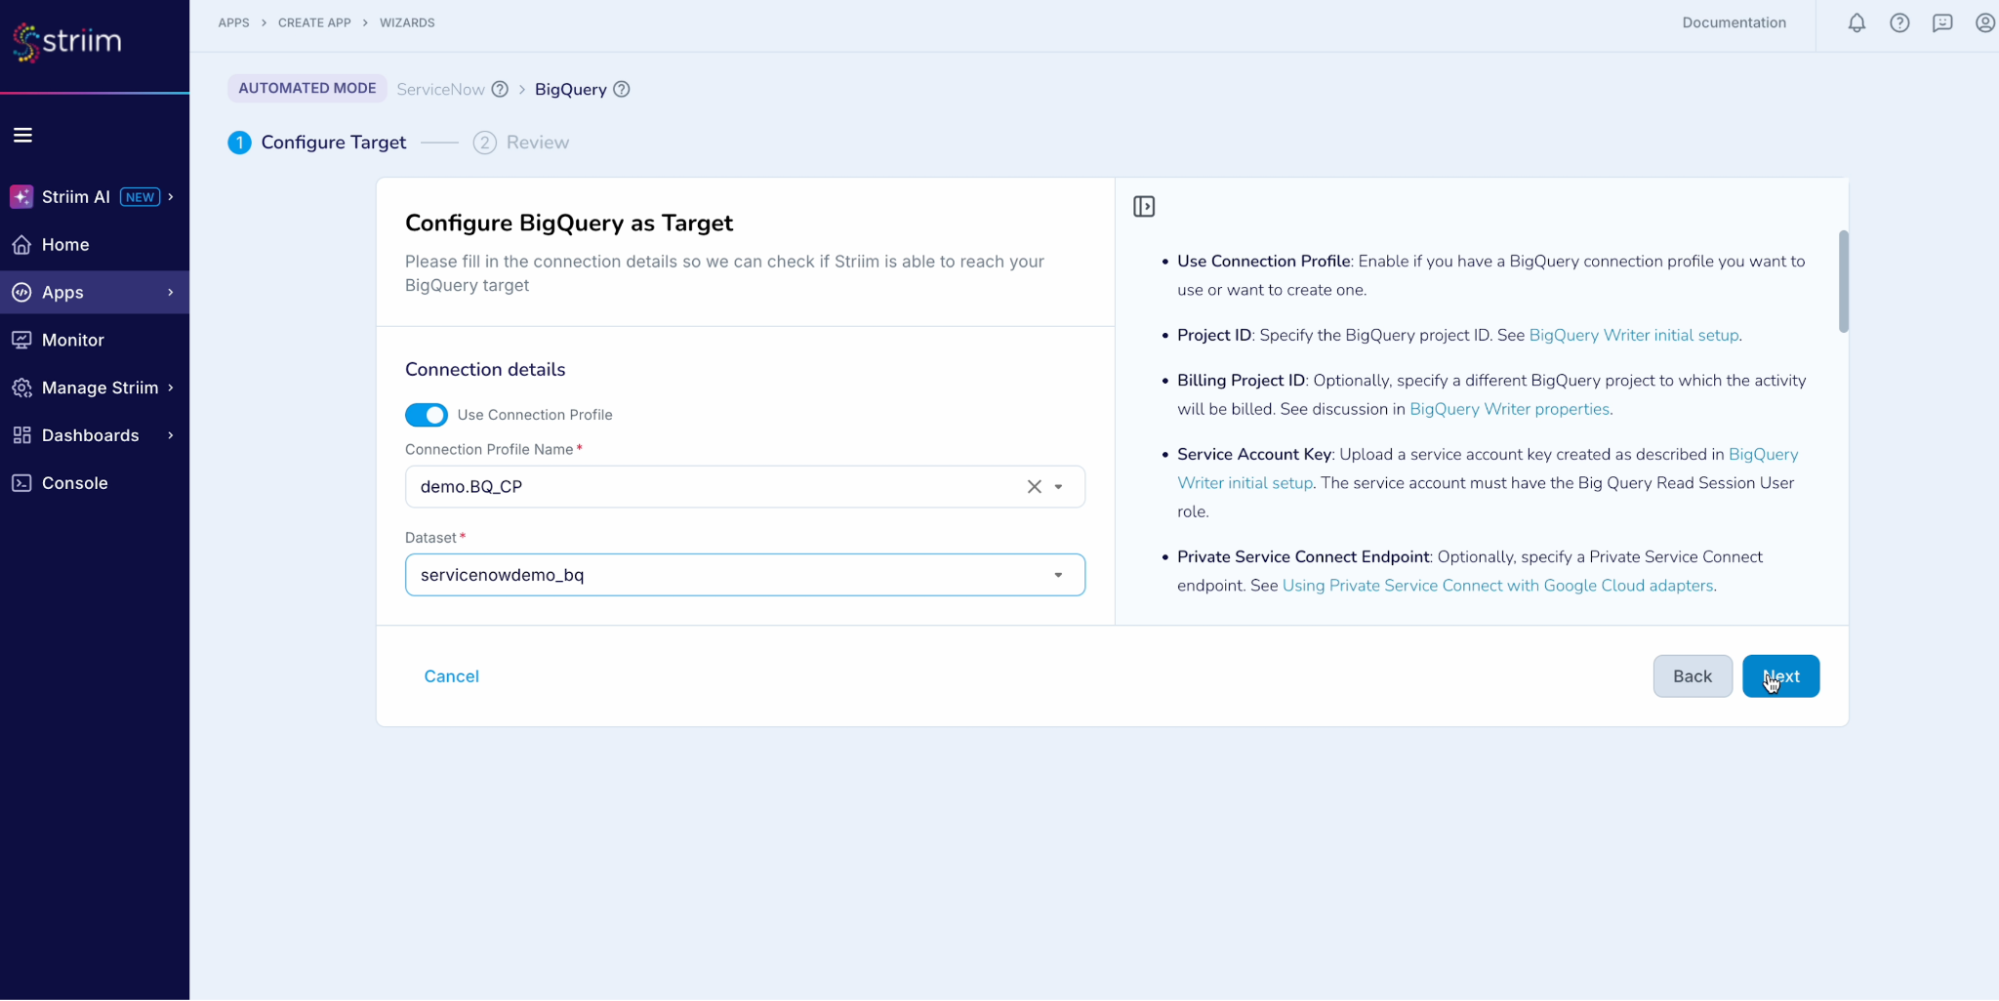
(Screenshot-9 – BigQuery target credential upload)
- Either select an existing data set or create a new one. For this recipe we have created a new data set.
- Click on the “Next” button.
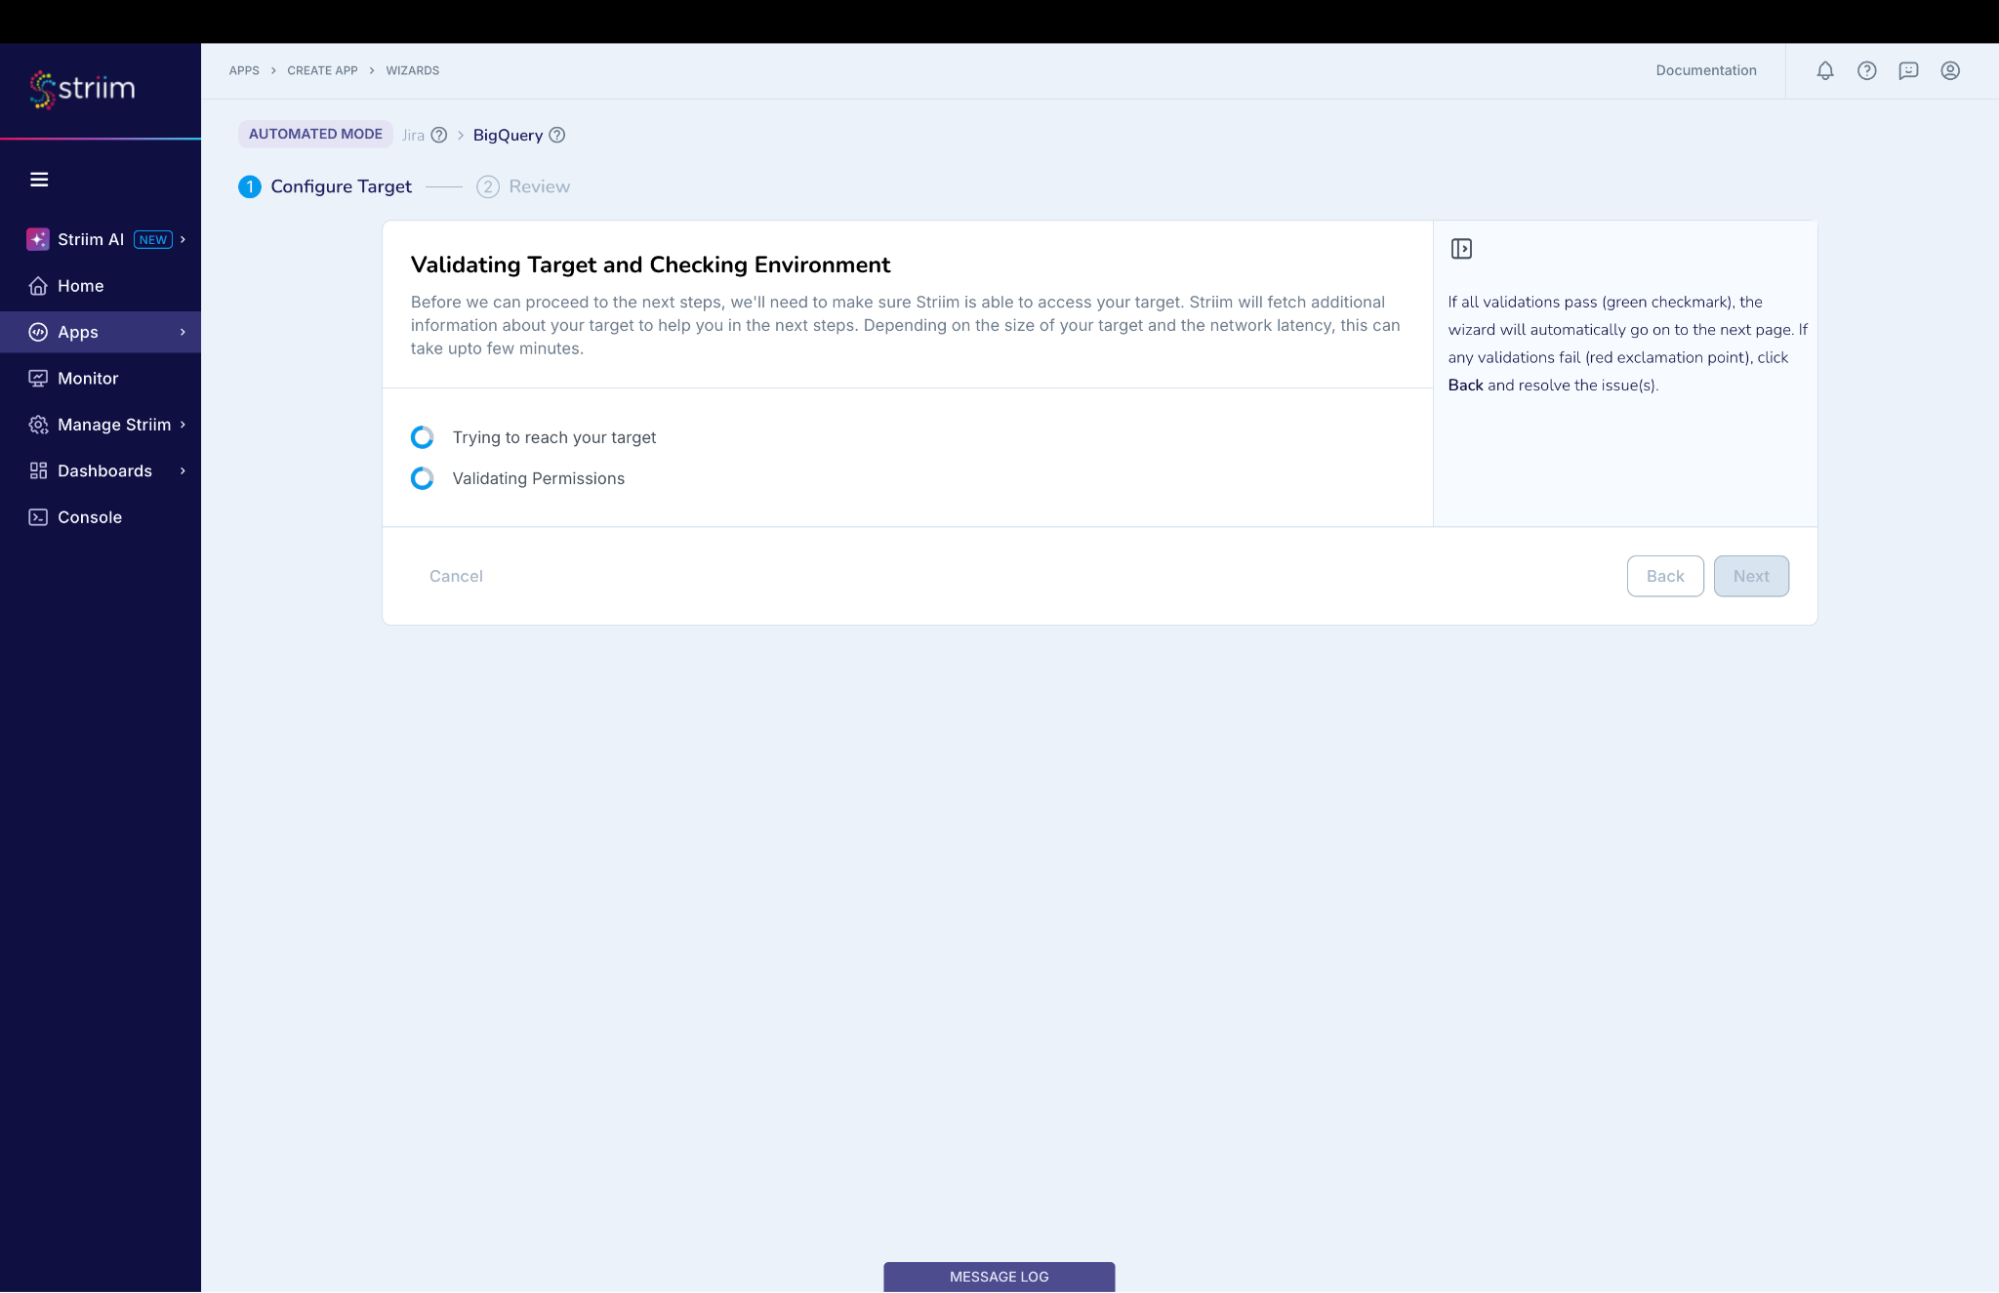
- Striim will validate the target connectivity and enable the “Next” button. (Screenshot-10)
(Screenshot- 10 – Target checks and validation)
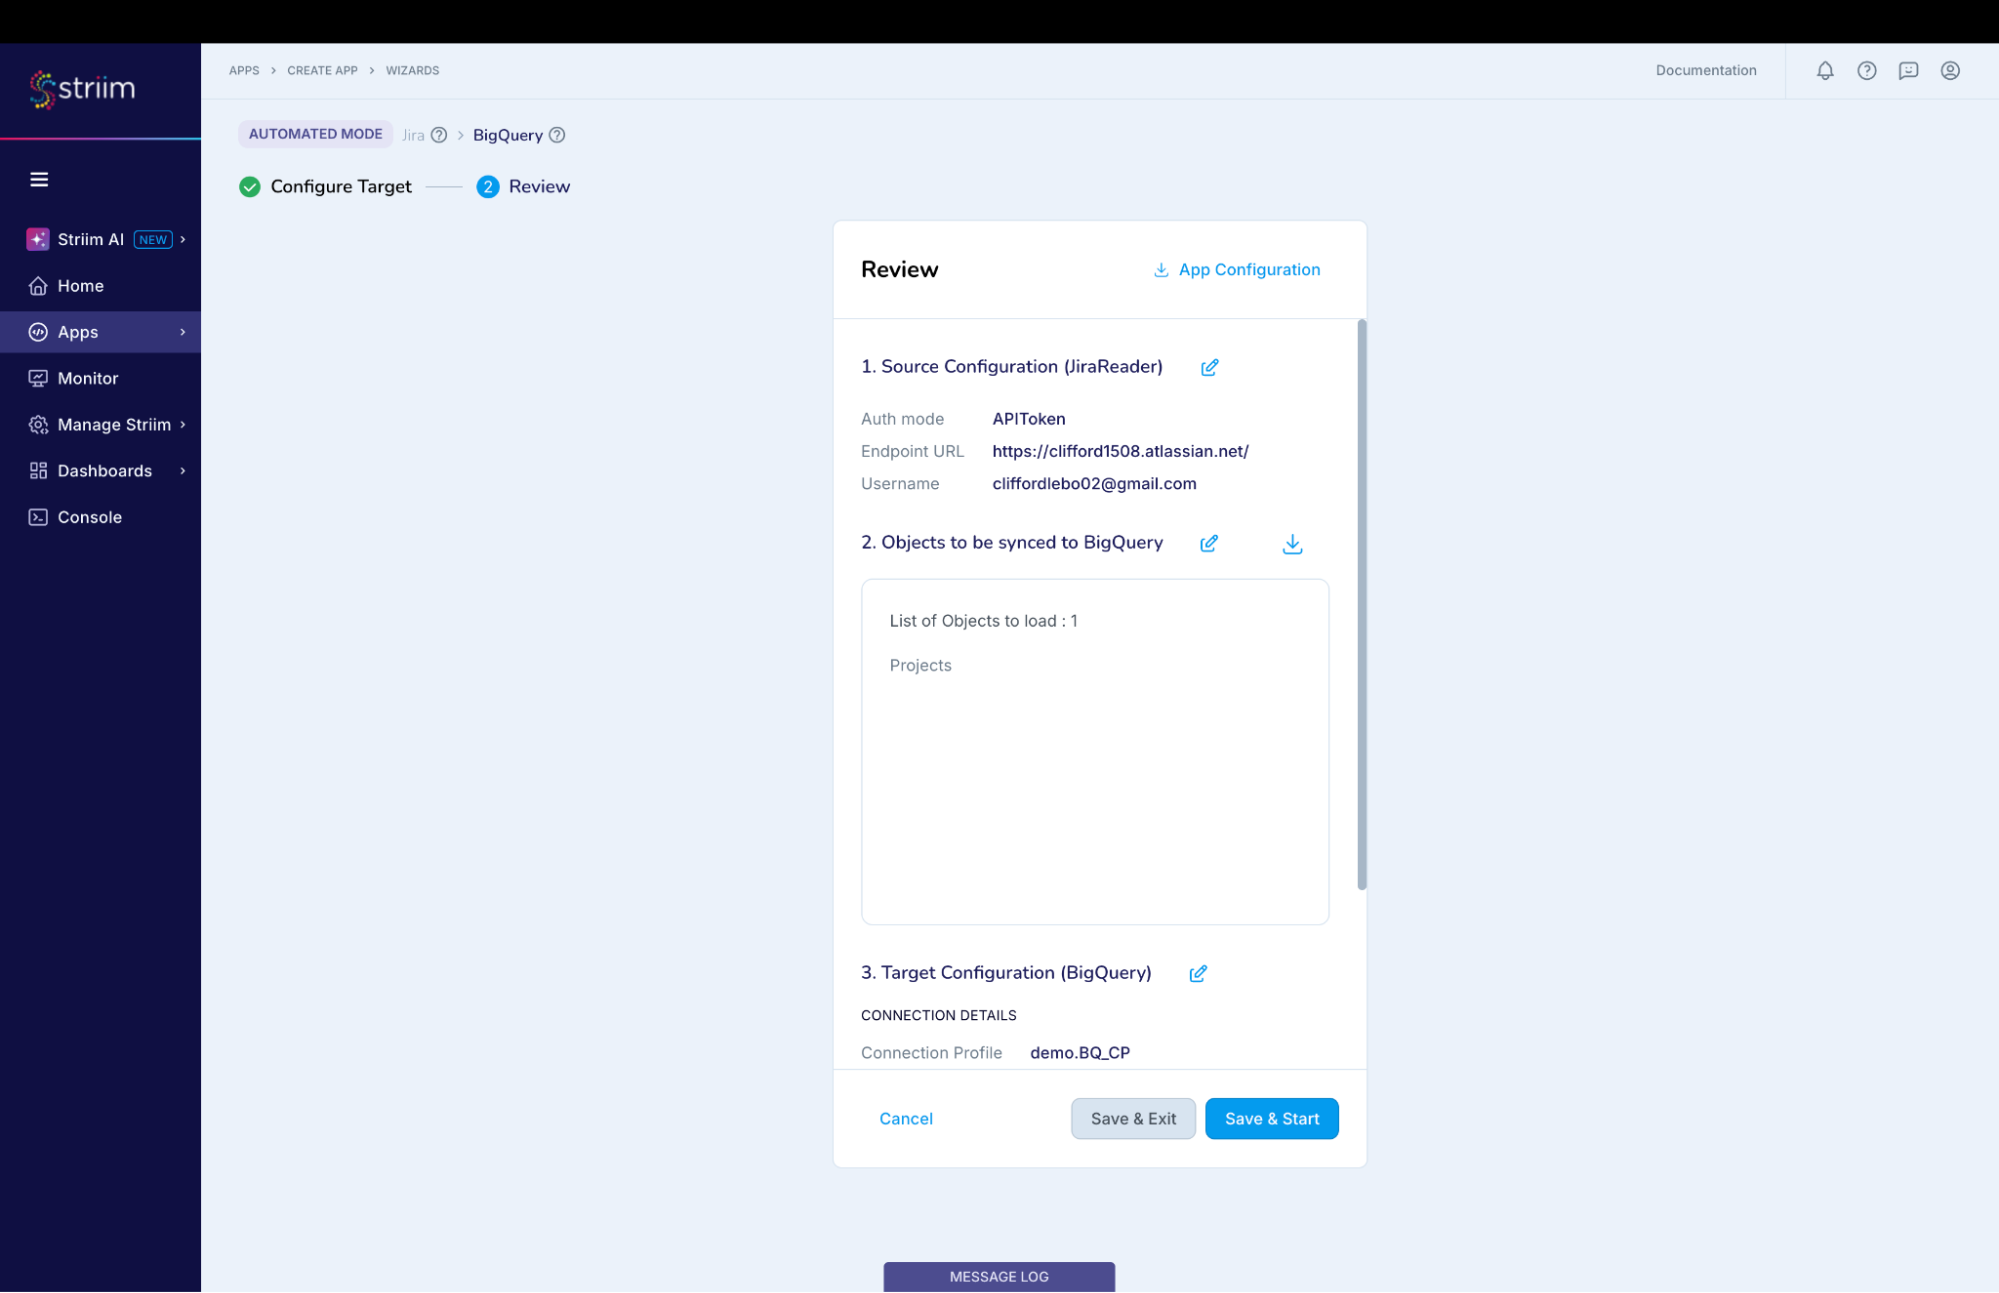
Review all the details of the data pipeline that we just created and click on “Save & Start”. (Screenshot-11)
(Screenshot- 11 – Pipeline Review)
You have successfully created an app that will move your Jira data into Google BigQuery!
(Screenshot- 12 – Successful App Creation)

Step – 5 – Running and Monitoring your application
As the Striim App starts running,the dashboards and monitors (screenshot- 13,14) show the real-time data movement along with various metrics (ex- memory and CPU usage) that we capture. Refer to our documentation for more details on monitoring.
(Screenshot- 13 – Monitoring Dashboard)

(Screenshot-14 – Metrics overview)

Related Information
- Apart from the wizard, you can use the sample TQL to quickly build your application.
- For details on Jira properties, scopes and objects supported refer to the documentation.
- Learn more about data streaming using Striim through our other Tutorials and Recipes.
- More details about increasing throughput using parallel threads and recovery are here.
Conclusion
While this recipe has provided you steps to create a pipeline for your Jira data, do check all the application adapters that Striim supports to read from and write to.
If you have any questions regarding Jira adapter or any other application adapters, reach out to us at applicationadapters_support@striim.com.