Configure Microsoft Teams alerts
Before Microsoft Teams can receive alerts from Validata, you must create and install a Teams ap
Configure Microsoft Teams to receive alerts from Validata
Typical steps include:
Log in to the Azure Portal.
From Azure Active Directory > App Registrations, select + New Registration.
Type the required information to set up the new app and click Register. Note the Client and Tenant IDs for future use.
From Certificates and Secrets, select + New Client Secret.
Type a description and duration and click Add.
In Delegated Permissions, add the offline_access and ChannelMessage.send scopes.
Open the Authorization URL and obtain the authorization code.
Use the authorization code to obtain the Refresh token.
Navigate to the channel where Validata will post alerts and select Get link to channel.
Note the above details to use in Microsoft Teams Alerts Configuration in Validata
Configure Validata to send Microsoft Teams alerts
Select Alerts, select Microsoft Teams as the channel, and click Configure Microsoft Teams.
Provide the required configuration details.
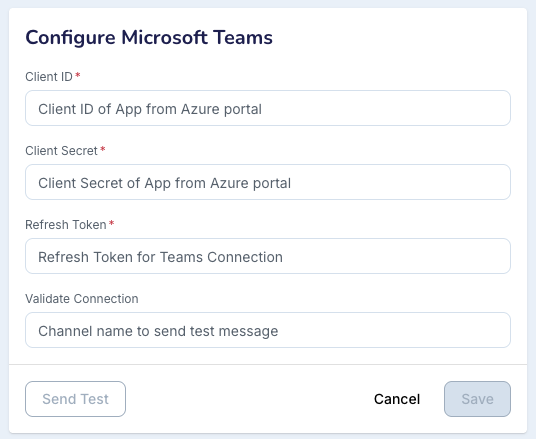
Click Send Test to verify the configuration.
If the test is successful, click Save.
Click Edit Configuration.
Add the recipient Microsoft Teams Channel Name.
Click Save and observe the success message as "MS_TEAMS SUCCESS".
Click Edit Configuration in the top-right corner.
Enter the recipient Microsoft Teams Channel Name and click Save.
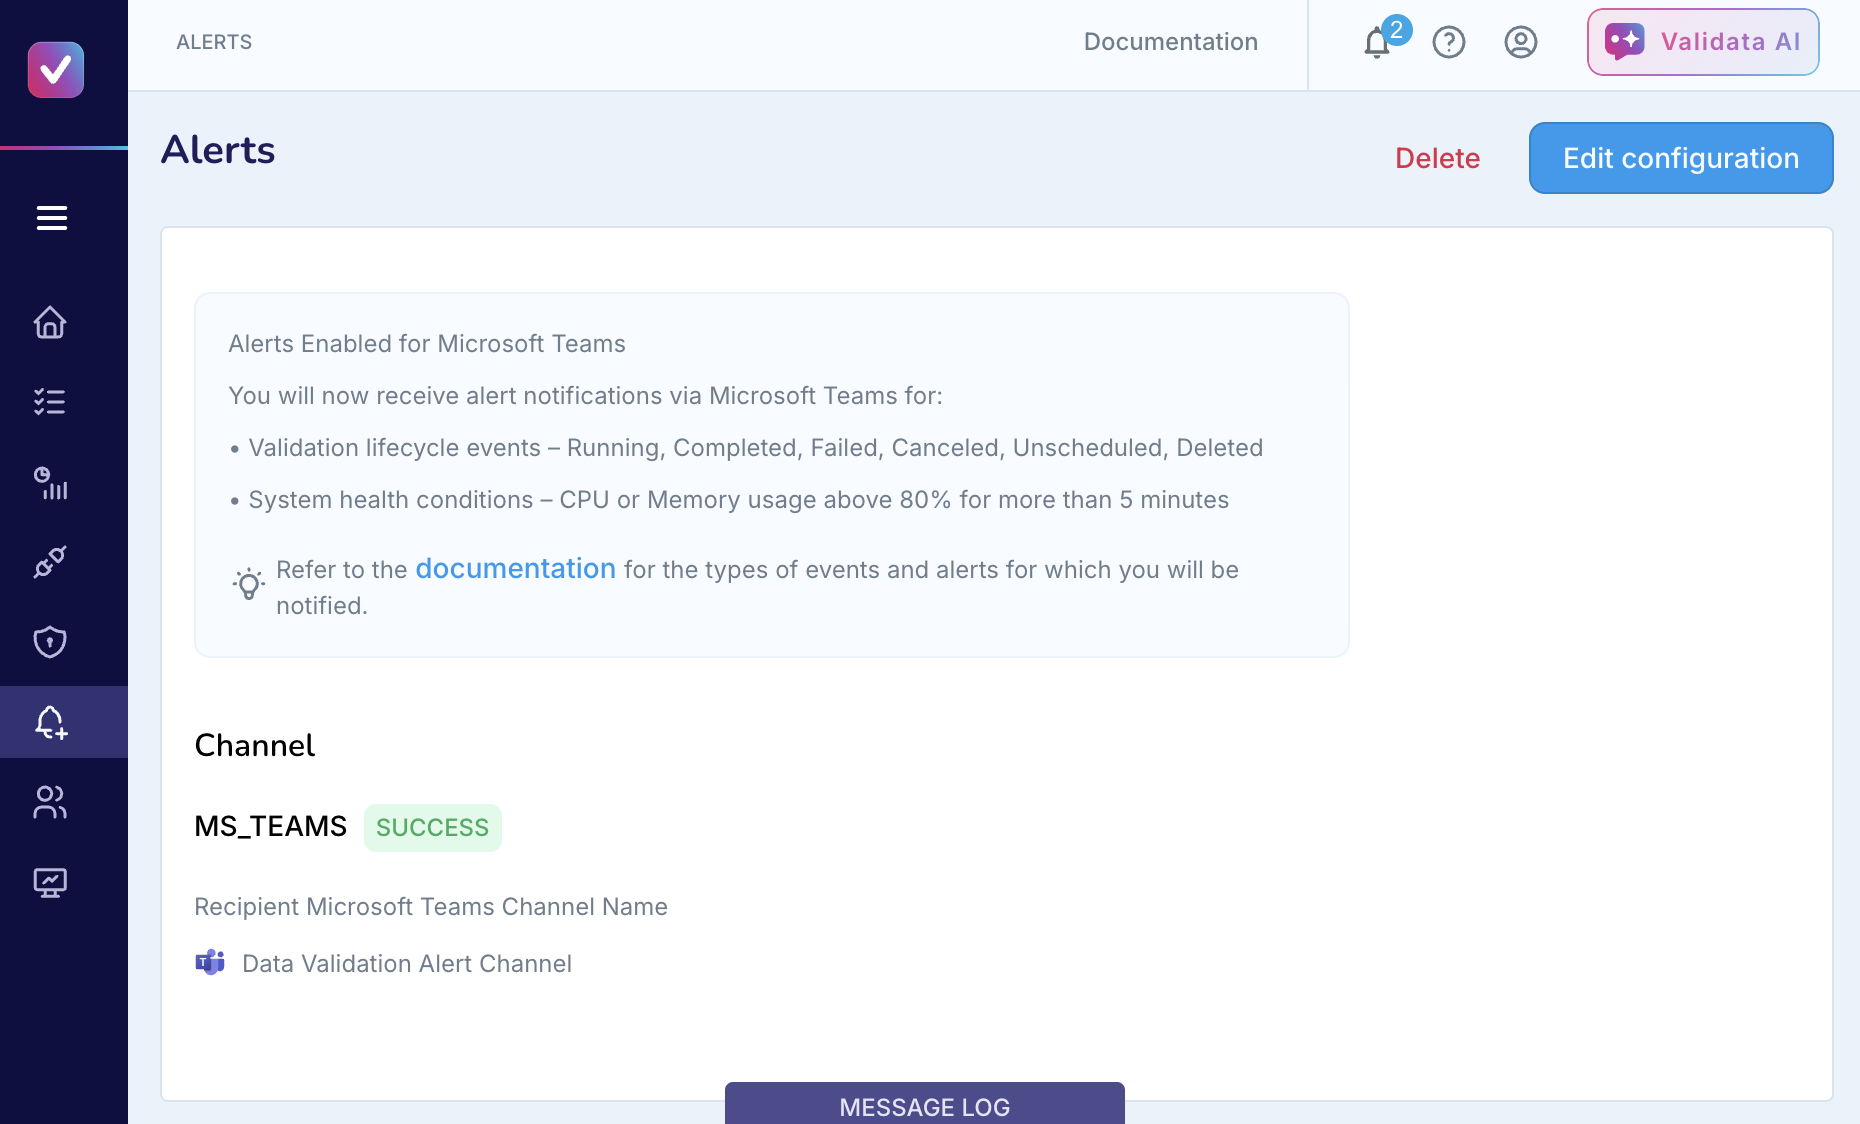
Once configured, alerts will begin appearing in the specified Microsoft Teams channel.