Creating apps using wizards
Wizards can make creating Striim applications faster and easier. Apps created with wizards may be modified using Flow Designer or by exporting TQL, editing it, and importing the modified TQL.
For a list of supported sources, see Supported sources and targets for Striim for ClickHouse.
When you use a wizard, the app's exception store is enabled automatically. If you do not want an exception store, turn it off after you create the app (see CREATE EXCEPTIONSTORE).
App wizard prerequisite checklist
You will need the assistance of a database administrator for some of these tasks.
Configure the source database as detailed in the relevant topic in Sources. You will need to provide the user name and password created during database configuration when configuring the source. If using an automated pipeline wizard or an initial load wizard with Auto Schema Conversion, also assign the privileges listed for the source in .
Configure ClickHouse as detailed in Initial setup to write to ClickHouse.
Automated pipelines and some "Initial load only" wizards have Auto Schema Conversion, which allows you to automatically create schemas and tables in the target that correspond to those in the source. In this release, tables can be created in the target only when Data type support & mapping for schema conversion & evolution includes mappings between all source and target column data types; other tables will be omitted.
Creating an application using a wizard
Complete the App wizard prerequisite checklist.
Select Apps > Create an App.
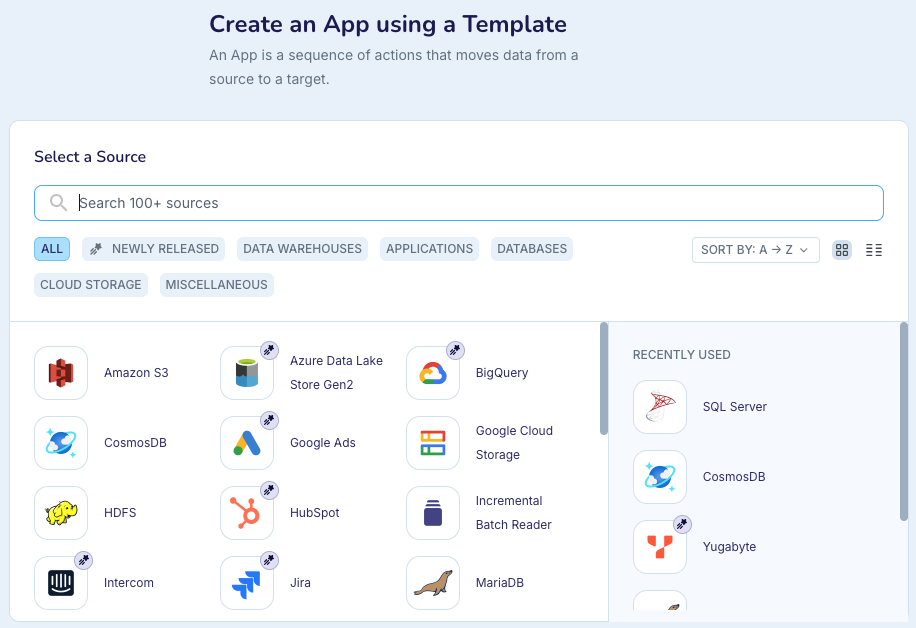
Select the source.
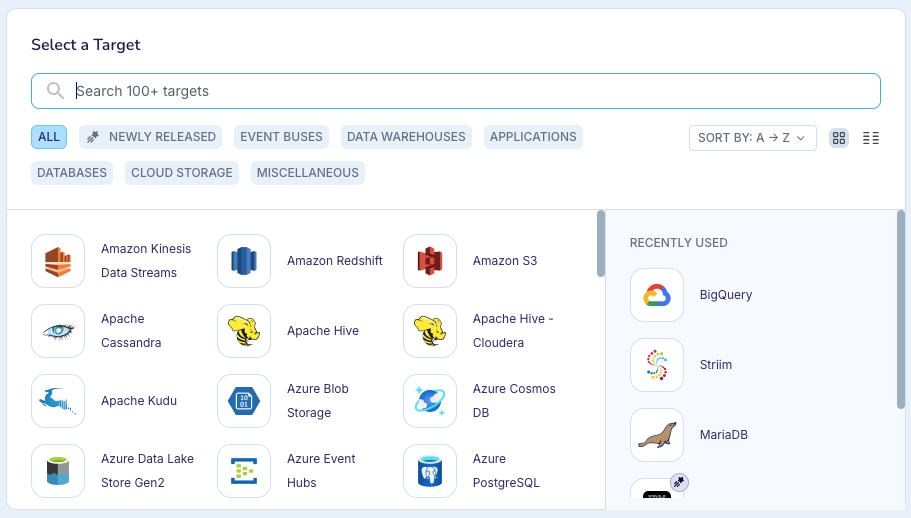
Click Select Target, then select the target. If your app does not have a target, select Striim.
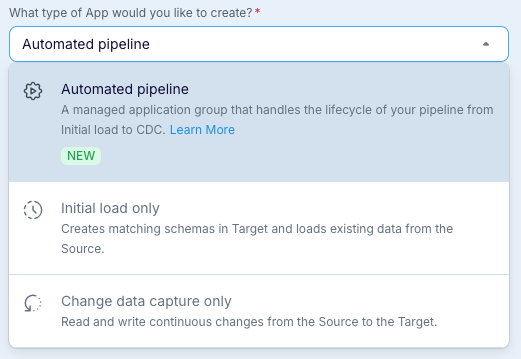
Select the type of app you want to create, then click Get Started.
Enter a name for the app, select or enter the namespace in which you want to create it, and click Next.
Continue with Configuring a wizard source.
Using automated pipeline wizards
Automated pipeline wizards create two linked applications, one to perform the initial load of existing source data to a target (in most cases using JDBC to read the source) and another to continuously update the target with changes to the source read using change data capture (CDC). Handover from the first app to the second is handled automatically. Recovery is automatically enabled for both applications, with the exception of initial load for Salesforce sources.
For an overview, see Automated pipelines. For a video walkthrough, see Introducing Automated Pipelines for Effortless Data Replication.
Automated pipelines are supported for the following sources and targets:
Sources | Targets |
|---|---|
|
|
Notes on running automated pipeline wizards
Inline documentation for automated pipeline wizards
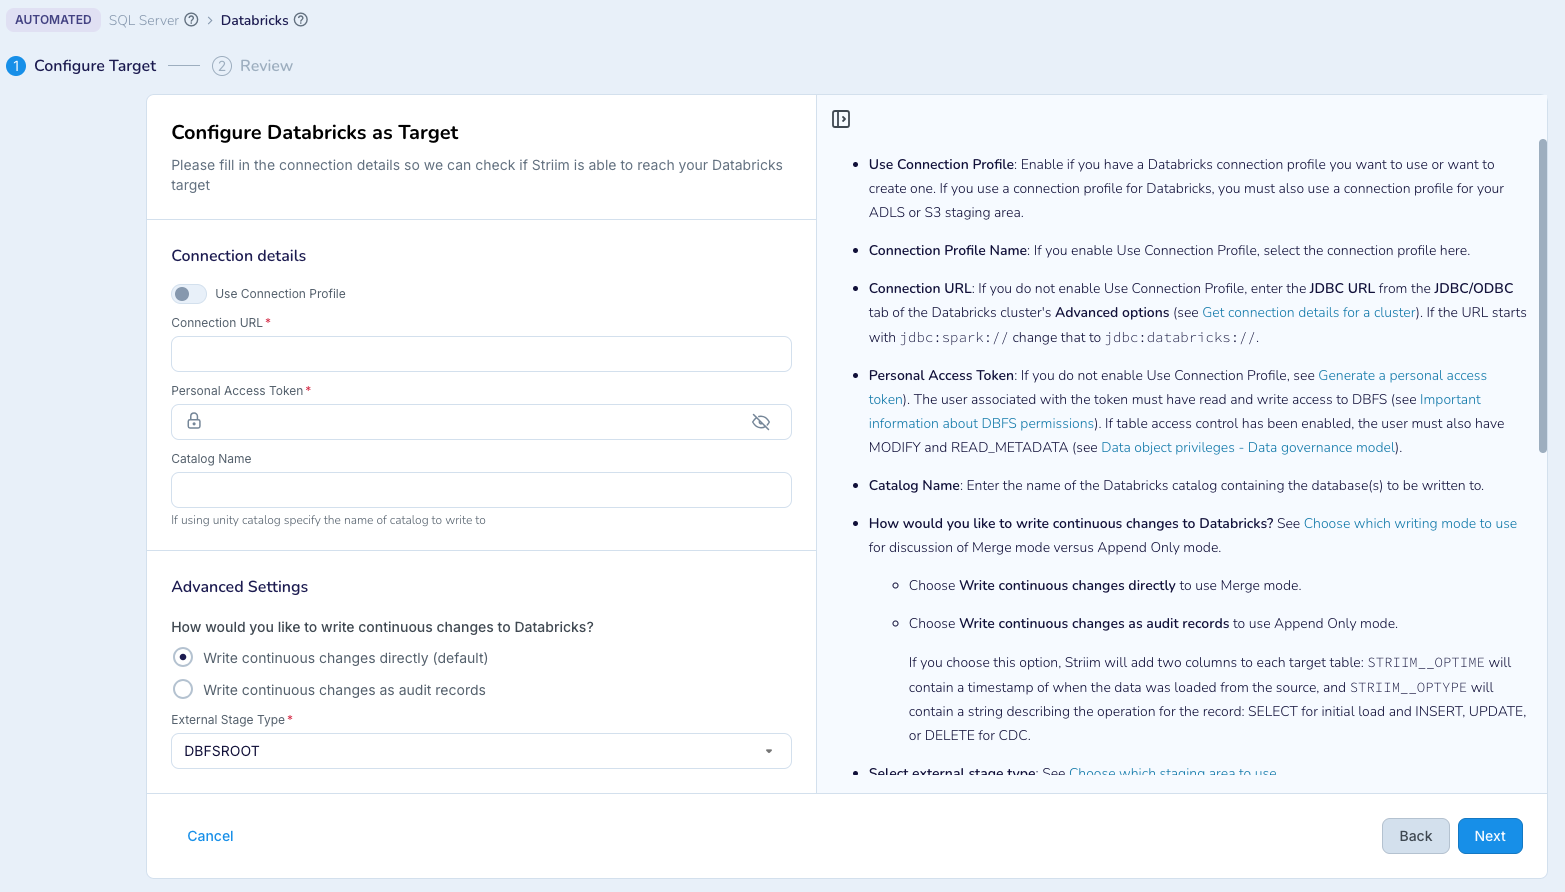
At steps in the wizards where detailed documentation is required, it appears in the UI.
Automatic creation of property variables for automated pipelines
For SQL CDC sources, the Connection URL or in Oracle SSL Config properties will automatically be secured using property variables (see CREATE PROPERTYVARIABLE) when using SSL, since the strings contain passwords. The property variables will be created in the same namespace as the automated pipeline.
Automatic creation of CHKPOINT tables for automated pipelines
Striim will create CHKPOINT tables automatically for targets that require it to support recovery.
SSL certificates for automated pipeline sources running on a Forwarding Agent
If an automated pipeline's source will run on a Forwarding Agent, you cannot upload the SSL certificate using the wizard UI. Instead you must manually copy the certificate to the Forwarding Agent's host and specify the path in the wizard.
Schema evolution in automated pipelines
Except for Oracle sources, if supported by the source and target (see Handling schema evolution), schema evolution is enabled. To disable schema evolution, complete all steps in the wizard, save it rather than starting it, and edit the CDC application in Flow Designer.
For Oracle (not OJet) sources, CDDL Capture is set to False since it is supported only for 18c and earlier. If you wish to enable schema evolution, complete all steps in the wizard, save it rather than starting it, and edit the CDC application in Flow Designer.
Adding CQs or event transformers to automated pipelines
To add a CQ or event transformer to an automated pipeline, complete all steps in the wizard, and on the final Review page click Save & Exit rather than Save & Run. Then edit the application in Flow Designer. If the CQ or event transformer is required in both the initial load and CDC phases, you must edit both applications in the group.
Initial load report
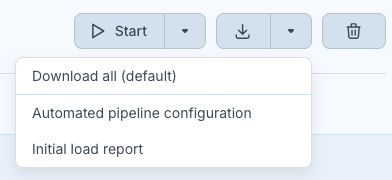
Select Initial load report from the download menu for a .csv file indicating the status of each table in the pipeline.

The Automated pipeline configuration report is not available in this release (known issue DEV-48273).
Restarting an automated pipeline
When you restart an automated pipeline, it always runs the initial load app first. However, if initial load has been completed, it will write no data, quiesce, and go on to the CDC app.
Known issues and limitations for automated pipeline wizards
You must not perform any DDL changes in the source during the initial load phase.
Whatever Striim reads from in the CDC phase (for example, logs, archives, or change stream) must be retained from the time the initial load starts until initial load completes and the CDC phase begins.
For Oracle targets, you must create the schemas manually before running the wizard.
For Salesforce sources, recovery is not supported during the initial load phase (known issue DEV-42001).
Automated pipeline error handling and fault tolerance
Connection failures
In the event of a connection failure, the automated pipeline will halt with an explanatory error. When possible, it will offer suggestions on resolving the failure. When the issue has resolved, resume the application.
Initial load failures
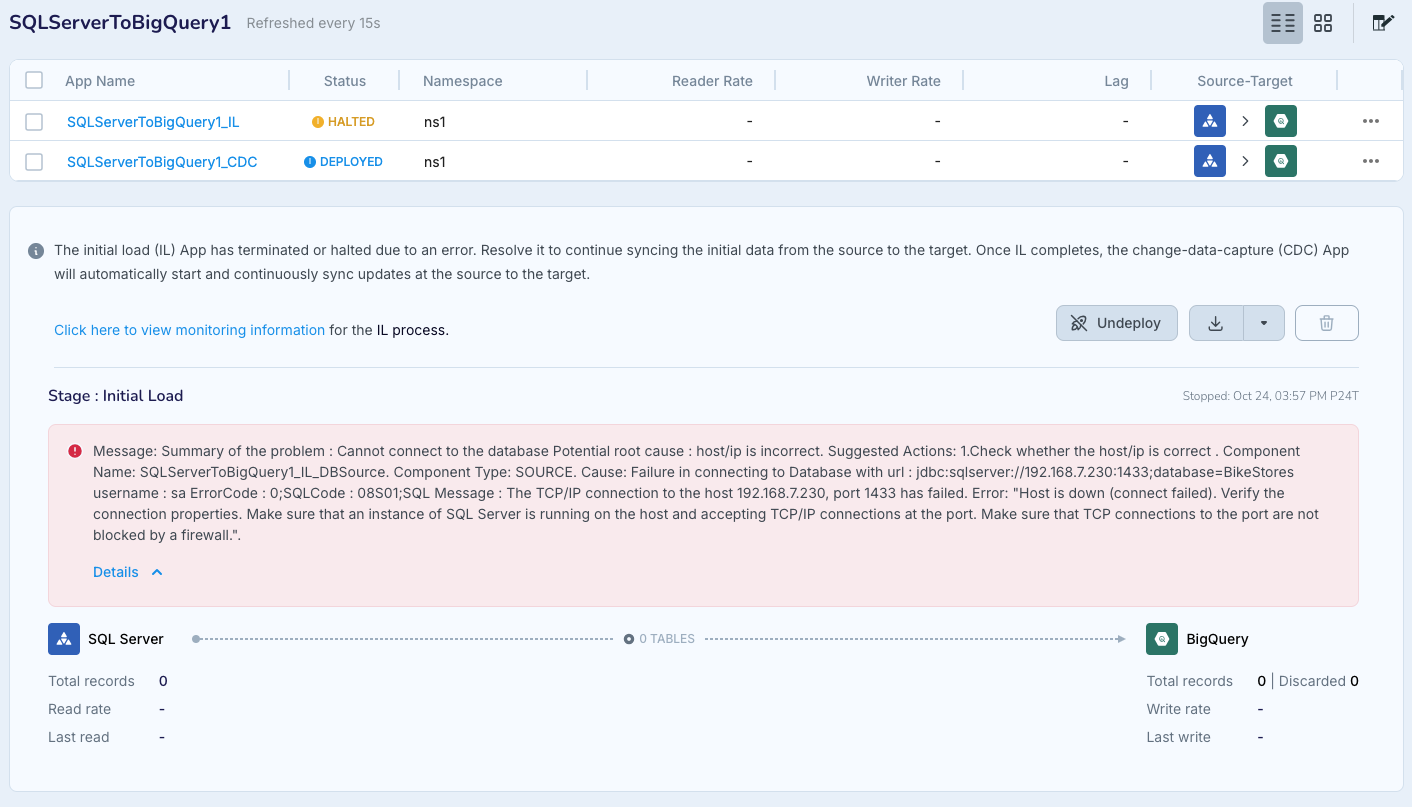
If the initial load phase is interrupted before it has completed, see Fast Snapshot Loading for instructions on resolving the issue. Then resume the application.
Automated pipeline runtime considerations
While initial load is being performed, do not perform any DDL changes on the source database.
Configuring a wizard source
Complete the steps in Creating an application using a wizard.
Enter the host name, port, the user name and password for Striim, and any other properties required by the wizard. See the relevant reader properties reference in Sources for more information.
For an Incremental Batch Reader source, also specify the check column and start position as detailed in Incremental Batch Reader.
If using a Forwarding Agent, set Deploy source on Agent on. (This option appears only when an agent is connected to Striim. (For file sources, this option does not appear, but the source components are put in their own flow which can be deployed on the agent.)
Click Next. The wizard will connect to the database to validate the settings. If all the checks pass, click Next.
If using a wizard with Auto Schema Conversion, continue with Using Auto Schema Conversion. Otherwise, select the tables to be read and click Next.
Using Auto Schema Conversion
Caution
Foreign key constraints must be disabled in the target before beginning initial load and re-enabled after initial load is complete (see, for example, Learn > SQL > SQL Server > Disable foreign key constraints with INSERT and UPDATE statements).
Note
Known issue (DEV-31163): when the target is Snowflake, you must create the schemas manually.
Select the schemas you want to copy to the target, then click Next.
If validation is successful, click Next. Otherwise, click Back and resolve any issues.
For each schema, select the tables to copy. Any tables with data types that can not be mapped to the target (see Data type support & mapping for schema conversion & evolution) will be greyed out and can not be copied. When done, click Next.