Create a Striim for ClickHouse service
A Striim for ClickHouse service is the managed Striim environment in which you build and run the pipelines that stream data into ClickHouse. Each service has its own name, AWS region, cluster size, optional Kafka persistent stream cluster, and Striim Clara AI configuration, so the choices you make when you create the service determine where your data is processed, how much capacity is available to your applications, and which AI capabilities are available in the console.
This topic describes how to create a service from the Striim console, how to choose the options that affect capacity and durability, and how to enable Clara AI for the service so that you can build and manage applications conversationally.
Prerequisites
You have subscribed to Striim for ClickHouse on Striim.com or in the AWS Marketplace and activated your account. See Subscribe and sign up.
You know the AWS region in which your ClickHouse deployment runs. Creating the service in the same region minimizes network latency between Striim and ClickHouse and avoids cross-region data transfer charges.
You have an estimate of your workload, such as the number of source tables, expected event throughput, and whether you need Kafka-backed persistent streams for recovery and replay. This estimate guides the cluster type you select.
If you plan to power Clara AI with your organization's own AI provider, you have an API key for that provider. If you plan to use Striim-managed Clara AI, no key is needed.
Create the service
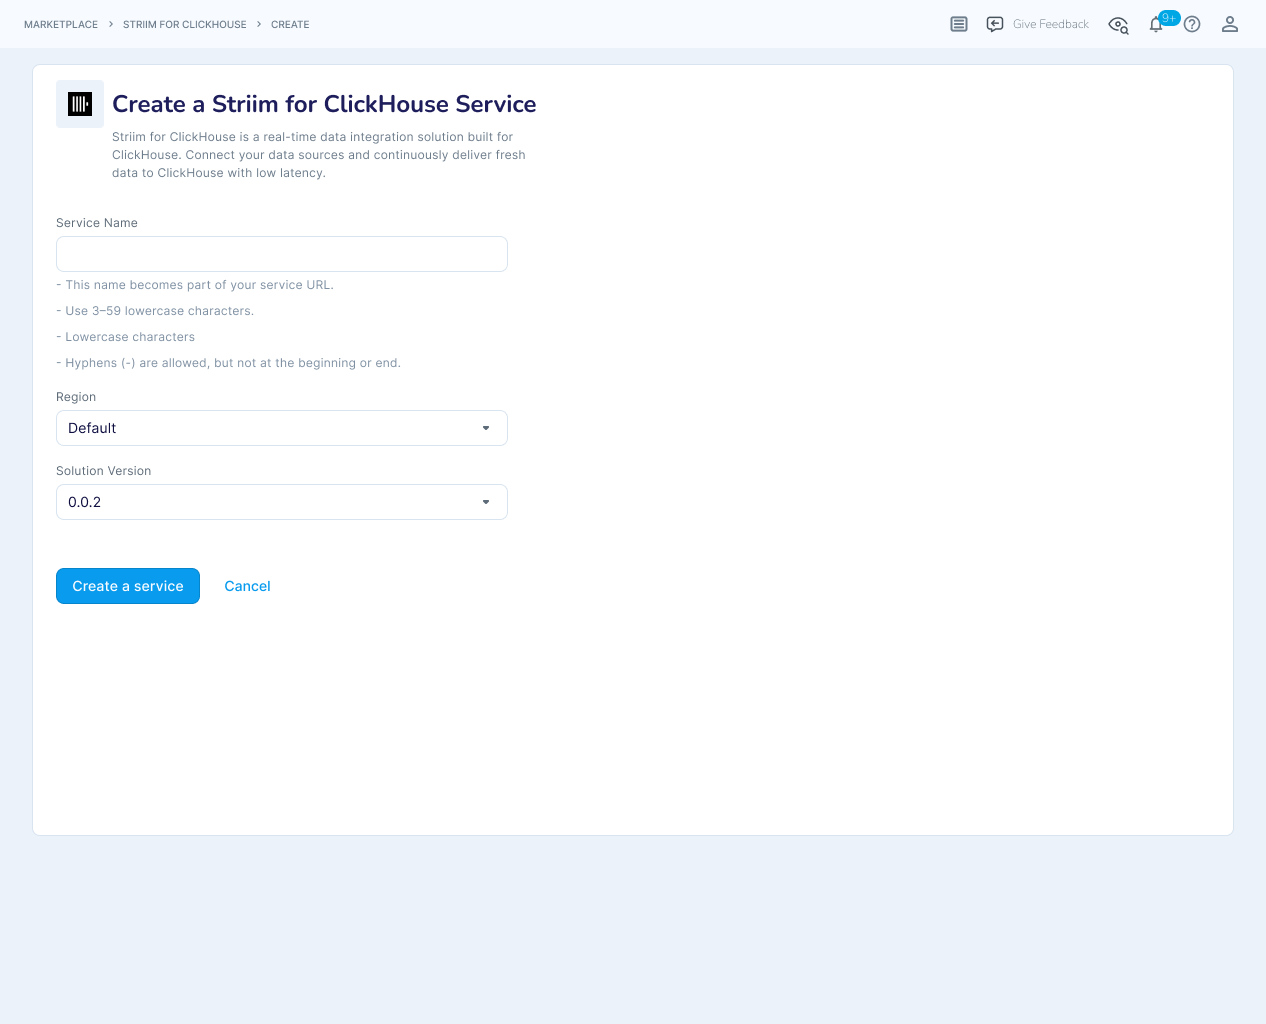
The service creation form collects the name, region, and capacity settings for the new service. The name and region cannot be changed after the service is created, so confirm them before you click Create a service.
Select the Marketplace tab and under Striim for ClickHouse click Create.
Enter a Service Name for your service.
The service name identifies the service in the console and in the URL you use to open it. Use a name that describes the workload or environment, for example
orders-to-clickhouse-prod, so that the service is easy to recognize when you manage several services.Select the Region appropriate for your location.
Choose the AWS region closest to your ClickHouse deployment and your data sources. The region determines where the Striim cluster runs and where data is processed. The default region is US East (N. Virginia),
us-east-1; the other available regions are US East (Ohio),us-east-2, and US West (Oregon),us-west-2. A service cannot be transferred from one region to another, so confirm the region before you create the service. To change regions later, delete the service and create a new one in the region you want.When done setting options, click Create a service.
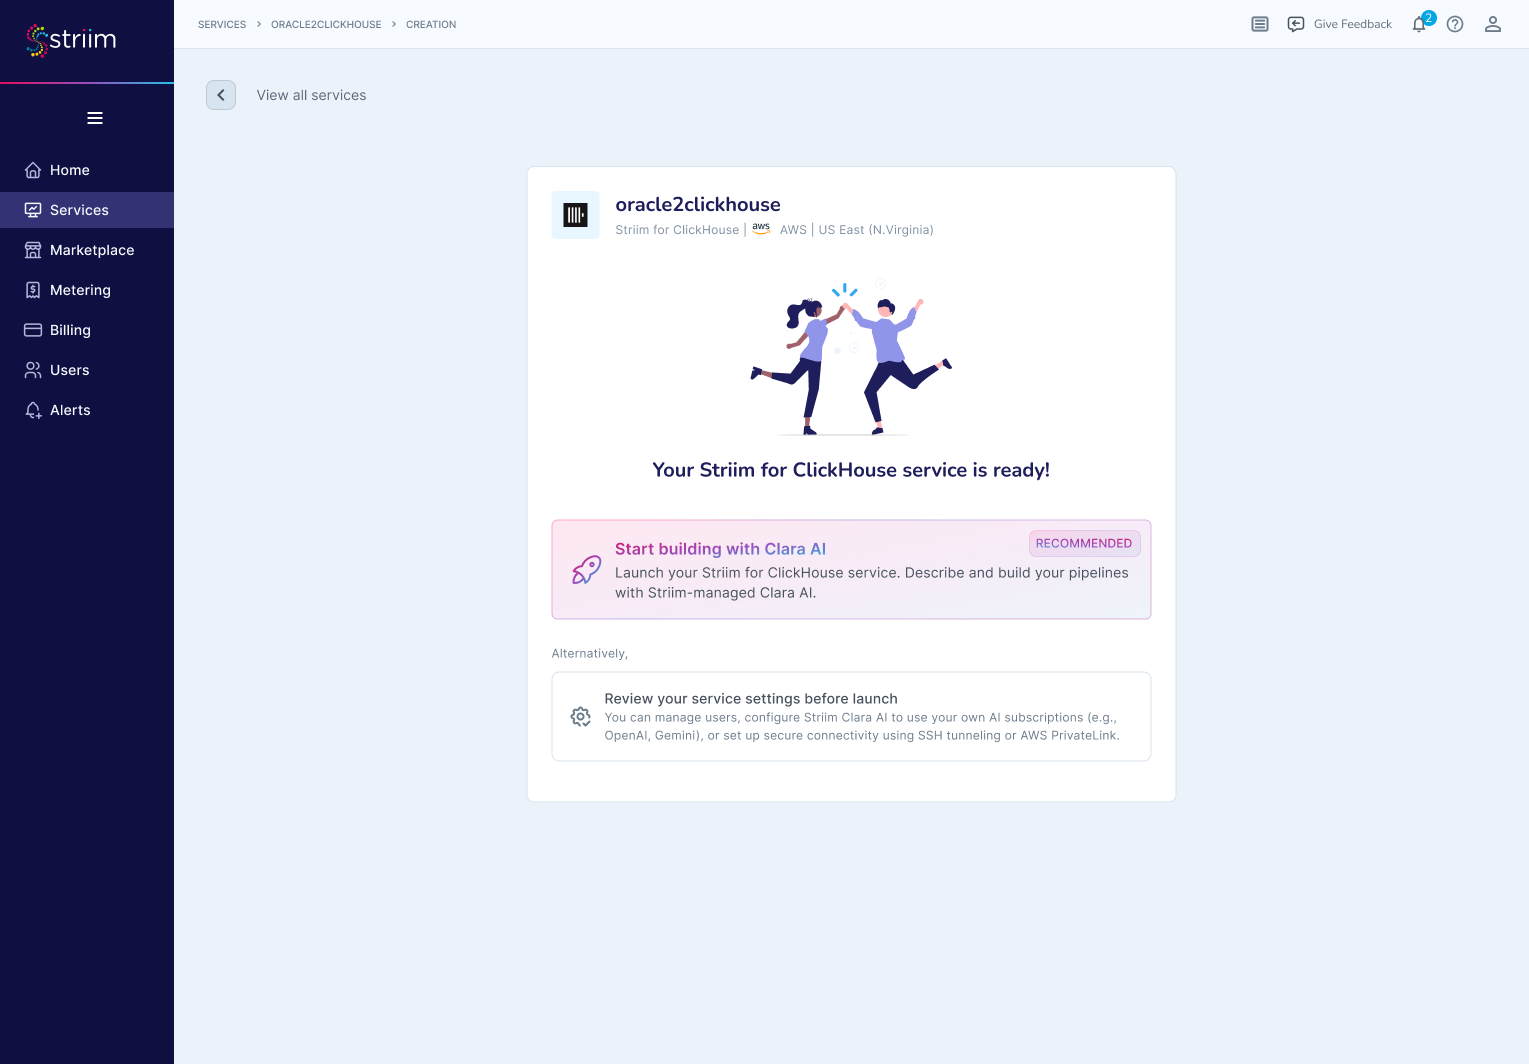
Striim provisions the service in the selected region. Provisioning can take several minutes. When provisioning completes, the console displays Your Striim for ClickHouse service is ready! and asks how you want to launch the service.
Choose how to launch the service.
Start building with Striim Clara AI (recommended): launches the service with Striim-managed Clara AI already enabled, so you can describe and build your pipelines conversationally right away. No AI provider account or API key is required. Choose this option to get to your first pipeline fastest; you can change the Clara AI configuration, manage users, and set up connectivity later from the service settings.
Review your service settings before launch: opens the service settings so that you can manage users, configure Clara AI to use your organization's own AI subscription (for example, OpenAI or Gemini), or set up secure connectivity to your sources and ClickHouse using SSH tunneling or AWS PrivateLink before the service launches. Choose this option when your organization requires customer-managed AI or private connectivity from the start.
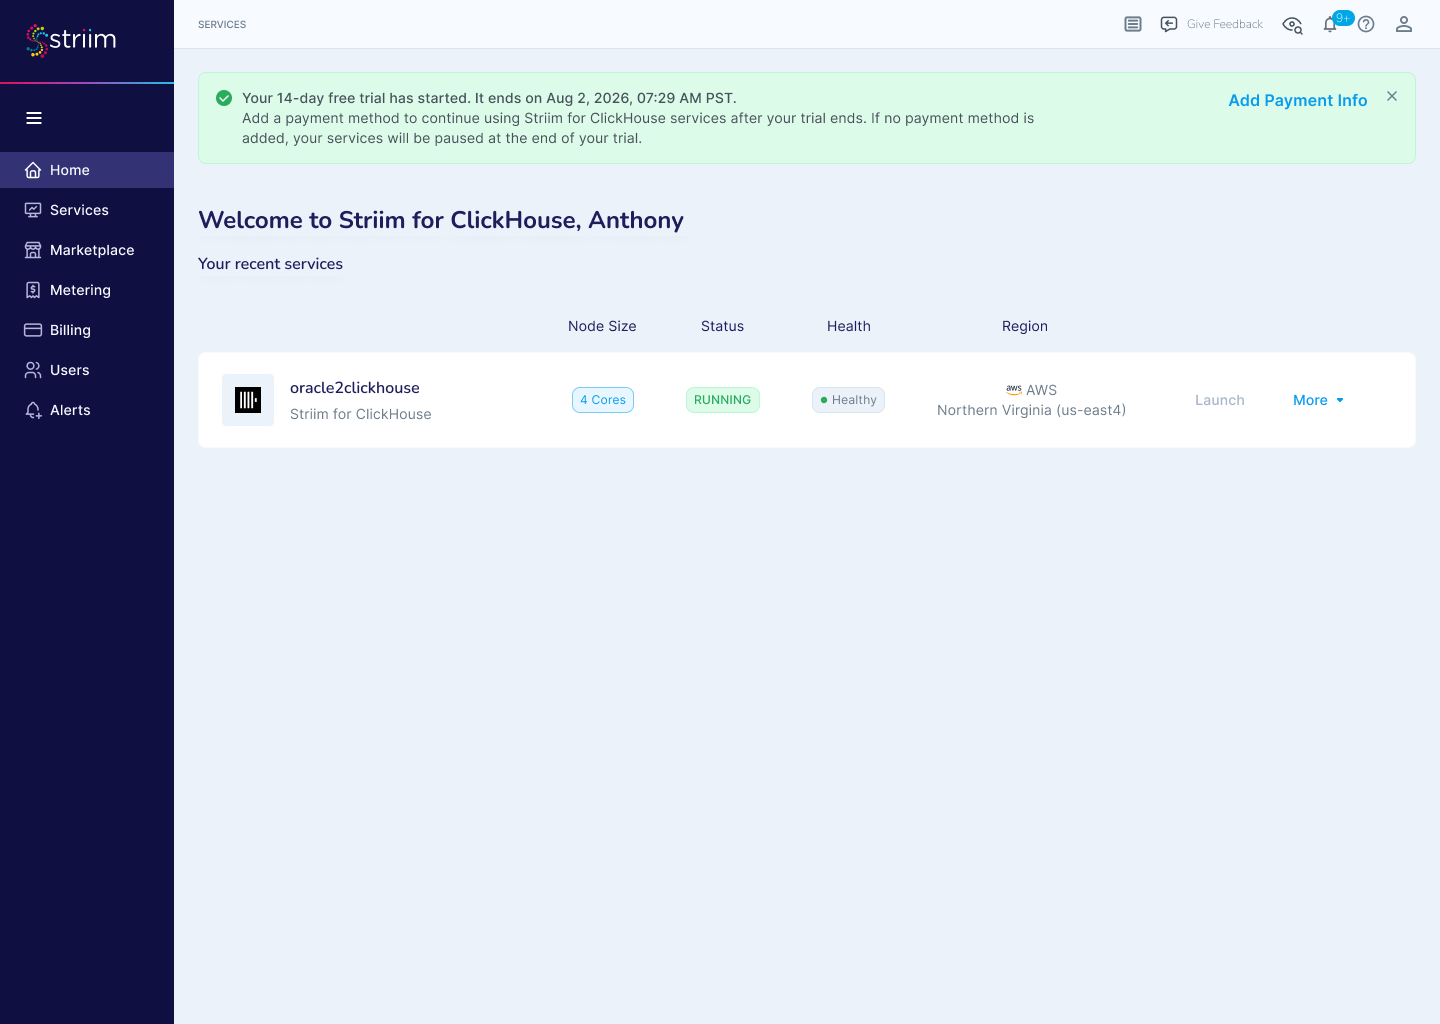
After launch, the service appears in the Services list with its current status. Open it from the list at any time to build applications or change its settings.
Configure Striim Clara AI for the service
Clara is Striim's conversational AI agent for product guidance, operational insight, and application building. Enabling Clara for the service lets you ask questions about the Striim documentation, inspect and manage applications, and build a pipeline into ClickHouse through a conversation. You configure Clara for each service on the service's AI Setup tab. There is no agent to deploy or infrastructure to prepare: you choose whether Clara is powered by Striim-managed AI services or by your organization's own AI provider subscription.
If you launched the service with Start building with Clara AI, Striim-managed Clara AI is already enabled and you can skip to Verify and change the Clara AI configuration. Use the following steps if you chose to review your service settings before launch, or if you want to switch to customer-managed Clara AI later.
To open the configuration:
In the console, select Services, then select the service you created.
Select the AI Setup tab.
Turn on the Striim Clara AI toggle.
Under Choose how Striim Clara AI is powered, select one of the following paths.
Striim-managed Clara AI
Striim-managed Clara AI uses AI services that Striim provides and operates, which is the fastest way to get started because it requires no AI provider account or API key. Select Striim-managed Clara AI, then click Save.
Customer-managed Clara AI
Customer-managed Clara AI routes Clara's requests through your organization's own AI provider subscription, which lets you use the provider, account, and usage controls that your organization has already approved. Striim does not provide API keys for use with customer-managed providers.
Select Customer-managed Clara AI.
Select a provider from Select AI Provider.
Enter your provider key in API Key.
Click Save.
Verify and change the Striim Clara AI configuration
After you save, confirm that Clara is connected and know how to change or disable it later.
Open the service, click Ask Clara in the top navigation bar, and confirm that the panel header displays
HEALTHY. If the header shows another status, return to the AI Setup tab and check the selected provider and API key.To switch between Striim-managed and customer-managed Clara AI, or to update an API key, return to the AI Setup tab, change the selection, and click Save.
To turn Clara AI off for the service, turn off the Striim Clara AI toggle and click Save.
Next steps
With the service running and Striim Clara AI configured, you are ready to connect your sources and ClickHouse target and build your first pipeline.
Open the service and use Explore Striim using AI on the Home page to describe the pipeline you want to build, for example "Build a real-time pipeline from PostgreSQL to ClickHouse." Striim Clara creates the application and guides you through configuring the source and target. See Striim Clara AI Agent.