Building pipelines with Microsoft Dynamics 365 Reader
You can read from Microsoft Dynamics 365 using the Microsoft Dynamics 365 Reader and write to any target supported by Striim. Typically, you will set up pipelines in two phases—initial load, followed by continuous incremental replication—as explained in Pipelines.
For initial load, use Microsoft Dynamics 365 Reader in Initial Load mode to create a point-in-time copy of selected entities at the target.
After initial load has completed, start continuous replication by reading new or changed records created in the same entities after the initial load began, then writing those changes to the target. For real-time continuous replication of new source data, use the Microsoft Dynamics 365 Reader in Incremental mode.
You can use automated pipeline wizards to build Microsoft Dynamics 365 pipelines that Striim manages end-to-end, or you can manually create separate applications for initial load and continuous incremental replication and manage the lifecycle yourself. Since the Microsoft Dynamics 365 Reader supports both initial load and continuous replication, you can handle both with a single application.
Using an automated pipeline wizard: if you want to build near-real-time pipelines from Microsoft Dynamics 365 and write to a supported target, we recommend using an automated pipeline wizard with a Microsoft Dynamics 365 Reader source. These wizards perform the following steps automatically:
Create two applications: one for initial load and the other for continuous incremental replication (polling).
Create a schema and tables in the target that match the entities to be synced from Microsoft Dynamics 365.
Run the initial-load application to copy existing data from Microsoft Dynamics 365 to the target.
When initial load completes, run the incremental application to replicate new or changed records using the configured watermark field and polling interval.
Not using an automated pipeline wizard: if your use case or policies do not allow using an automated pipeline, create separate applications for initial load and continuous replication:
Before performing initial load, identify a stable, monotonically increasing watermark field for each entity (for example, a last-modified timestamp).
Create a schema and tables in the target and perform initial load: use a wizard with a Microsoft Dynamics 365 Reader source. (Alternatively, you may pre-create target tables using native or third-party utilities.)
Perform an initial load when the schema and tables already exist in the target: use a wizard with a Microsoft Dynamics 365 Reader source configured for full export.
Switch from initial load to continuous replication: Provide the last successful watermark value from the initial load as the starting offset.
Replicate new data: use a wizard with a Microsoft Dynamics 365 Reader source configured for incremental polling (set the watermark field and polling interval). Configure the target for upsert semantics using appropriate key columns.
Alternatively, instead of using wizards, you can create applications using Flow Designer, TQL, or Striim’s REST API.
Pre-requisite - The initial setup and configuration you do in Microsoft Dynamics 365 applications are described in the Initial setup section.
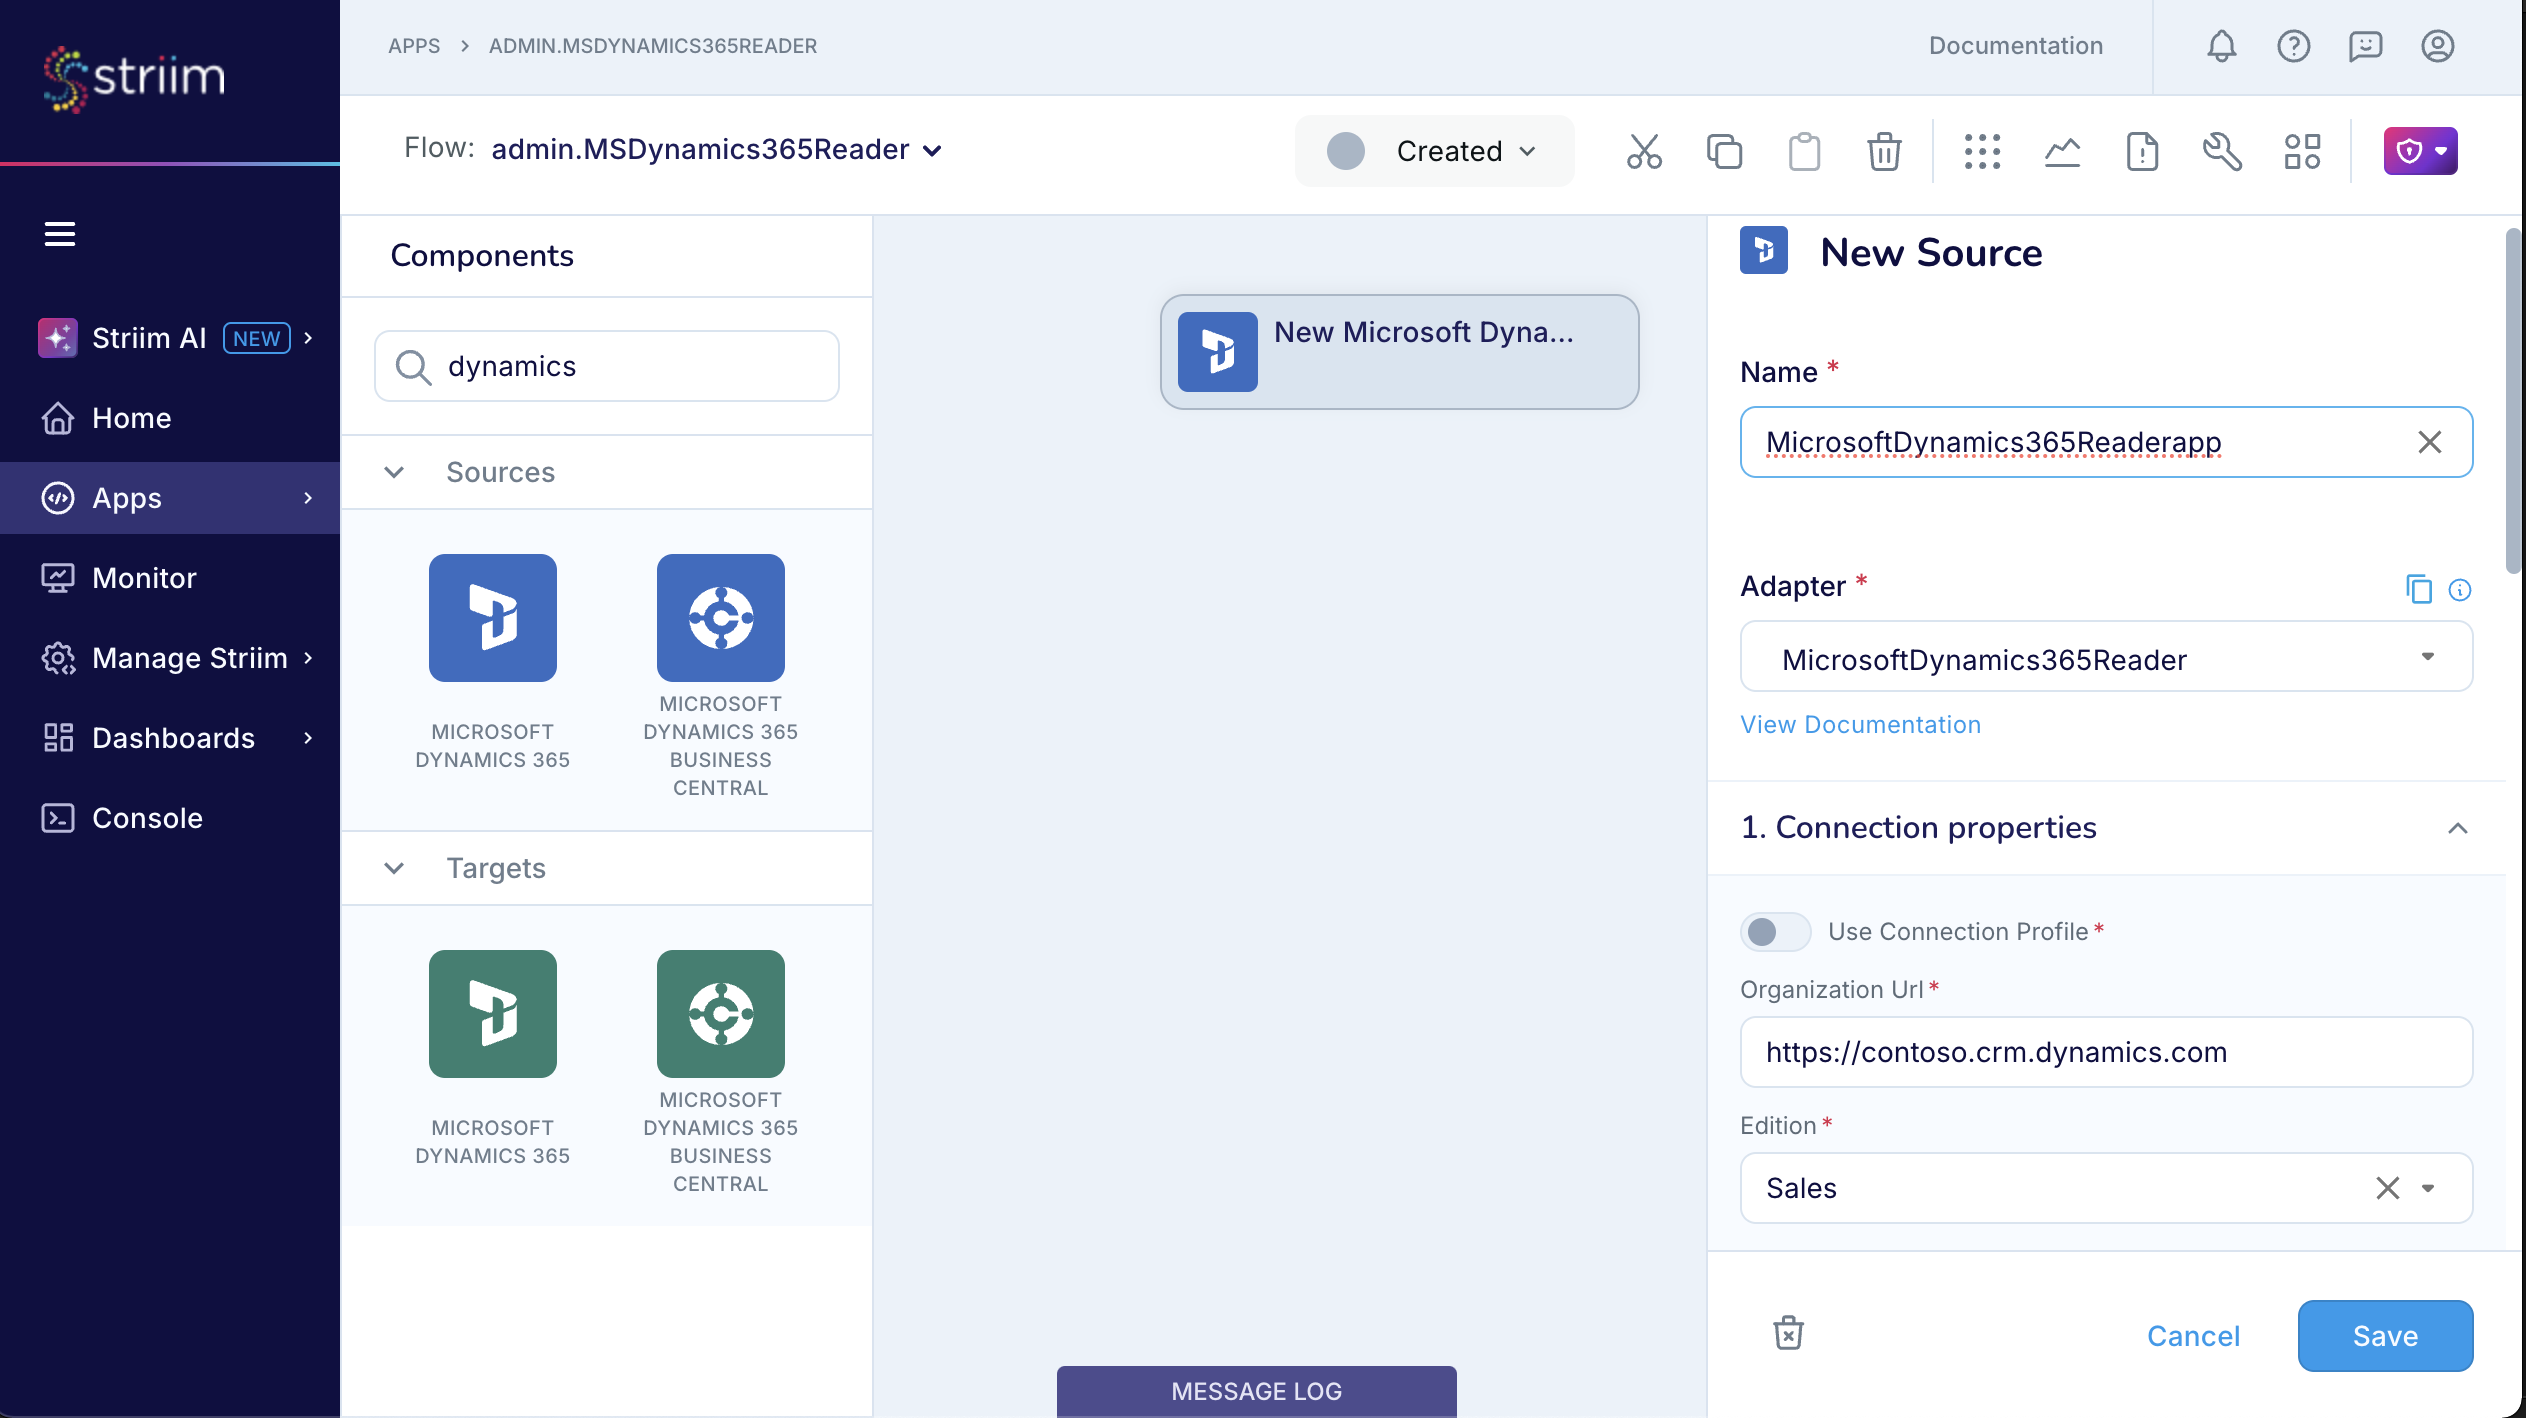
Create a Dynamics 365 Reader application using the Flow Designer
This procedure outlines how to use Striim’s Flow Designer to build and configure data pipelines. Flow Designer enables you to visually create applications with minimal or no coding.
Go to the Apps page in the Striim UI and click Start from scratch.
Provide the Name and Namespace for your app. The namespace helps organize related apps.
In the component section, expand Sources, and enter a keyword such as Dynamics 365 Reader in the search field to filter available sources.
Select the desired source (Microsoft Dynamics 365).
In the properties panel, provide the properties for the reader.

Click Save to complete the properties configuration.
You can drag and drop processors, enrichers, and targets to complete your pipeline logic.
Once done, deploy and start the application to begin data flow.
Create a Dynamics 365 Reader application using TQL
The following sample TQL uses Striim’s Dynamics 365 Reader to read from the Sales Edition.
 CREATE SOURCE SourceName USING Global.MicrosoftDynamics365Reader (
    PollingInterval: '5m',
    ClientSecret: '<ClientSecret>',
    RefreshToken: '<RefreshToken>',
    TenantId: 'TenantID',
    AdfsServer: '',
    startPosition: '%=-1',
    Tables: '%',
    ClientId: 'ClientId',
    ConnectionPoolSize: 20,
    connectionProfileName: '',
    FetchSize: 5000,
    ConnectionTimeout: '300',
    Edition: 'Sales',
    Mode: 'Automated',
    useConnectionProfile: false,
    IncrementalLoadMarker: 'ModifiedOn',
    OrganizationUrl: 'URL',
    MigrateSchema: true,
    ThreadPoolCount: 10
  )
  OUTPUT TO DataStream;