Using Okta with Striim Cloud
You can configure Striim Cloud to allow users in your organization to log in using Okta single sign-on (SSO). This requires you to create a SAML application in Okta, assign that application to your users, and configure Striim Cloud to trust Okta as an identity provider (IdP). For more information, see SAML app integrations.
Create a SAML application in Okta
Log in to your Okta account as an Admin user. Okta may ask you to log in again.
Click the Admin button on the top right corner.
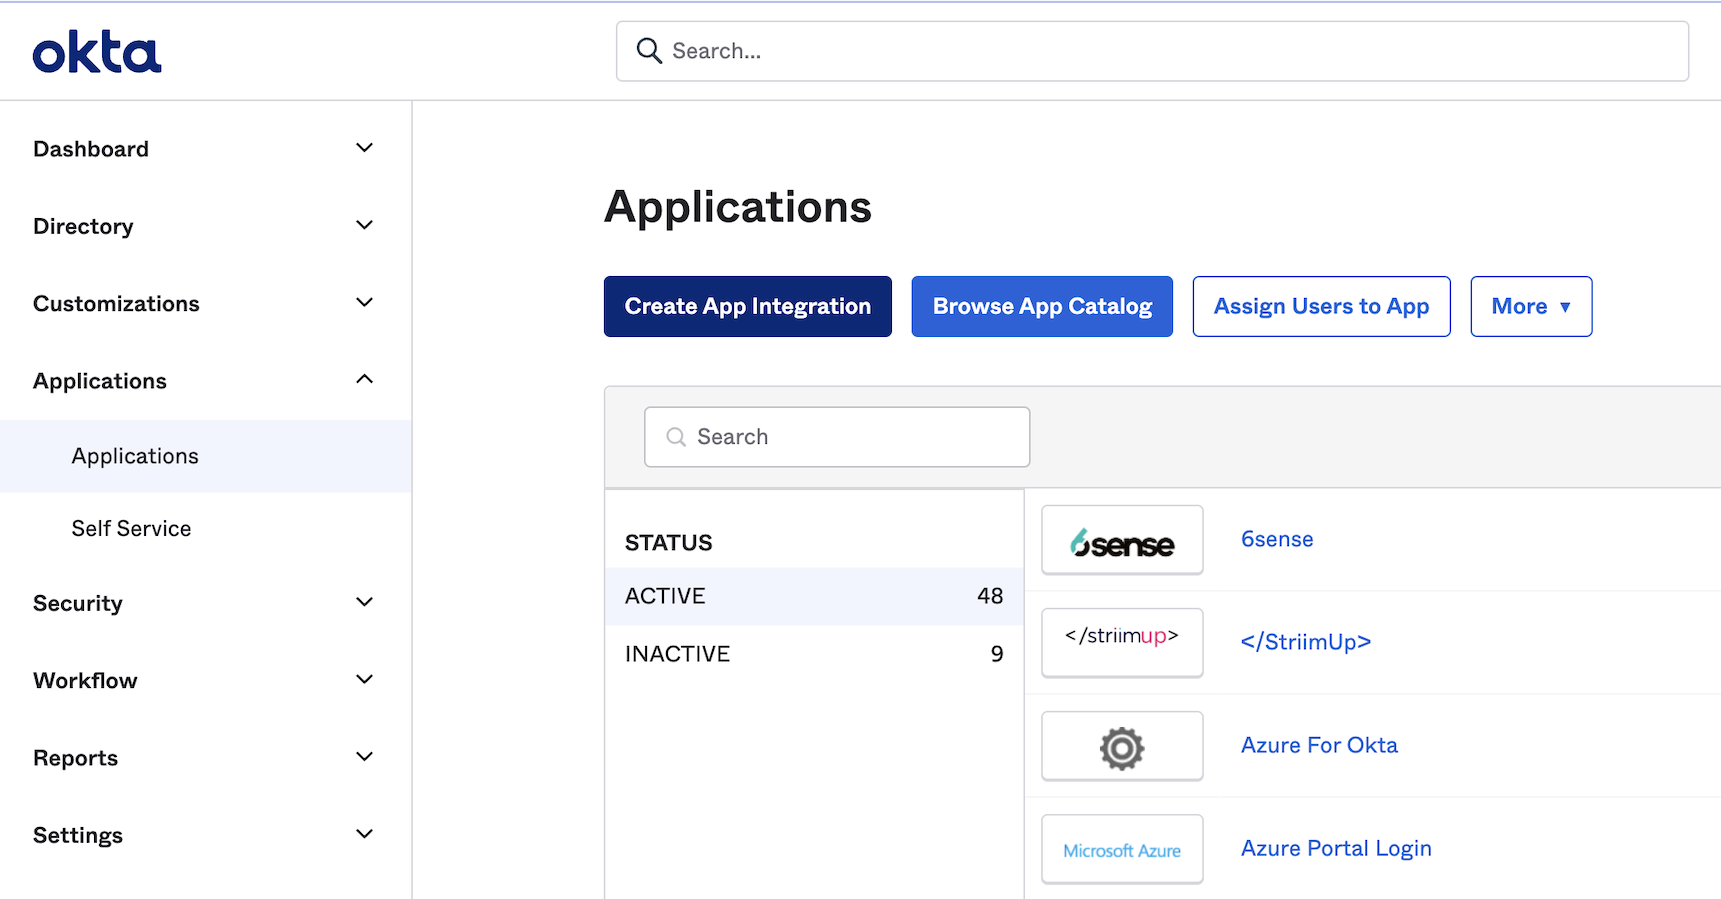
In the left panel, select Applications > Applications, then click Create App Integration.
Choose SAML 2.0 as the sign on method, then click Next.
Name your application and click Next.
Enter the following for Single sign on URL:
<your striim account url>/auth/saml/callbackCheck the box Use this for Recipient URL and Destination URL.
Enter the following for Audience URI (SP Entity ID): <your-striim-account-url>
Create the following attribute statements for first name, last name and email, then click Next.
Name
Name format
Value
firstName
Unspecified
user.firstName
lastName
Unspecified
user.lastName
email
Unspecified
user.email
Choose I'm an Okta customer adding an internal app and click Finish.
Go the Sign On tab of the application you just created and click View SAML Setup Instructions.
Copy the values for the Identity Provider Single Sign-On URL, Identity Provider Issuer and X.509 Certificate into a text editor. You’ll need those to enable SAML authentication in your Striim Cloud account.
Assign the Okta application to your users from the Assignments tab of your app.
Configure Striim Cloud to trust Okta as an IdP
Log into your Striim Cloud account and click User Profile at the top right of the screen.
Go to the Login & Provisioning tab.
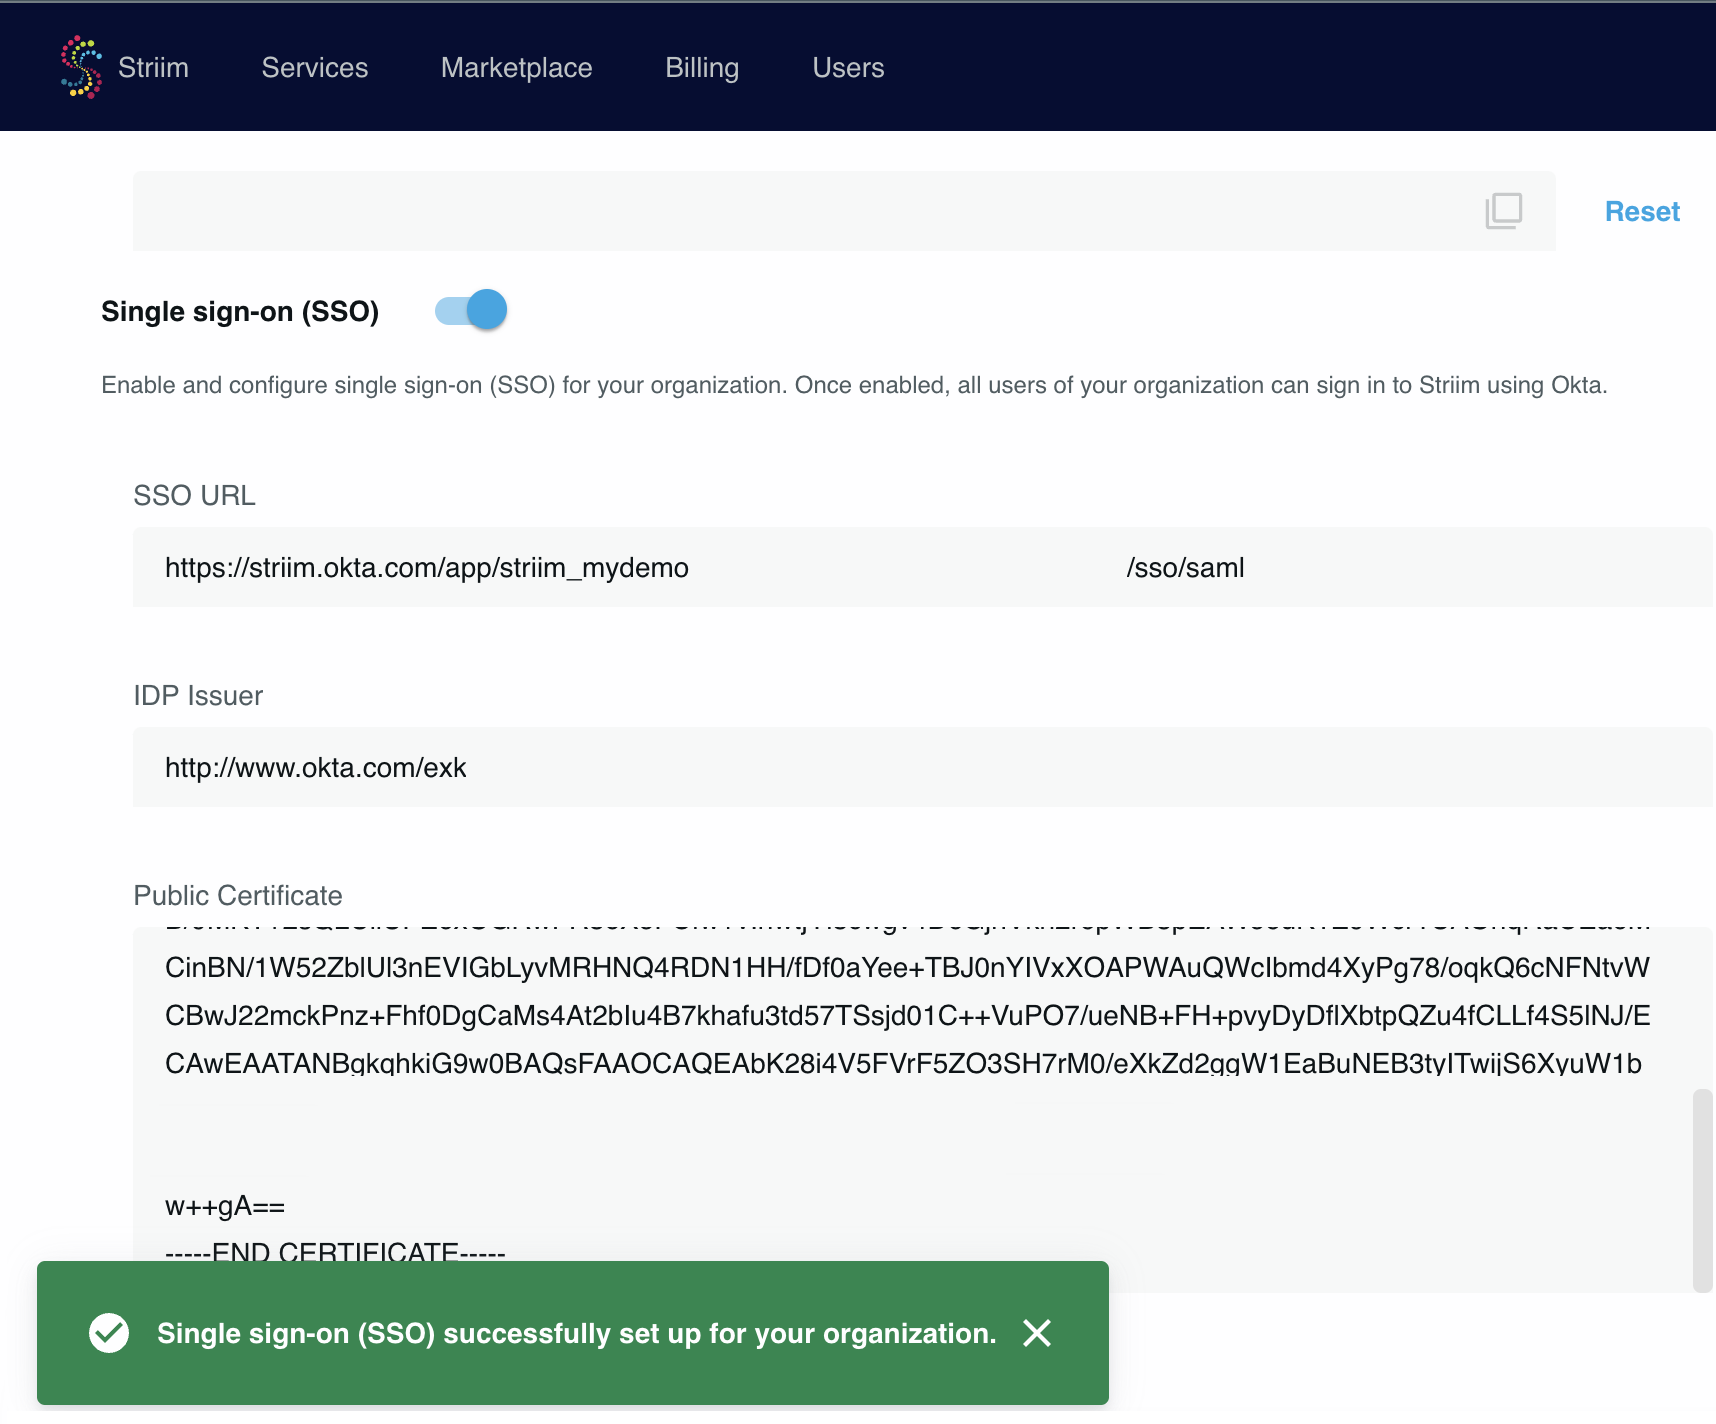
In the Single sign-on section paste the values from the Okta setup instructions page (see Step 12 above) into the SSO URL, IDP Issuer and Public Certificate fields.
Click Update configuration.
Enable the Single sign-on (SSO) toggle near the top of the page.
Test logging in to your Striim Cloud account through Azure AD. Logout then go to the login page and select Sign in with SAML. You will be logged in through Azure AD. Users can access Striim Cloud through the Striim Cloud login page.