Replicating Oracle data to Kafka
Before following these instructions:
Complete the tasks in Configuring Oracle to use Oracle Reader.
Create the target topic in Kafka.
Striim must be running.
If you are using a Forwarding Agent in Oracle, it must be connected to Striim.
You will need the following information to complete the wizard:
Striim
VM user name
VM user password
Striim cluster name
Striim admin password
DNS name (displayed on the Essentials tab for the Striim VM)
Oracle (source)
connection URL in the format
<IP address>:<port>:<SID>, for example,198.51.100.0:1521:orcllogin name and password
source table names
Kafka (target)
topic name
broker address
optionally, any Kafka producer properties required by your environment (see "KafkaWriter" in the "Adapters reference" section of the Striim Programmer's Guide)
Log into the Striim web UI at
<DNS name>:9080usingadminas the user name and the Striim admin password.Select the Oracle CDC to Kafka wizard that matches your target Kafka broker version.
Enter names for your application (for example, Oracle2Kafka) and new namespace (do not create applications in the admin namespace) and click Save.
Enter the name for the Oracle source component in the Striim application (for example, OracleSource), the connection URL, user name, and password.
Select LogMiner as the log reader.
Optionally, specify a wildcard string to select the Oracle tables to be read (see the discussion of the Tables property in Oracle Reader properties).
Set Deploy source on Agent on (if the Forwarding Agent is not connected to Striim, this property does not appear) and click Next.
If Striim's checks show that all properties are valid (this may take a few minutes), click Next.
If you specified a wildcard in the Oracle properties, click Next. Otherwise, select the tables to be read and click Next.
Enter the name for the Kafka target component in the Striim application (for example, KafkaTarget), the topic name and the broker address.
For Input From, select the only choice. (This is OracleReader's output stream, and its name is <application name>_ChangeDataStream.)
Enter the topic name, and the broker address.
Optionally, click Show optional properties and specify any Kafka producer properties required by your environment. Leave Mode set to
sync.Select AvroFormatter and specify its schema file name. This file will be created when the application is deployed (see Avro Formatter).
Click Save, then click Next. (Click Create Target only if you specified maps or filters and want to create more than one target.)
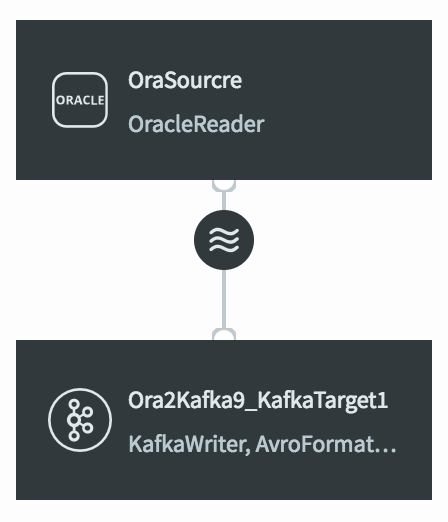
Striim will create your application and open it in the Flow Designer. It should look something like this:
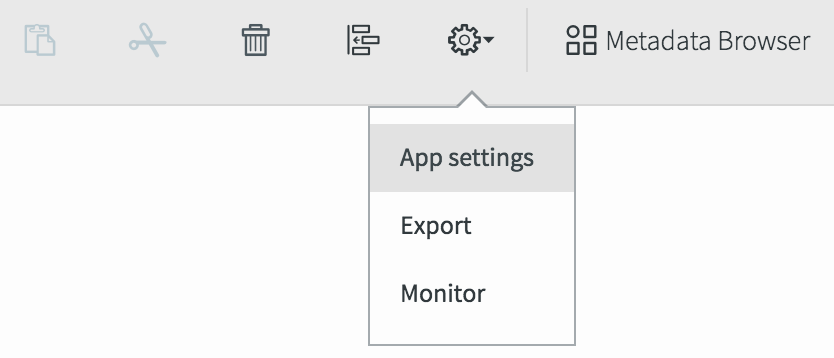
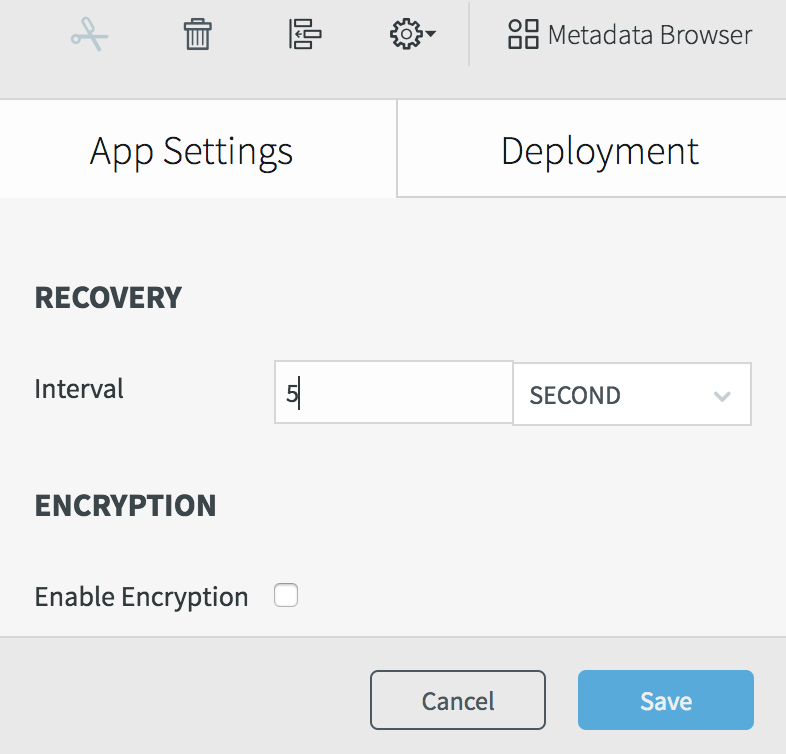
Select Configuration > App settings, set the recovery interval to 5 seconds, and click Save.
Select Configuration > Export to generate a TQL file. It should contain something like this (the password is encrypted):
CREATE APPLICATION Oracle2Kafka RECOVERY 5 SECOND INTERVAL;

CREATE SOURCE OracleSource USING OracleReader (
  FetchSize: 1,
  Compression: false,
  Username: 'myname',
  Password: '7ip2lhUSP0o=',
  ConnectionURL: '198.51.100.15:1521:orcl',
  DictionaryMode: 'OnlineCatalog',
  ReaderType: 'LogMiner',
  Tables: 'MYSCHEMA.%'
 )
OUTPUT TO OracleSourcre_ChangeDataStream;

CREATE TARGET KafkaTarget USING KafkaWriter VERSION '2.1' (
  Mode: 'Sync',
  Topic: 'MyTopic',
  brokerAddress: '198.51.100.55:9092'
)
FORMAT USING AvroFormatter ( schemaFileName: 'MySchema.avro' )
INPUT FROM OracleSourcre_ChangeDataStream;

END APPLICATION Oracle2Kafka;
Note that FetchSize: 1 is appropriate for development, but should be increased in a production environment. See Oracle Reader properties for more information.