Introducing automated pipelines
Automated pipeline wizards create two linked applications, one to perform the initial load of existing source data to a target (in most cases using JDBC to read the source) and another to continuously update the target with changes to the source read using change data capture (CDC). Handover from the first app to the second is handled automatically. Recovery is automatically enabled for both applications, with the exception of initial load for Salesforce sources.
For a video walkthrough, see Introducing Automated Pipelines for Effortless Data Replication.
The following is an example of the workflow. This is for creating an on-premise SQL Server to Azure Databricks pipeline, but the steps are similar for all source and target combinations. When you create an automated pipeline, inline help will appear next to the dialogs with detailed information about the settings.
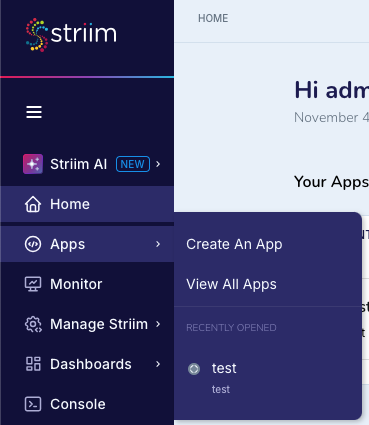
Select Apps > Create an App.
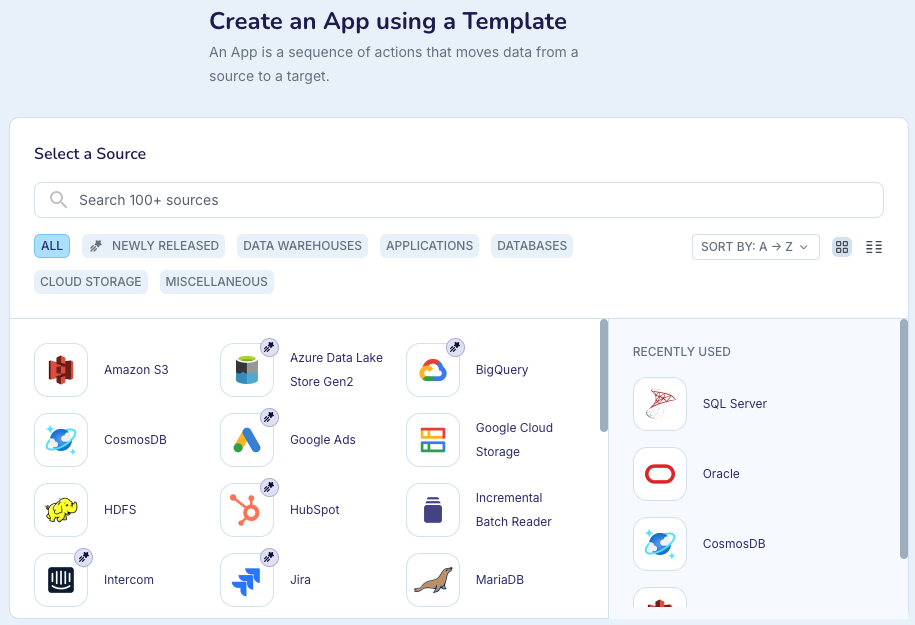
Search for and select your source.
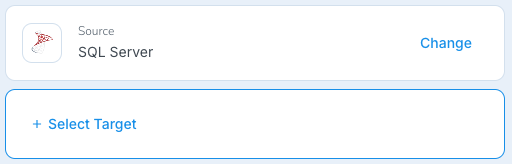
Click Select Target.

Search for and select your target.
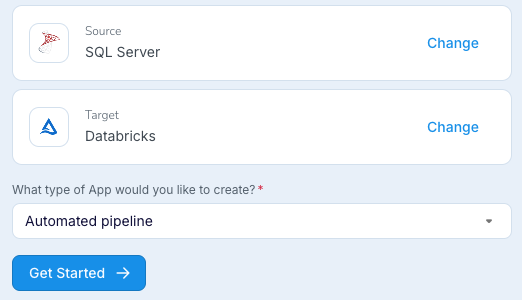
Click Get Started. (At this point, you could select initial load only or change data capture only instead of automated pipeline.)
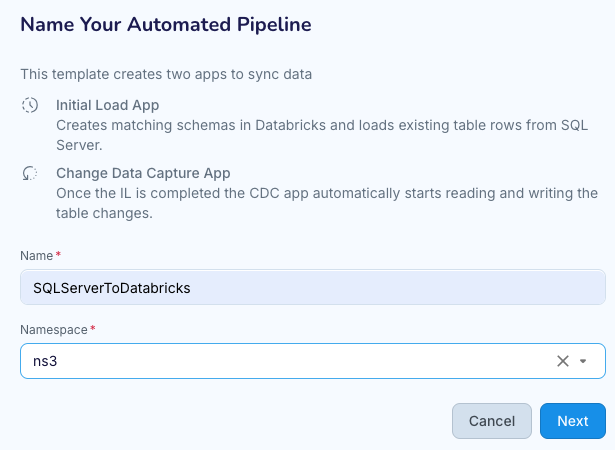
Name the pipeine and specify the namespace in which to create it, then click Next.
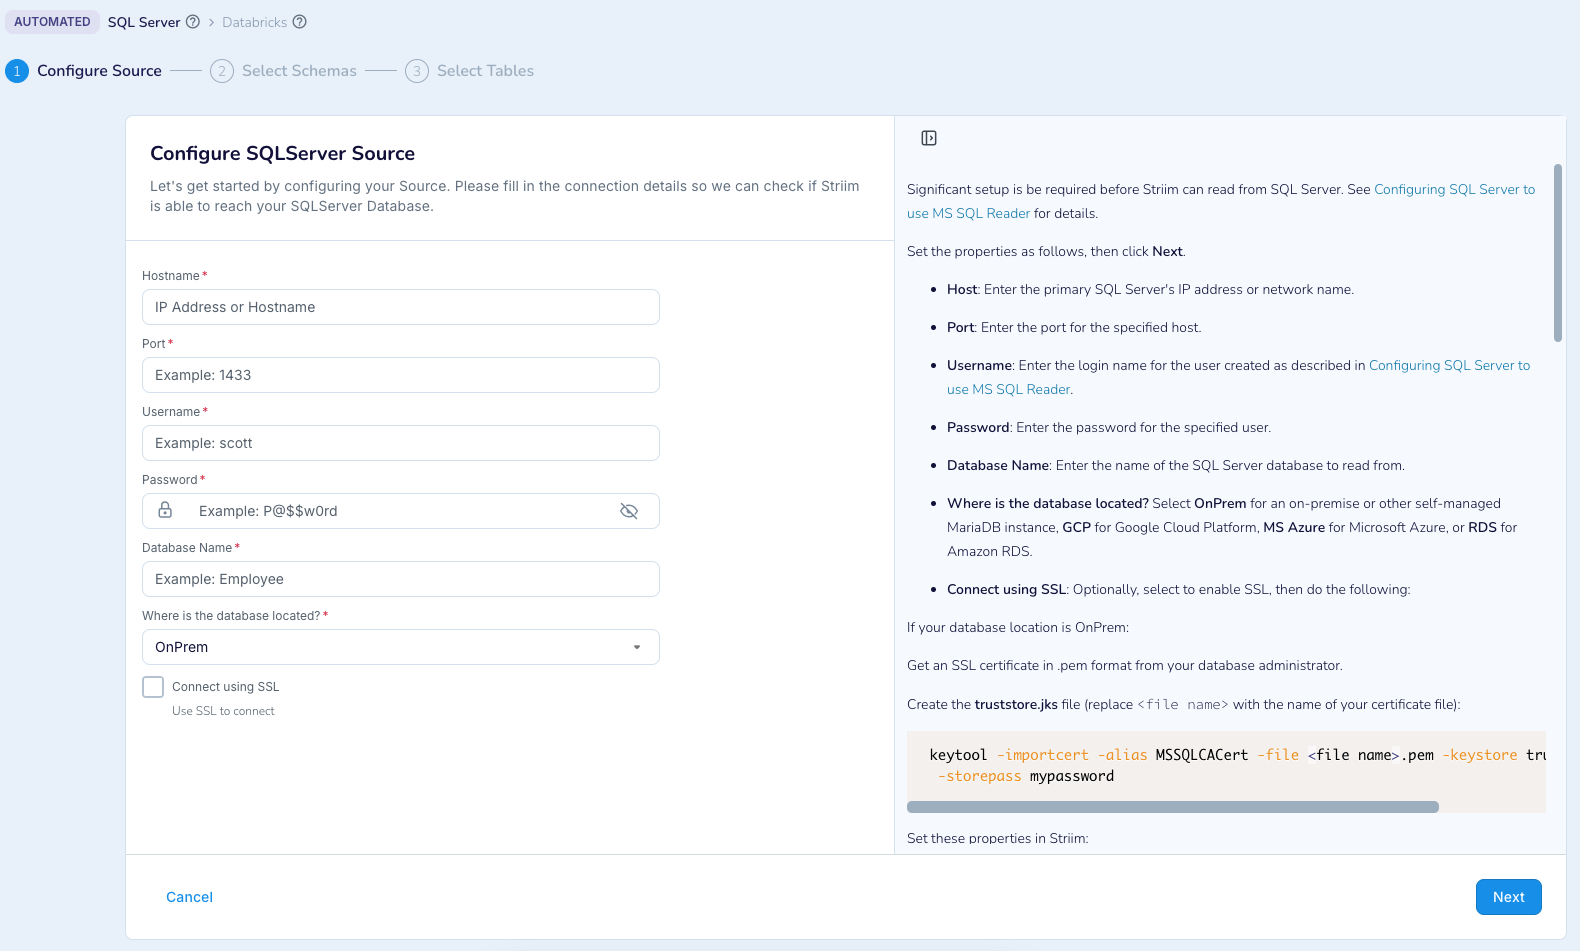
Specify the properties for the source as described in the inline help, then click Next..
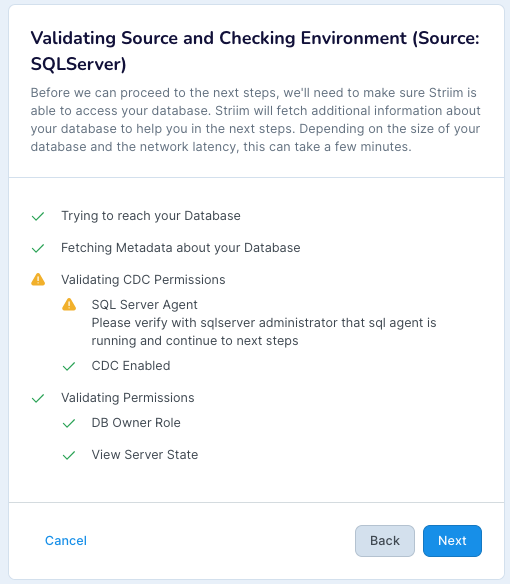
If validation is successful, the wizard will automatically go on to the next step. If validation fails, click Back and make whatever corrections are required. You must resolve all issues and validate successfully before going forward in the wizard.
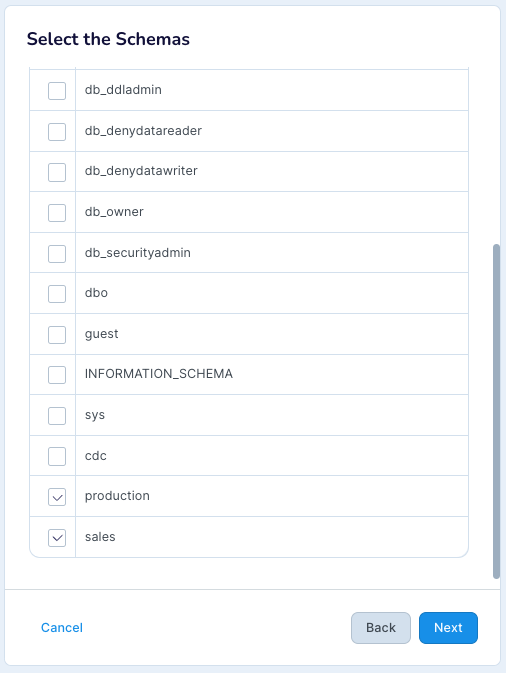
Select the schemas to replicate in the target (do not select system schemas), then click Next.
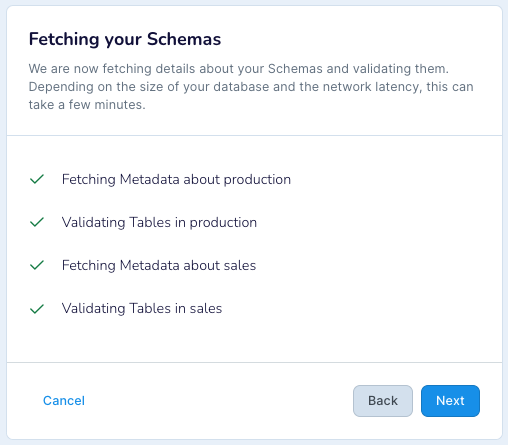
After Striim has validated and fetched the data, it will automatically go on to the next step.
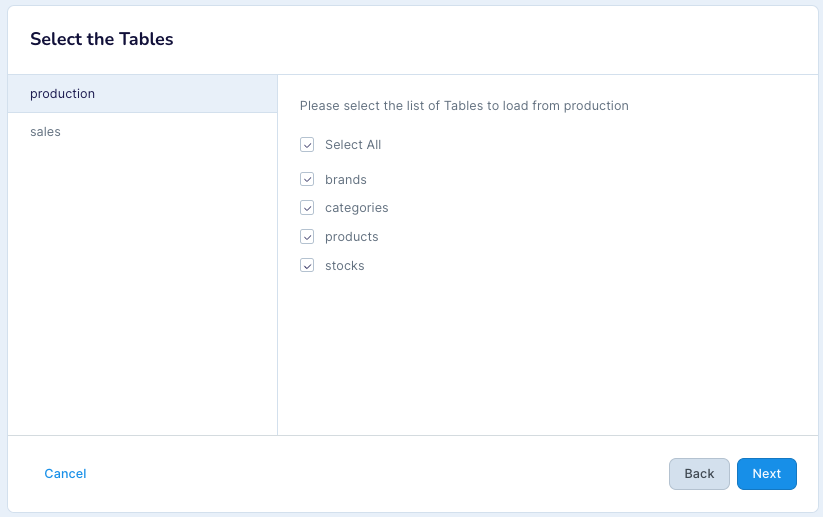
Select the tables to be replicated on the target (separately for each schema), then click Next.
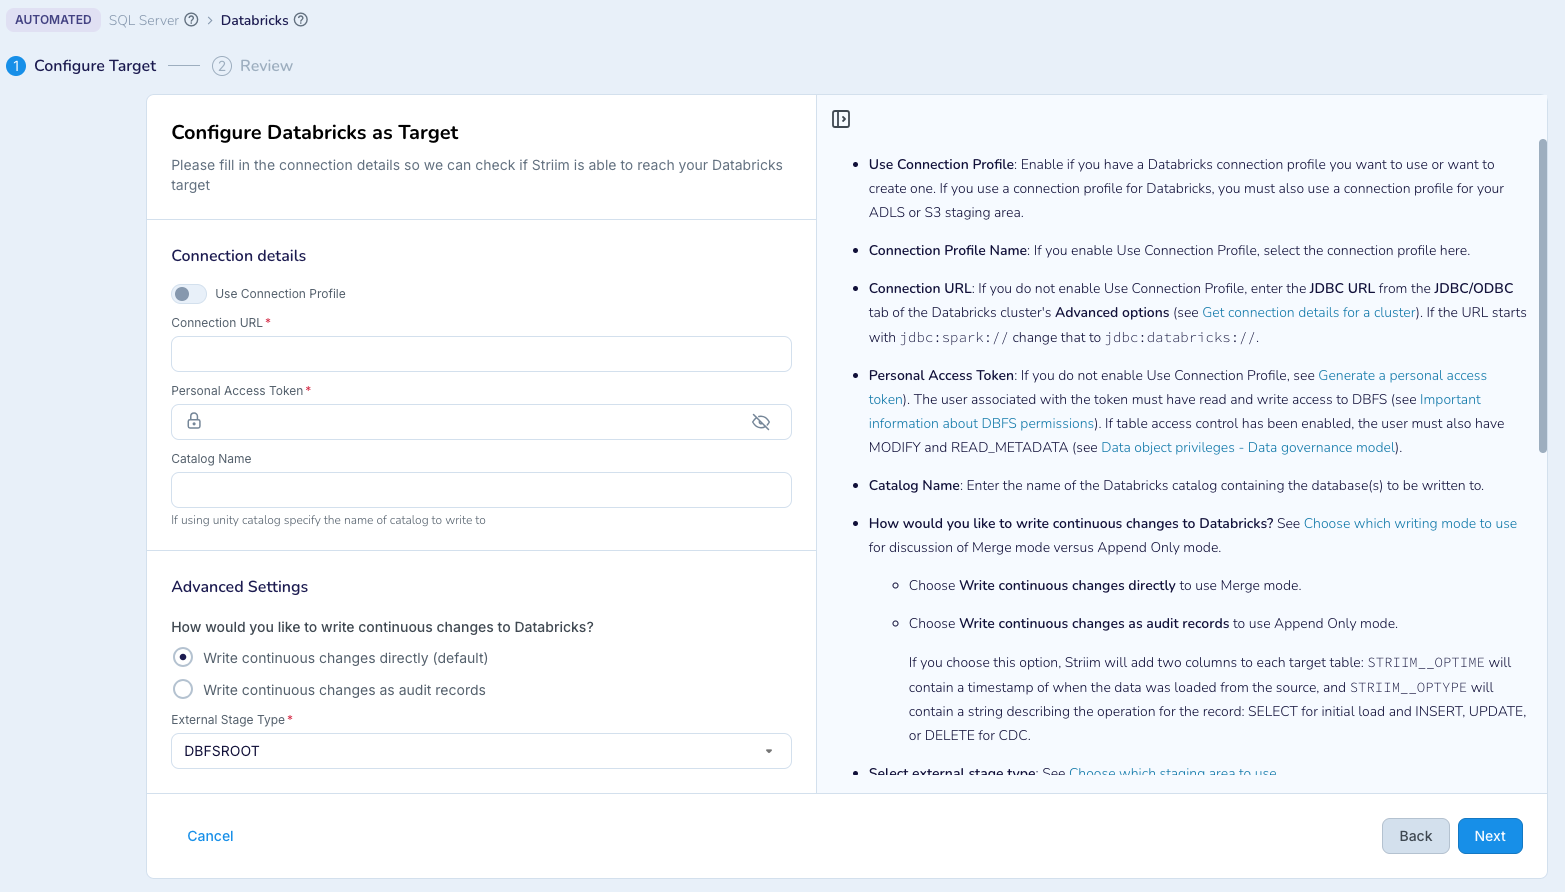
Specify the properties for the target as described in the inline help, then click Next.
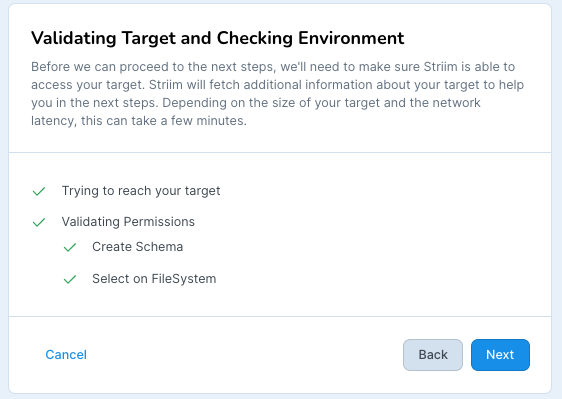
If validation is successful, the wizard will automatically go on to the next step. If validation fails, click Back and make whatever corrections are required. You must resolve all issues and validate successfully before going forward in the wizard.

Review the settings to make sure they are correct, then click Save & Start.
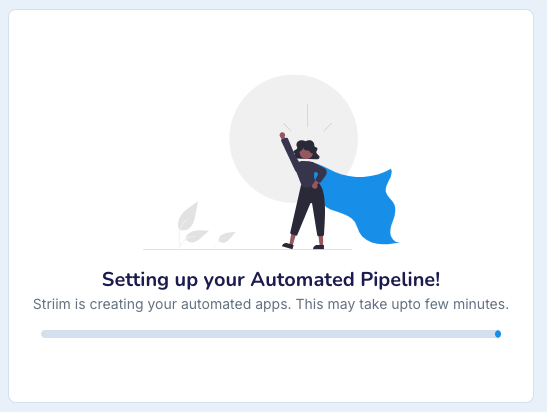
Striim will create your automated pipeline.
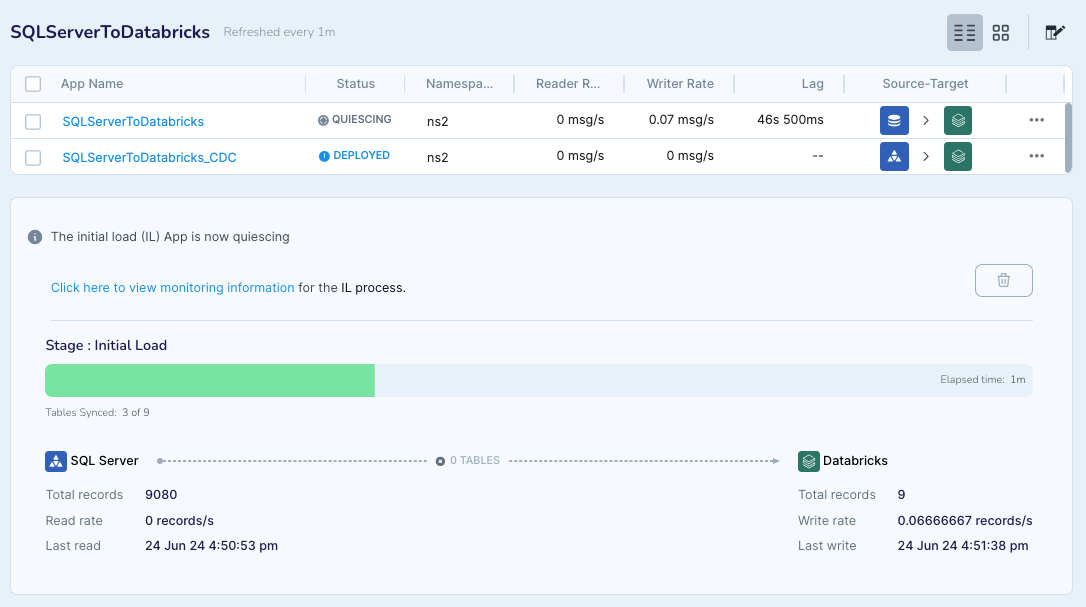
Once Striim has created the automated pipeline, it will run the initial load app and display its status.
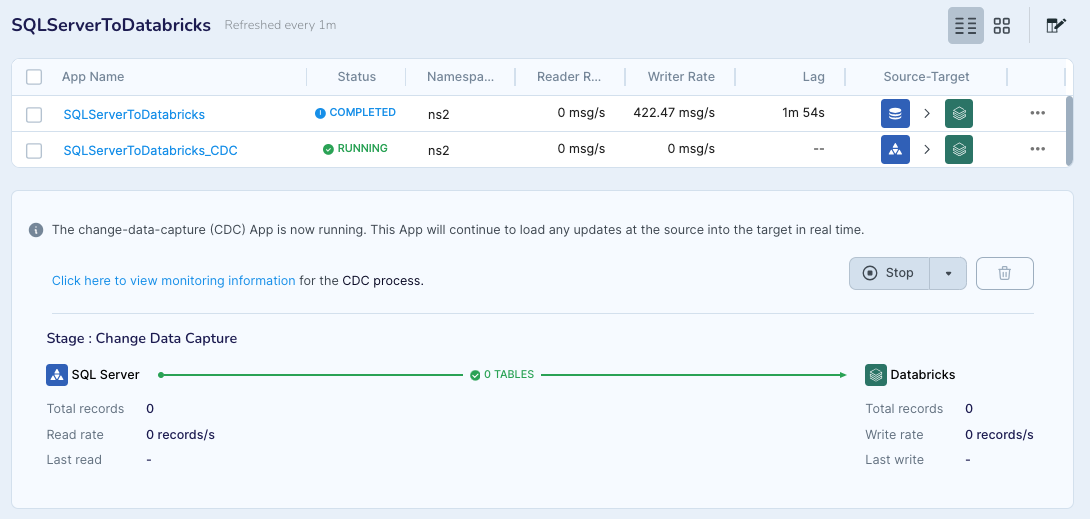
Once the initial load app has completed, Striim will quiesce it, start the CDC app, and display its status.
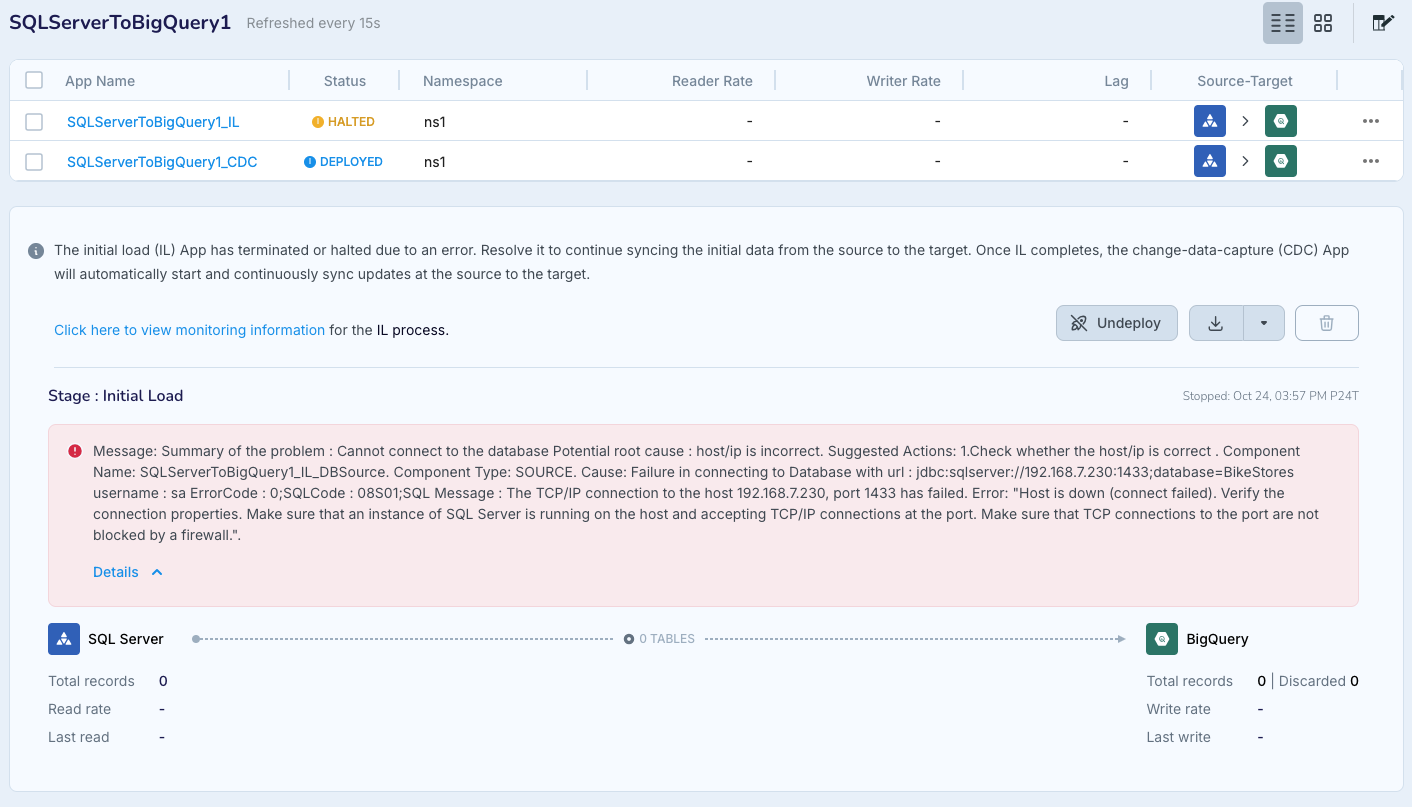
If during either phase the pipeline encounters a problem, it will halt and offer recommendations on what to do to resolve it.
For more information, see Using automated pipeline wizards.