Evaluating Striim for Snowflake
A free trial of Striim for Snowflake is available through Snowflake Partner Connect.
Getting your free trial of Striim for Snowflake
Prerequisites for the free trial:
a Snowflake account with access to Partner Connect
a Snowflake login with the ACCOUNTADMIN role
For more information, see Snowflake Partner Connect and System-Defined Roles.
To start your free trial:
Log in to Snowflake.
On the right side of the top menu, click Partner Connect.
From the drop-down menu under your user name, select Switch Role > ACCOUNTADMIN.

Click Striim > Connect> Activate.
Enter your company name, a domain name (this will be the first part of the URL to the Striim application), and a password, check the checkbox, and click Complete Sign Up.
On the next page, click the Visit link.
Enter the email address associated with your Snowflake account and the password you provided in the "Create an account" dialog.
Enter a name for your Striim service and click Create. You should see something like this:
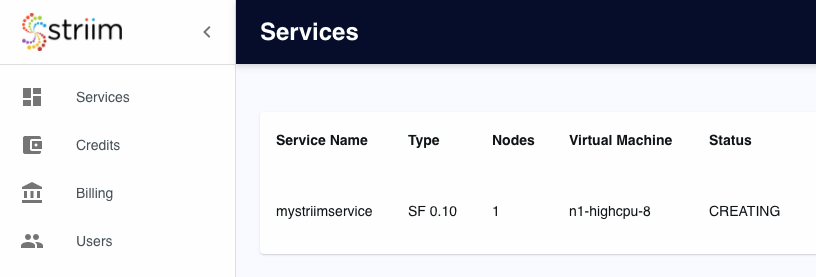
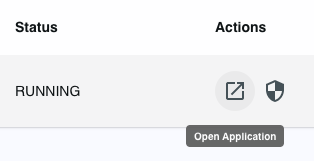
If your database is behind a firewall, click the shield icon to get the IP address to add to the firewall's allow list. When the status changes from CREATING to RUNNING, click Open Application.
Continue with the instructions in Creating an application in Striim for Snowflake.
Creating an application in Striim for Snowflake
Before creating an application, you must create a service as described in Getting your free trial of Striim for Snowflake. After completing those steps, you should be looking at the App Wizard page in Striim:
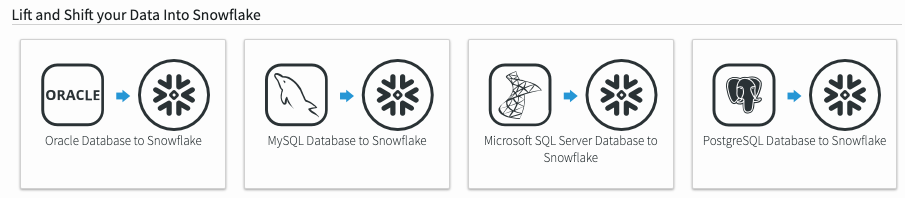
Click the appropriate Lift and Shift wizard for your source database. This will create an application to copy all data from selected tables in your source database to Snowflake.
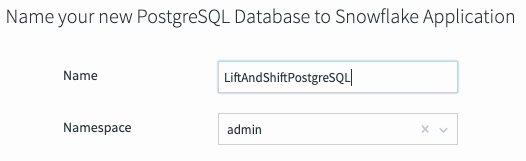
Enter a name for your application and click Next.
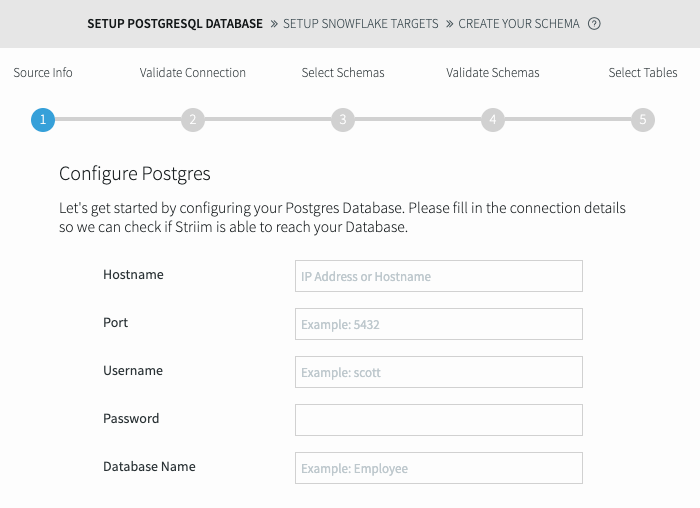
Enter the requested configuration details and credentials for the source database, then click Next. If the connection check is successful, click Next. Otherwise, click Back and fix the errors in the configuration.
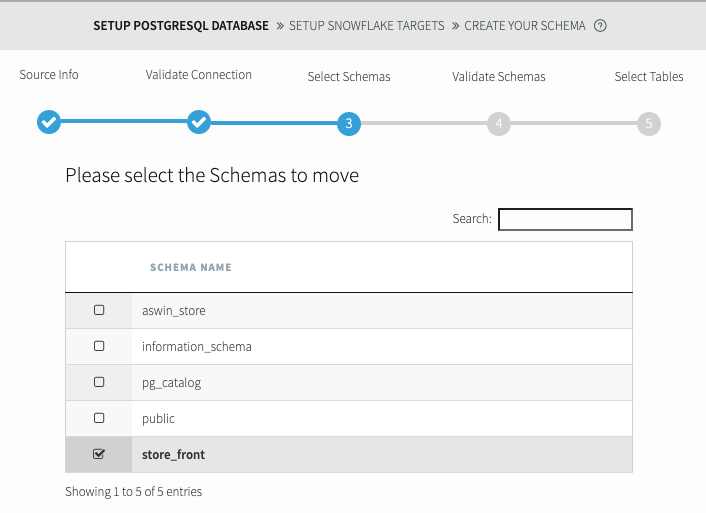
Select the schemas you want to move, then click Next. When validation is complete, click Next again.
Select the tables to include, or click Select All. If any tables contain data types incompatible with the target database, they will not be selectable. When done selecting tables, click Next.

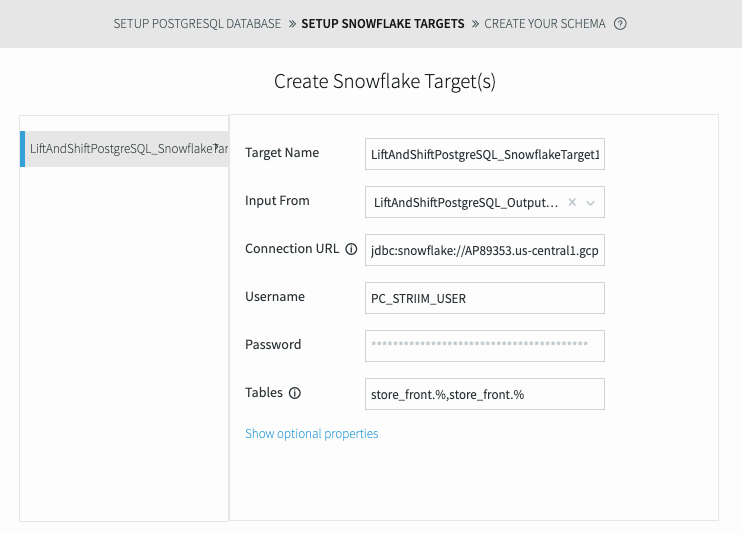
The target properties are set automatically. Do not change them. Click Next.
When a check appears next to "Starting your data movement," click Next.
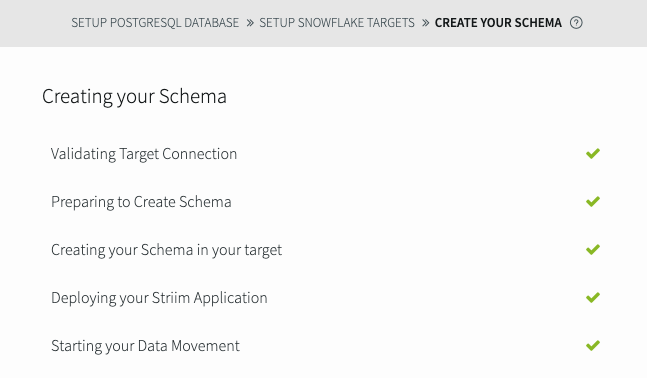
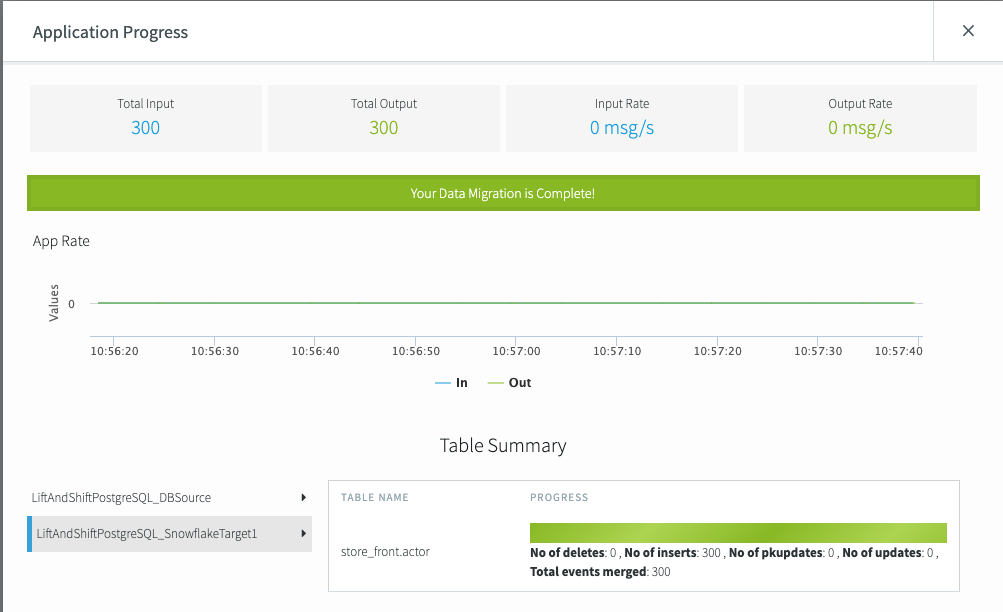
The Application Progress dialog tracks the progress of your lift and shift operation.

Above you see the status of the source. Select the target in the left column to see the status in Snowflake.
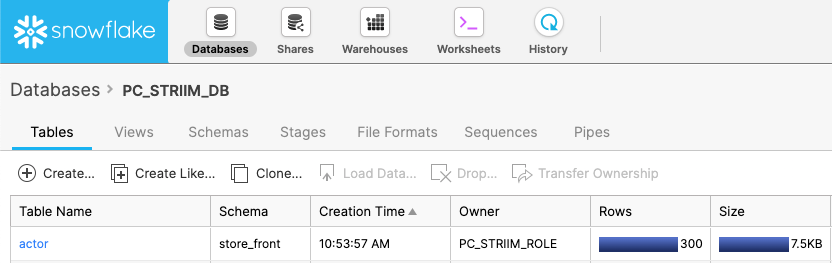
The imported data is now available in the PC_STRIIM_DB database.
To return to Striim for Snowflake, use the login link in the email you received from Striim.
For more information or to request a full version of Striim, click the Drift icon in the lower left corner of the Striim for Snowflake window. If the chatbot can not provide you with the necessary resources, it will connect you with a Striim representative. Alternatively, Contact Striim support.